To install a vapor barrier on your concrete floor, start by thoroughly cleaning the surface to remove dust, grease, and moisture. Next, lay down a polyethylene sheet at least 6 mil thick, overlapping adjacent sheets by 6 inches to prevent moisture seepage. Finally, seal all seams and edges with waterproof tape and secure the barrier up the walls for a continuous seal. These steps guarantee effective moisture control and protect your floor’s integrity. Keep going to uncover essential tips for flawless installation.
Prepare the Concrete Surface
Before installing a vapor barrier, you’ll need to thoroughly prepare the concrete surface. Start by performing extensive surface cleaning to remove dust, debris, grease, or any contaminants that could compromise adhesion. Use a stiff broom or vacuum followed by a degreasing agent if necessary. Next, conduct moisture testing to assess the concrete’s vapor emission rate. Utilize a calcium chloride test or a relative humidity probe per ASTM standards to verify moisture levels fall within acceptable limits. If moisture exceeds recommended thresholds, address this before proceeding to avoid vapor barrier failure. Proper surface cleaning and moisture testing are critical steps that empower you to confidently install a vapor barrier, guaranteeing long-term protection and durability while maintaining control over your environment. Don’t skip these foundational tasks—they set the stage for success.
Lay the Vapor Barrier Material
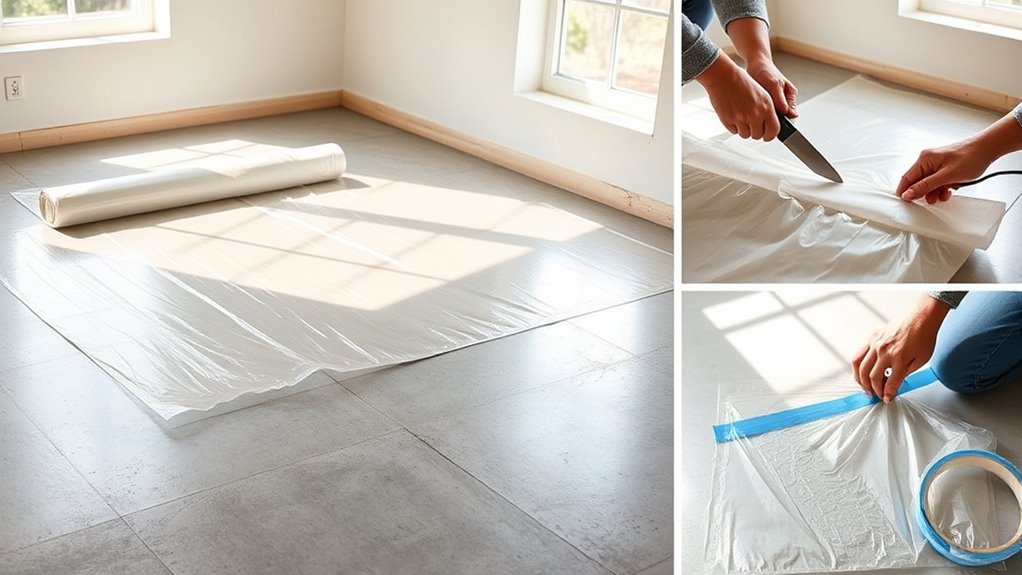
With the concrete surface properly cleaned and moisture levels verified, you can proceed to lay the vapor barrier. Start by selecting the appropriate vapor barrier types, typically polyethylene sheets with a minimum thickness of 6 mils, ensuring ideal moisture resistance. Unroll the barrier across the floor, allowing it to extend up the walls slightly for future sealing. Use installation tools such as a utility knife for precise cutting and a straightedge to guide clean edges. Overlap adjacent sheets by at least 6 inches to prevent moisture penetration through seams. Maintain a smooth, wrinkle-free surface to maximize contact and effectiveness. Proper handling during this step is critical to establish a continuous moisture barrier that protects your concrete floor and preserves your freedom from future water damage.
Seal and Secure the Edges
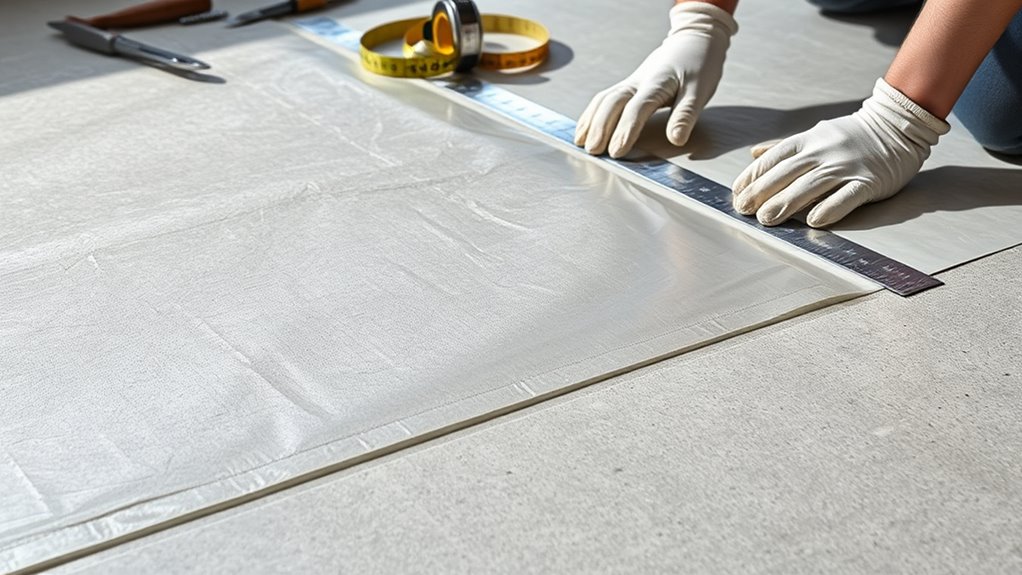
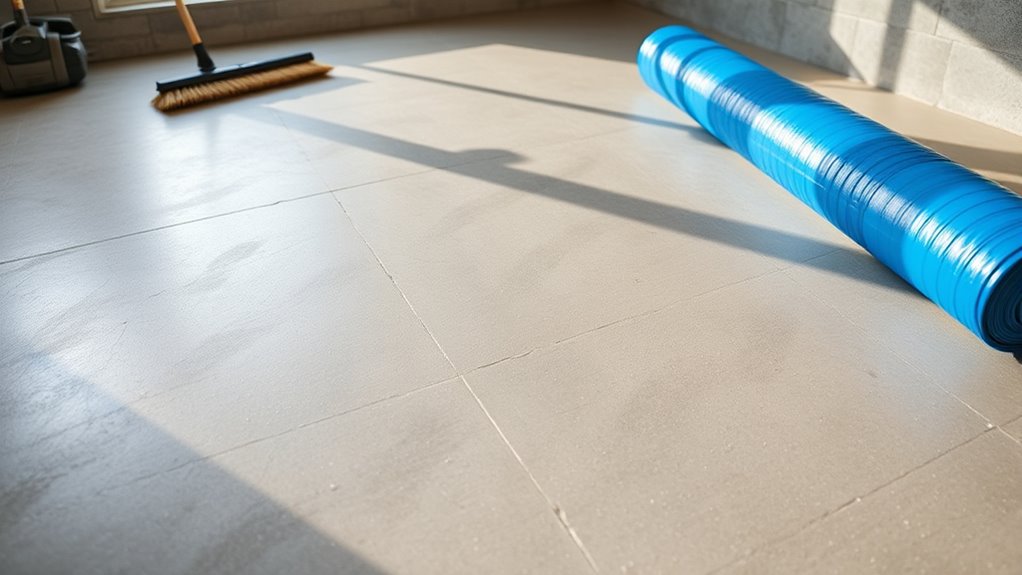
Once the vapor barrier is laid out smoothly, you’ll need to seal and secure the edges to maintain an airtight moisture barrier. Proper edge sealing is critical for effective moisture control and long-term floor protection. Follow these steps:
- Overlap the vapor barrier edges by at least 6 inches to prevent gaps.
- Use a high-quality waterproof tape designed for vapor barriers to seal overlaps.
- Press the tape firmly along all edges and seams, ensuring no air pockets.
- Secure the perimeter by fastening the barrier to the foundation wall or floor edges using adhesive or mechanical fasteners.
This process guarantees a continuous moisture control layer, eliminating vapor intrusion and preserving your concrete floor’s integrity. Proper edge sealing empowers you with lasting protection and effective humidity management.