To paint a wood floor in 10 essential steps, start by clearing and protecting the room, then clean the floor thoroughly. Sand it evenly to guarantee proper paint adhesion and repair any damages with wood filler. Remove all dust carefully before choosing paint designed for wood floors. Apply primer, then the first paint coat with smooth strokes, allowing full drying time. Finish with a protective sealant for durability. Understanding each step well guarantees a flawless, lasting finish and sets the stage for more detailed guidance.
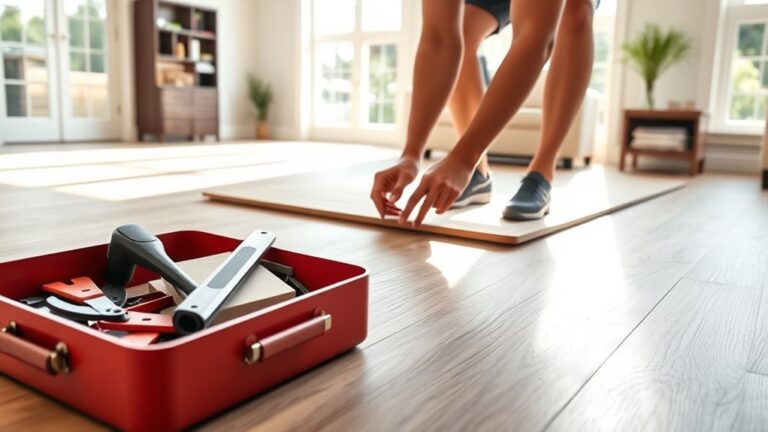
Prepare the Room and Protect Surrounding Areas
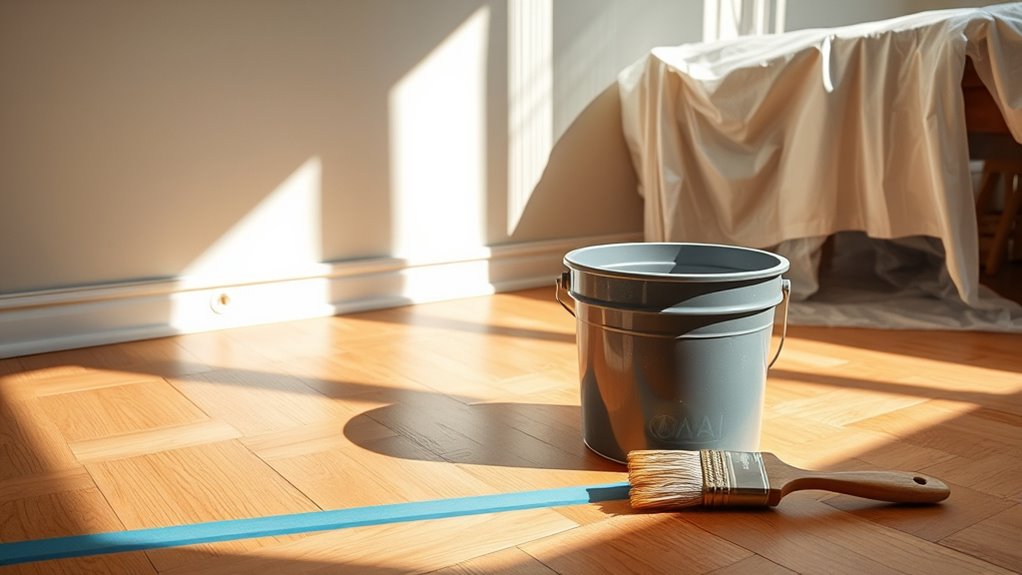
Before you begin painting, make sure to clear the room completely, removing all furniture and rugs to prevent damage and guarantee unobstructed access to the floor. Assess the room layout carefully to identify all areas requiring coverage. Use high-quality protective coverings to shield baseboards, walls, and any fixed elements from paint splatters. Tape edges precisely to maintain clean lines and avoid seepage under coverings. Confirm windows and doors are open or well-ventilated to facilitate drying and prevent fumes buildup. Your preparation should enable unrestricted movement and work efficiency, empowering you to execute the painting with confidence and freedom. Neglecting this step compromises the final result and your workspace’s integrity, so take the time to prepare meticulously before applying any paint.
Clean and Clear the Wood Floor
Once the room is fully prepared and protected, your focus shifts to thoroughly cleaning and clearing the wood floor. Effective cleaning techniques are essential to remove dust, dirt, and residues that can sabotage paint adhesion. Start by sweeping or vacuuming every corner, then mop with a wood-safe cleaner. This step guarantees ideal floor maintenance and a flawless paint finish.
| Feeling | Reason to Clean |
|---|---|
| Empowered | Taking control of your space |
| Confident | Securing lasting paint durability |
| Satisfied | Seeing a pristine surface ready to transform |
| Free | Breaking free from old floor limitations |
Sand the Floor for Better Paint Adhesion
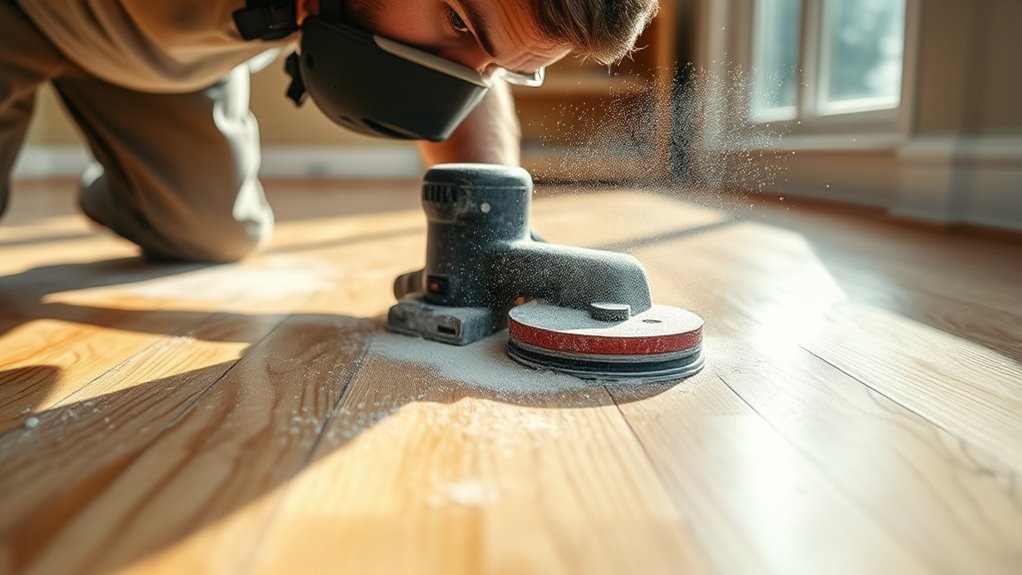
You’ll want to start by selecting the right sandpaper grit—usually medium grit (80-120) works best to remove old finish without damaging the wood. Use consistent, even strokes with a floor sander or hand sander, always following the grain to avoid scratches. After sanding, thoroughly remove all dust with a vacuum and tack cloth to guarantee the paint adheres properly.
Choosing the Right Grit
Selecting the right grit sandpaper is essential for preparing your wood floor to accept paint properly. Grit selection determines how effectively the surface is smoothed without damaging the wood. Coarser grits remove old finish quickly, while finer grits create the smooth surface needed for paint adhesion. Understanding sandpaper types helps you choose grit based on your floor’s condition and your paint finish goals.
| Sandpaper Grit | Purpose |
|---|---|
| 40-60 | Remove old finish, rough prep |
| 80-100 | Smooth surface, moderate prep |
| 120-150 | Final sanding before painting |
| 180-220 | Ultra-fine finish, delicate |
| 320+ | Between coats, very fine polish |
Stick to these guidelines for ideal paint bonding and a long-lasting wood floor finish.
Proper Sanding Techniques
Three key sanding techniques guarantee your wood floor is perfectly prepped for paint adhesion: consistent pressure, proper sanding direction, and gradual grit progression. Start by selecting the right sanding tools—an orbital sander for large areas and a detail sander for edges work best. Maintain even pressure to avoid gouges or uneven surfaces, which can compromise paint adhesion. Always sand in the direction of the wood grain; this prevents scratches that show through paint. Progress through grits methodically—begin with a coarse grit to remove old finishes, then medium, and finish with fine grit for a smooth surface. These sanding techniques confirm the paint bonds firmly while preserving the wood’s natural texture. Mastering this step gives you the freedom to create a flawless, durable painted wood floor.
Dust Removal Methods
After sanding, removing every trace of dust is critical to confirm your paint adheres properly and the finish remains smooth. Start with a thorough sweep using a stiff-bristle broom to loosen larger debris. Next, employ a vacuum with a brush attachment to capture finer particles embedded in the wood grain. For an even more effective cleaning, wipe the floor with a damp microfiber cloth or tack cloth, which picks up residual dust without saturating the wood. Avoid using excessive water, as moisture can raise the wood fibers and compromise adhesion. These dust removal techniques confirm a pristine surface ready for painting, allowing your finish to bond securely. Mastering effective cleaning at this stage grants you the freedom to achieve a flawless, durable painted wood floor.
Repair Any Damages or Imperfections
Before you start painting, carefully inspect your wood floor for any damage like cracks, holes, or uneven spots. Use a high-quality wood filler to fill in these imperfections, ensuring a smooth, level surface. Once the filler dries, sand the repaired areas thoroughly to blend them seamlessly with the rest of the floor.
Identify Floor Damage
Although it might be tempting to start painting immediately, you need to carefully inspect your wood floor for any damage or imperfections first. Conduct a thorough floor inspection, examining every plank under good lighting. Look for signs of warping, deep scratches, water stains, or loose boards. A detailed damage assessment helps you identify problem areas that could compromise paint adhesion or finish durability. Don’t overlook subtle issues like small gaps or uneven surfaces; these can affect the final look and longevity of your paint job. Taking the time to pinpoint all defects empowers you to address them properly before painting, ensuring your floor not only looks great but stands up to wear and tear. This precision is essential for a flawless, lasting finish that grants you true freedom in your living space.
Fill Cracks and Holes
Once you’ve identified all the damage on your wood floor, the next step is to address those imperfections by filling cracks and holes. Start by selecting a high-quality crack filler designed for wood surfaces to guarantee durability and a smooth finish. Use a putty knife to apply the crack filler firmly into each crack, pressing it deep to prevent future expansion. For larger gaps or holes, opt for specialized hole patching compounds that bond well with wood and dry quickly. After application, smooth the surface level with the surrounding floor to maintain evenness. Allow the filler or patching material to cure fully according to manufacturer instructions before proceeding. Proper crack filler and hole patching not only restore your floor’s integrity but also create a flawless base for painting, empowering you to transform your space freely.
Sand Uneven Surfaces
Even after filling cracks and holes, you’ll need to sand uneven surfaces to secure a smooth, level base for painting. Mastering proper sanding techniques is essential for impeccable surface preparation. Use a medium-grit sandpaper first to even out imperfections, then finish with a fine grit for a polished feel. This process guarantees paint adheres evenly and lasts longer.
- Feel the freedom of a flawless floor beneath your feet
- Witness your space transform into a clean, inviting canvas
- Enjoy the satisfaction of meticulous craftsmanship
Remove Dust and Debris After Sanding
Before applying any paint, you need to thoroughly remove all dust and debris left from sanding to assure a smooth, long-lasting finish. Effective dust collection methods, such as using a vacuum with a HEPA filter or tack cloths, guarantee no particles remain. Proper debris disposal tips, like sealing collected dust in bags, prevent it from contaminating your workspace.
| Task | Recommended Methods |
|---|---|
| Dust Collection | Vacuum with HEPA filter |
| Surface Wiping | Use tack cloths |
| Debris Disposal | Seal dust in plastic bags |
| Air Cleaning | Air scrubbers or fans |
| Final Inspection | Visual and tactile check |
Following these steps grants you freedom from imperfections and preps your floor perfectly for painting.
Apply a Wood Floor Primer
Start by selecting a high-quality primer specifically formulated for wood floors, as it guarantees ideal adhesion and durability of your paint. Understanding primer types—oil-based for sealing and stain blocking, or water-based for quick drying and low odor—empowers you to choose what best fits your freedom to customize. Apply the primer using precise application techniques: use a high-density foam roller for smooth coverage and an angled brush to reach edges. This assures an even, lasting base that locks in your paint’s vibrancy.
Choose the right primer and apply it expertly for a flawless, durable wood floor finish.
- Feel the satisfaction of a flawlessly prepped surface.
- Enjoy the confidence that comes with expert application.
- Embrace the freedom to transform your floor with lasting beauty.
Mastering primer application sets the foundation for your wood floor’s stunning finish.
Choose the Right Paint for Wood Floors
You’ll need to select a paint specifically formulated for wood floors, such as oil-based or water-based floor enamel, both designed for durability and wear resistance. Consider factors like foot traffic, moisture exposure, and drying time to guarantee the paint holds up over time. Choosing the right type and quality will protect your floor and maintain its appearance longer.
Types of Floor Paint
Selecting the right type of paint is essential for ensuring both the durability and appearance of your wood floor. You want a finish that withstands foot traffic while expressing your personal style. Two primary options stand out: latex floor paint and epoxy floor paint. Latex floor paint offers flexibility, quick drying, and easy cleanup, making it ideal for indoor spaces where comfort and freedom of choice matter. Epoxy floor paint provides a hard, glossy surface that resists wear and chemicals, perfect if you desire maximum durability without sacrificing aesthetic appeal. Consider these emotional benefits when choosing:
- The satisfaction of a smooth, even finish that breathes life into your space
- Confidence in a coating that guards your floors against daily wear
- Freedom to transform your environment with colors that inspire you
Paint Durability Factors
While choosing the right paint type is essential, understanding the factors that affect paint durability will help you make an informed decision tailored to your wood floor’s specific needs. Paint longevity depends heavily on the paint’s composition, such as oil-based versus acrylic, with oil-based generally offering greater resistance to wear. Environmental factors like humidity, temperature fluctuations, and sunlight exposure also play critical roles in how long your paint will last. High traffic areas demand tougher finishes, so consider paints formulated for heavy use. Additionally, proper surface preparation and sealing improve adhesion and extend durability. By evaluating these factors carefully, you guarantee your painted wood floor maintains its appearance and withstands daily wear, granting you the freedom to enjoy a vibrant, long-lasting finish without frequent touch-ups.
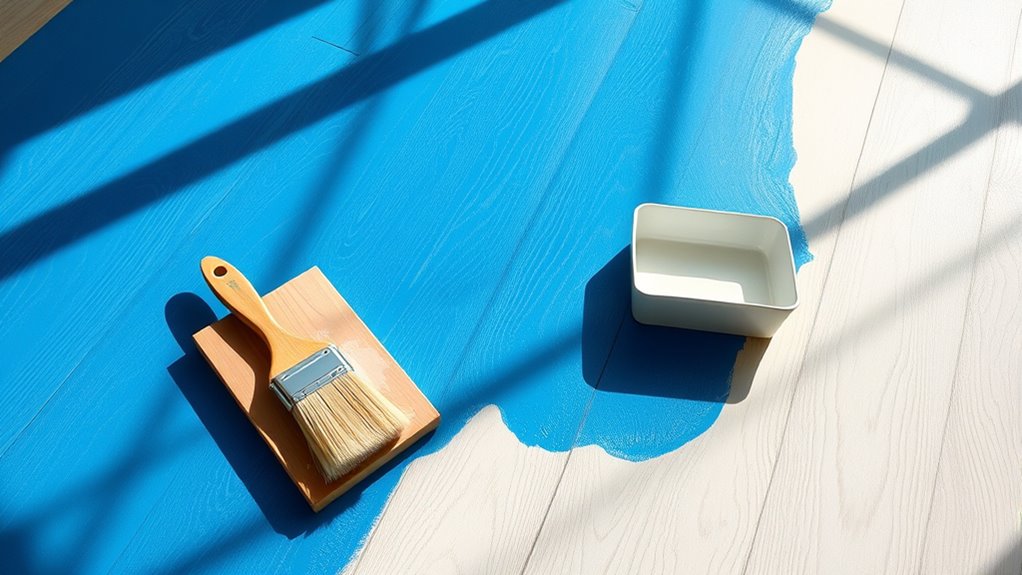
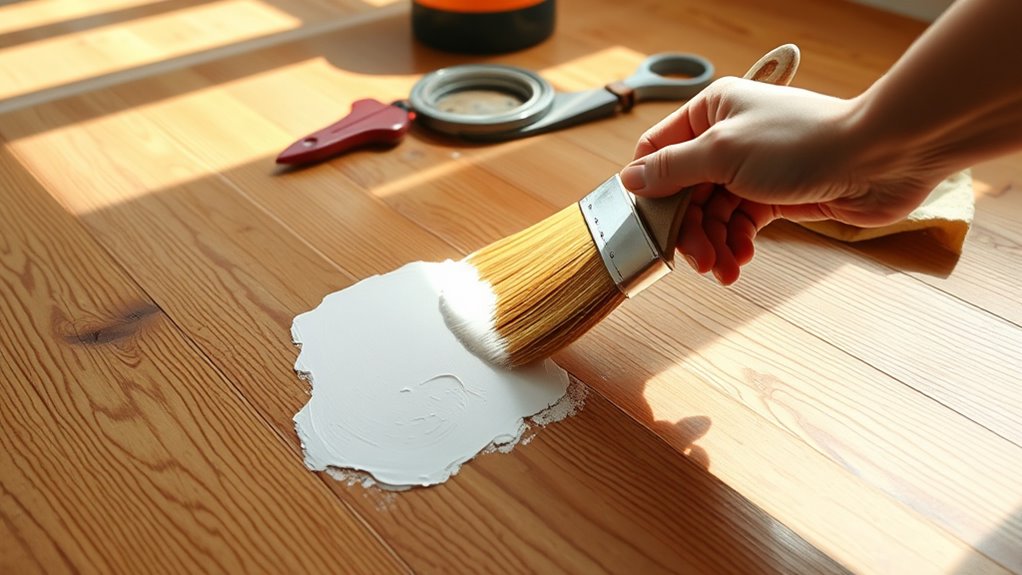
Apply the First Coat of Paint
Begin by stirring the paint thoroughly to secure an even consistency, which helps achieve a smooth, uniform finish. When applying the first coat, focus on paint application techniques that guarantee full coverage without excess buildup. Use a high-quality brush or roller designed for wood floors to maintain control and precision. Remember, the first coat essentials include working in long, even strokes along the wood grain, avoiding puddles or streaks. This initial layer lays the foundation for durability and aesthetic appeal.
- Feel the liberation as your floor transforms with each stroke.
- Embrace the control you have over your space’s character.
- Celebrate the start of a fresh, vibrant new look.
Mastering this step sets you free to create a floor that truly reflects your style.
Allow Proper Drying Time Between Coats
Although it might be tempting to apply the next coat quickly, you need to let the first coat dry completely to guarantee proper adhesion and a flawless finish. Mastering drying techniques is essential—ensure your workspace has adequate ventilation and maintain a consistent temperature to accelerate drying without compromising the paint’s integrity. Be patient with coat timing; rushing this step can cause uneven texture or peeling later. Follow the paint manufacturer’s recommended drying time, typically between 4 to 6 hours, but always check for tackiness before proceeding. By respecting these intervals and conditions, you empower your wood floor’s surface to fully cure, ensuring each layer bonds seamlessly. This careful approach gives you the freedom to enjoy a durable, beautiful painted floor that lasts.
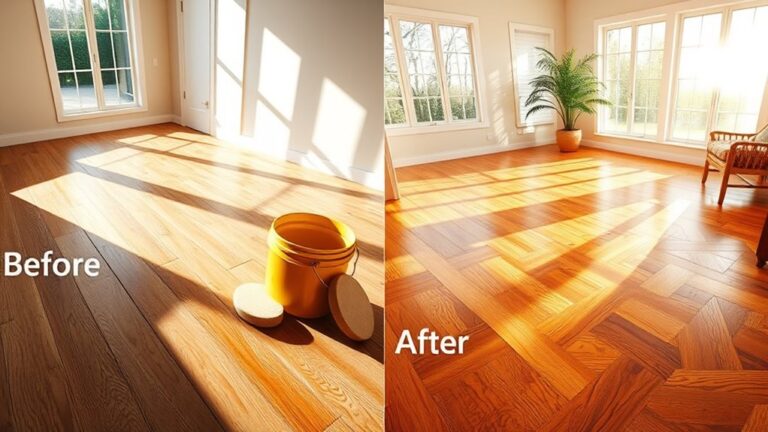
Apply a Protective Sealant for Durability
Once your paint has fully dried and cured, the next step is to apply a protective sealant to guarantee long-lasting durability. Choosing the right sealant type—polyurethane, water-based, or oil-based—will depend on your floor’s use and desired finish. Each offers unique benefits in resistance and appearance. Mastering application techniques is essential: use a high-quality brush or roller, apply thin, even coats, and avoid overworking the sealant to prevent bubbles or streaks. Properly sealing your floor shields your hard work from wear, stains, and moisture, ensuring freedom from constant touch-ups. Remember, a well-sealed floor invites:
- Confidence in your floor’s resilience
- Peace of mind with lasting protection
- Joy in a beautifully preserved surface
This final step lets you fully enjoy the freedom of a durable, painted wood floor.