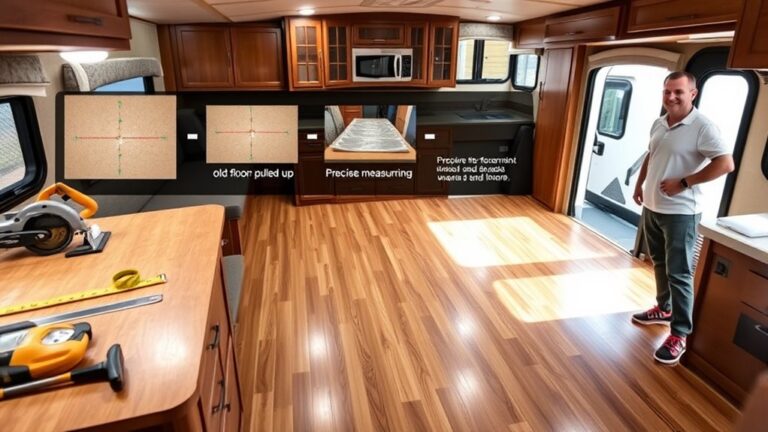
Start by clearing your workspace and gathering essential tools like a putty knife, utility knife, and gloves. Next, loosen the vinyl by prying up a corner or seam with the putty knife, working it back and forth until the flooring lifts easily. Finally, remove any leftover adhesive with a scraper and clean the subfloor thoroughly to prepare for new flooring. Keep going for detailed tips on making this process even smoother and more efficient.
Prepare Your Workspace and Gather Tools

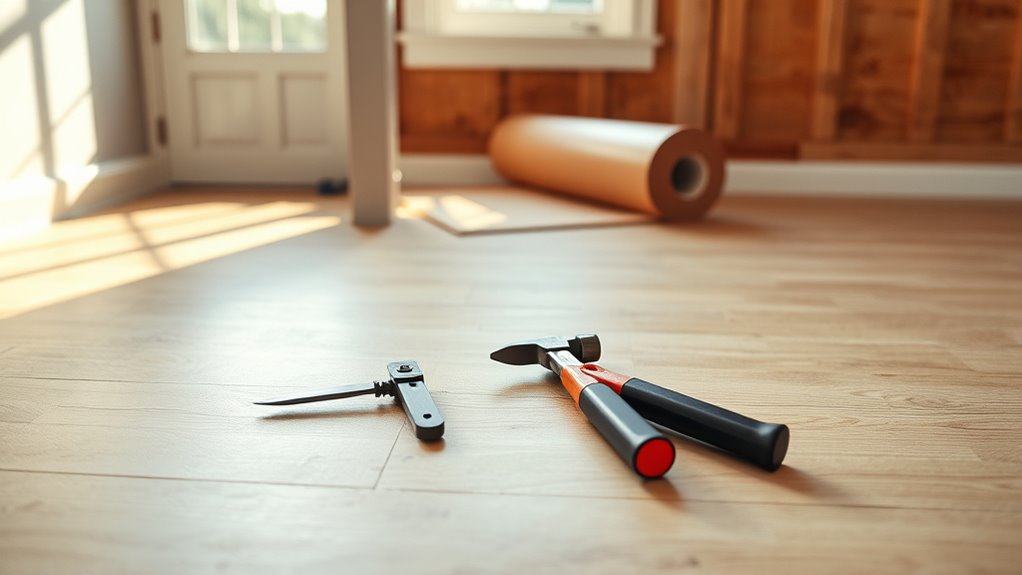
Before you start pulling up vinyl flooring, make sure you’ve cleared the area of all furniture and debris. This step is vital for workspace organization, giving you room to move freely and work efficiently. Next, focus on tool selection—choose tools that suit the job without overcomplicating it. Essential items include a putty knife, a utility knife, pliers, and gloves. Having these tools on hand prevents interruptions and speeds up your progress. Keep everything within reach but neatly arranged to avoid clutter. A well-prepared workspace and the right tools give you control and freedom to tackle the project confidently. By setting up properly, you’ll minimize frustration and maximize productivity, making the floor removal process smoother and more manageable.
Loosen and Lift the Vinyl Flooring
With your workspace set and tools ready, you can start loosening the vinyl flooring. Focus on effective lifting techniques to free the material without damaging the subfloor. Begin at a corner or seam where the vinyl is easiest to lift.
Prepare your workspace and tools, then start loosening vinyl flooring at an accessible corner or seam.
- Insert a putty knife or floor scraper under the edge to gently pry upward.
- Work the tool back and forth to break the adhesive bond, gradually loosening the vinyl.
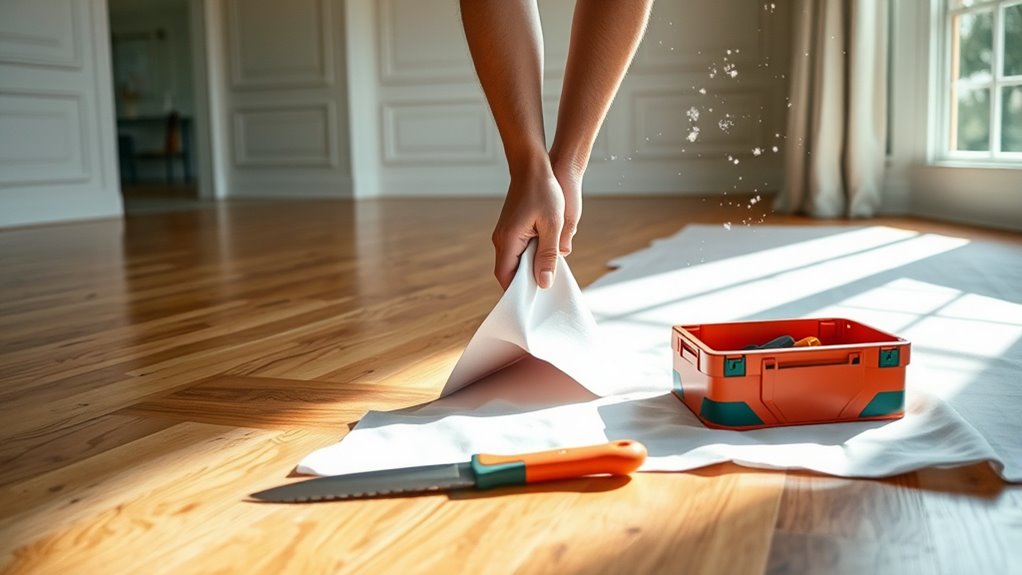
- Once loosened, use your hands to carefully pull the vinyl away, maintaining steady pressure to avoid tearing.
These steps help you regain control and freedom from old flooring. Stay patient and methodical — mastering these lifting techniques guarantees a smooth removal process, setting the stage for whatever comes next.
Remove Residue and Clean the Subfloor

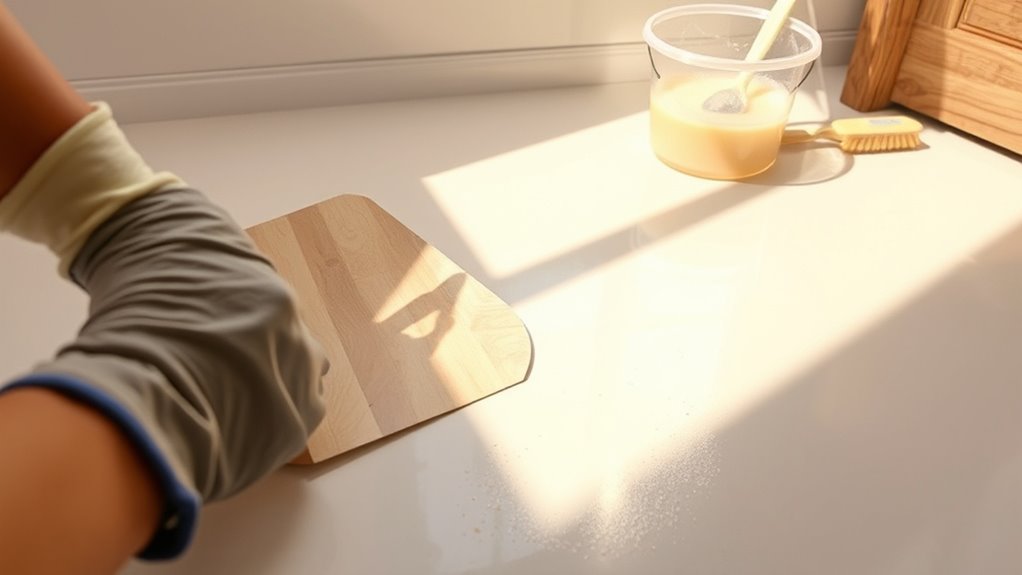
Once you’ve pulled up the vinyl, you’ll need to tackle any remaining adhesive and debris on the subfloor. Start residue removal by scraping off stubborn glue using a floor scraper or putty knife. For tougher adhesive, apply a commercial adhesive remover or a mixture of warm water and mild detergent. Let it sit briefly, then scrub with a stiff brush to loosen residue. Afterward, thoroughly rinse the area with clean water and dry it completely. Proper subfloor cleaning guarantees a smooth, secure base for your next flooring project and prevents future issues like bubbling or unevenness. Taking the time to remove all residue and clean the subfloor not only frees you from lingering mess but also sets the stage for a flawless finish.


