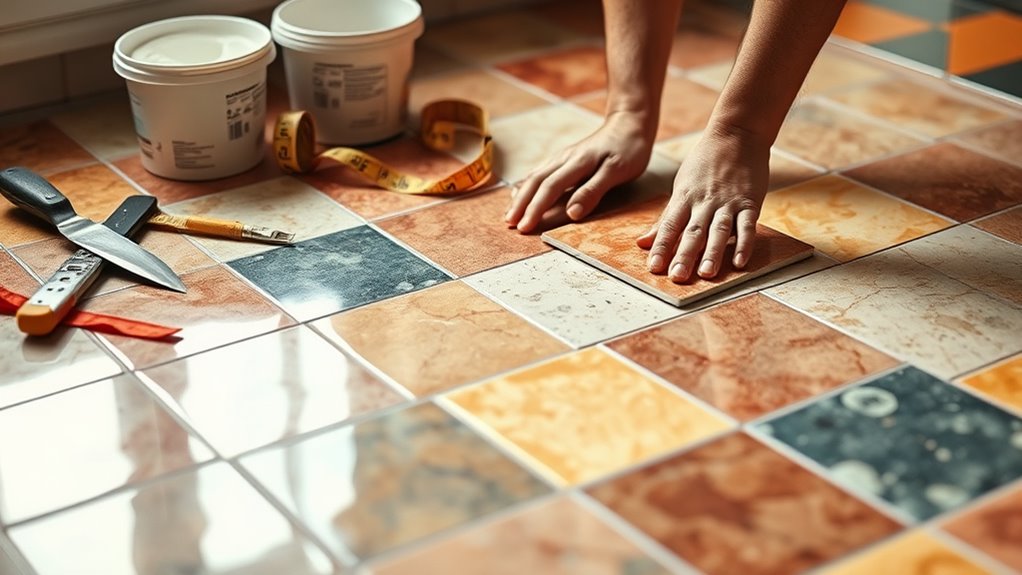
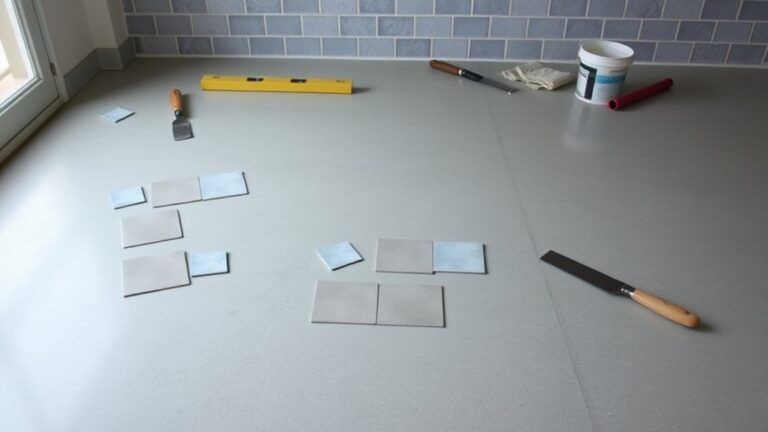
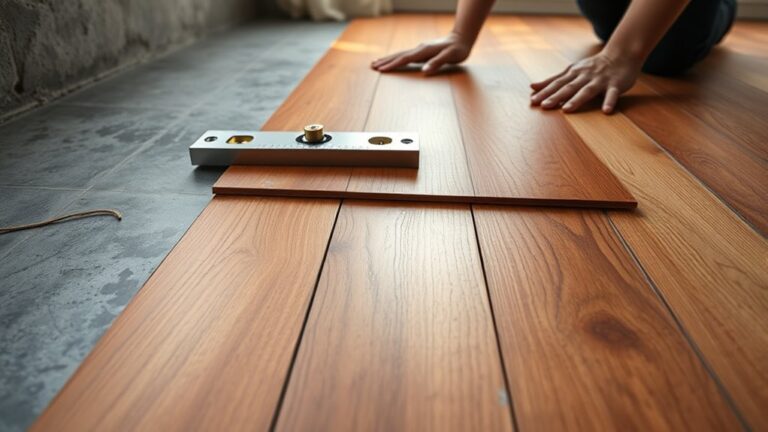
First, prepare your subfloor by cleaning and leveling it thoroughly. Next, plan your tile layout by measuring and marking center lines. Mix thinset mortar properly, then apply it evenly with a notched trowel. Begin laying tiles, pressing them firmly while using spacers for even gaps. Cut tiles to fit edges as needed. Let the mortar set for 24-48 hours. Finally, grout the tiles and seal the grout lines to protect against moisture. Follow these steps to master your tiling project with confidence.
Prepare the Subfloor for Tiling
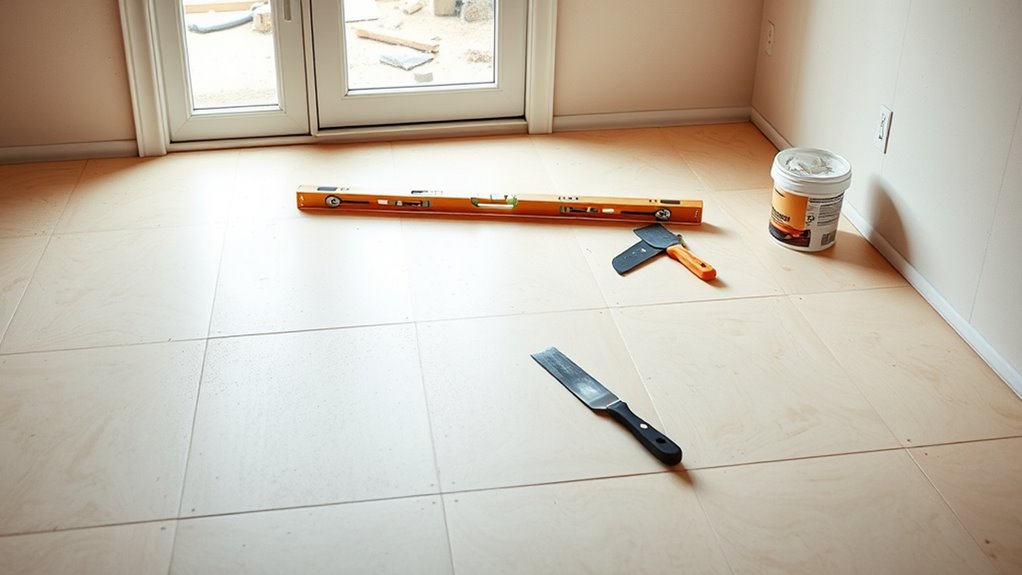
Before you begin laying tile, you need to ascertain the subfloor is clean, level, and structurally sound; any debris, unevenness, or damage can compromise the tile installation and lead to future problems. Start by identifying your subfloor type—plywood, concrete, or existing tile—since each requires specific preparation. For wooden subfloors, ascertain rigidity to prevent flexing, which can crack tiles. Concrete slabs must be free of cracks and cleaned thoroughly. Installing a moisture barrier is essential, especially over concrete, to prevent water damage and mold growth beneath your tiles. Use a polyethylene sheet or liquid-applied membrane depending on the area’s moisture exposure. Taking these methodical steps will give you a stable foundation, ensuring your tile floor remains durable and beautiful, giving you the freedom to enjoy your space without worry.
Plan Your Tile Layout
Once your subfloor is prepped and ready, the next step is to plan your tile layout carefully. This step guarantees your tile design complements the room dimensions and maximizes visual appeal. Start by measuring the room precisely and marking its center point. Then, decide on a tile pattern that suits your style and space. Here’s how to approach it methodically:
- Sketch the room’s dimensions to scale.
- Dry-lay tiles along the center lines to preview alignment.
- Adjust your starting point to avoid narrow cuts at walls.
- Consider grout line placement to maintain symmetry.
Planning your layout with precision lets you tile confidently, avoiding awkward cuts and guaranteeing your floor looks balanced and professional. This freedom in design makes installation smoother and the final result truly yours.
Mix and Apply Thinset Mortar
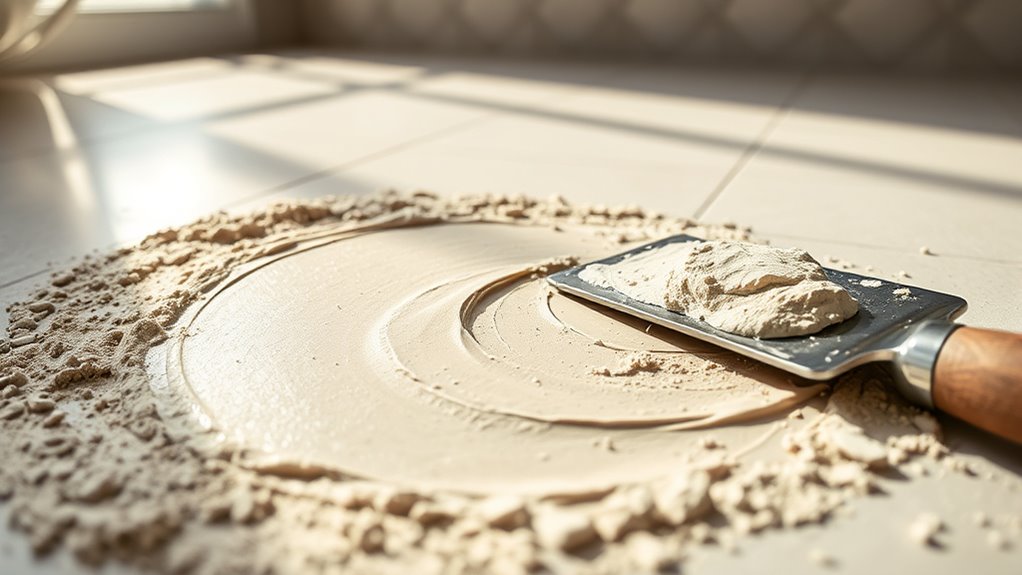
You’ll want to start by selecting the right thinset mortar for your tile and subfloor type. Mix it carefully to the manufacturer’s specifications, ensuring a smooth, lump-free consistency. Then, apply the thinset evenly with a notched trowel to create a strong, level bond for your tiles.
Choosing the Right Thinset
Although selecting the right thinset mortar might seem straightforward, choosing a product that matches your tile type and substrate is essential for a durable installation. You’ll need to understand thinset types and application techniques to guarantee your tile remains secure. Consider these factors when deciding:
- Type of tile: Porcelain, ceramic, or natural stone require different thinsets.
- Substrate material: Concrete, plywood, or backer board each demand specific adhesion properties.
- Environmental conditions: Moisture exposure or floor heating systems influence thinset choice.
- Flexibility and curing time: Choose thinset with appropriate flexibility and setting time for your project.
Mixing Thinset Properly
Selecting the right thinset sets the foundation, but proper mixing guarantees it performs as intended. Start by using clean water and following the manufacturer’s recommended ratio. Pour water into a clean bucket, then gradually add the thinset powder. Use appropriate mixing tools—preferably a drill with a paddle attachment—to avoid lumps and confirm an even blend. Your goal is to achieve the ideal thinset consistency: smooth, creamy, and not too runny. It should hold its shape without sagging when lifted with a trowel. Avoid adding extra water after mixing, as this weakens the bond. Let the mixture slake (rest) for about 5 to 10 minutes, then remix briefly before application. Mastering this step lets you work confidently, securing your tiles with lasting strength.
Applying Thinset Evenly
Spread the thinset carefully to create a consistent, even layer that guarantees strong adhesion and a level tile surface. Achieving the right thinset consistency is key—too thick, and it won’t spread well; too thin, and it won’t hold the tiles firmly. Use a notched trowel to apply the thinset evenly, holding it at a 45-degree angle to control thickness. For an ideal thinset application, focus on these essentials:
- Mix thinset to a peanut butter-like consistency.
- Apply thinset in manageable sections to prevent drying.
- Comb the thinset with the trowel’s notches in one direction.
- Check for uniform ridges to avoid lippage and uneven tiles.
Mastering this technique lets you lay tile with confidence and precision, ensuring freedom from future repairs.
Begin Laying the Tiles
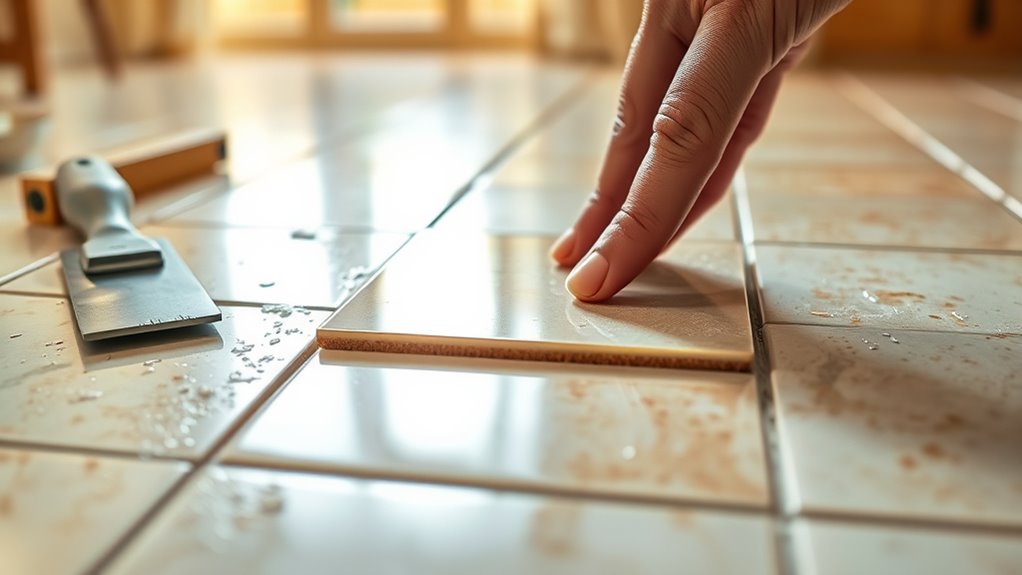
Start by applying a thin layer of mortar with a notched trowel, working in small sections to prevent it from drying out before you place the tiles. Choose your tile types wisely—ceramic, porcelain, or natural stone—each demands specific installation techniques. Press each tile firmly into the mortar, ensuring even contact and alignment along your guide lines. Use spacers to maintain consistent gaps for grout.
| Tile Types | Installation Techniques | Tips for Success |
|---|---|---|
| Ceramic | Spread mortar, press firmly | Use spacers for even gaps |
| Porcelain | Back butter for adhesion | Check level frequently |
| Natural Stone | Apply thinset evenly | Adjust quickly as needed |
| Mosaic | Use mesh backing | Press gently, no sliding |
Methodical placement frees you for a flawless finish.
Cut Tiles to Fit Edges and Corners
Once you’ve laid the main tiles with consistent spacing, you’ll need to cut tiles to fit along edges and corners where full tiles won’t fit. Tile cutting is essential for a clean, professional finish, especially for corner fitting. Here’s how to approach it:
- Measure the space precisely where the tile will fit.
- Mark the tile carefully using a pencil or marker.
- Use a tile cutter or wet saw for straight cuts; tile nippers for curves.
- Test fit the cut tile before setting it in mortar.
Allow Mortar to Set and Dry
After laying your tiles, you need to let the mortar set undisturbed for at least 24 to 48 hours to guarantee proper adhesion. Keep the area at a moderate temperature and avoid excess moisture, as these conditions help the mortar cure evenly. Rushing this step can compromise the strength and durability of your tile installation.
Drying Time Importance
While it might be tempting to rush ahead, allowing the mortar to fully set and dry is essential for ensuring your tile floor remains secure and durable. The drying time directly impacts tile adhesion, preventing future shifting or cracking. To respect this phase, keep these points in mind:
- Avoid walking on tiles during the drying time to maintain proper bonding.
- Keep the area free from dust, moisture, and vibrations that could disrupt mortar setting.
- Follow manufacturer-recommended drying durations, typically 24-72 hours.
- Resist the urge to grout or seal before the mortar is completely dry.
Ideal Curing Conditions
Although you might be enthusiastic to finish your project, guaranteeing ideal curing conditions is essential for the mortar to properly set and dry. Maintaining the right environment — specifically ideal temperature and controlled humidity levels — prevents cracking and guarantees a durable bond. Typically, temperatures between 65°F and 75°F work best, while relative humidity should stay around 50%. Avoid rushing this process; tiles need time to settle securely.
| Condition | Recommended Range |
|---|---|
| Temperature | 65°F – 75°F (18°C–24°C) |
| Humidity Levels | 40% – 60% |
| Drying Time | Minimum 24-48 hours |
| Avoidance | Direct sunlight & drafts |
Grout the Tiles and Seal the Floor
Once your tiles have firmly set, you’ll need to mix and apply the grout to fill the gaps between them. Choose grout types based on your floor’s exposure to moisture and wear—sanded for wider joints, unsanded for narrow ones. Apply grout with a rubber float, pressing firmly to fill every gap. After drying, clean off excess grout with a damp sponge.
Next, protect your floor using appropriate sealing methods. Seal grout lines to prevent staining and moisture infiltration. You can choose between:
- Penetrating sealers for natural look and breathability
- Membrane-forming sealers for surface protection
- Epoxy-based sealants for heavy-duty areas
- Reapplication frequency based on wear and manufacturer guidance
This step guarantees durability and keeps your floor looking fresh for years to come, granting you the freedom to enjoy your space without worry.

