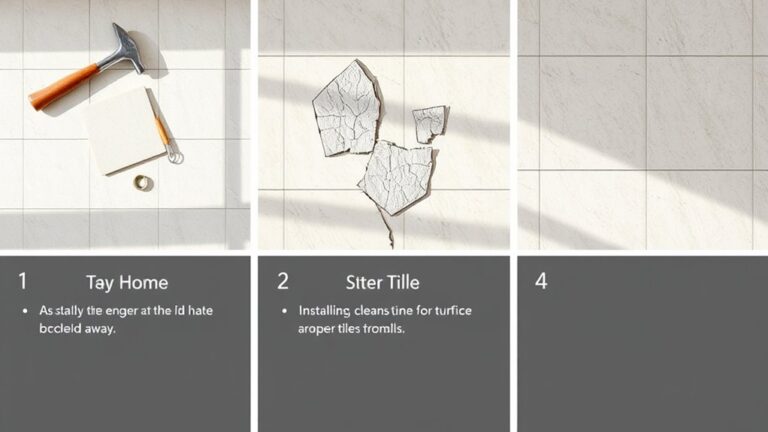
To remove grout from floor tiles in five easy steps, start by gathering tools like a grout saw, utility knife, stiff brush, and safety gear. Prepare your workspace by clearing furniture, covering nearby surfaces, and ensuring ventilation. Soften grout using warm water, vinegar, or commercial softeners suitable for your grout type. Carefully remove grout with steady pressure using manual or powered tools, avoiding tile damage. Finally, clean residue thoroughly and inspect joints for completeness. Further details will guide you through each step precisely.
Gather the Necessary Tools and Materials
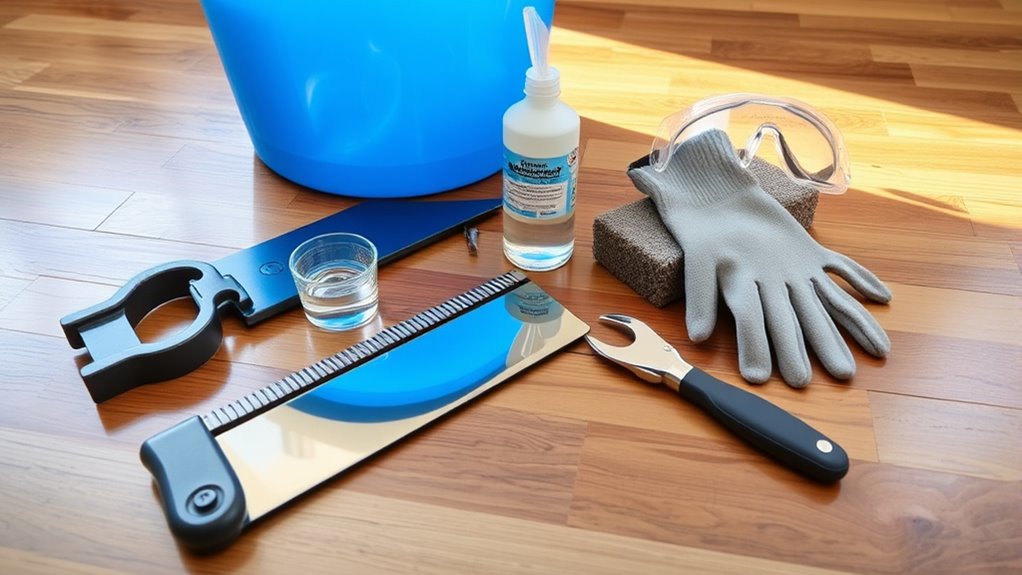
To effectively remove grout from floor tiles, you’ll need a specific set of tools and materials prepared in advance. Start by gathering a grout saw or a rotary tool with a grout removal attachment, essential for precision in grout removal techniques. Have a utility knife ready for any detailed trimming. You’ll also want a stiff-bristle brush to clear debris after grout removal. Safety gear, including gloves, goggles, and a dust mask, protects you during the process. Keep a vacuum or dustpan nearby to maintain a clean workspace. For tile maintenance tips, make certain you have a mild detergent and sponge to clean the tiles post-removal. Being methodical and prepared with these tools lets you work efficiently, giving you freedom from grout-related issues while preserving your tiles’ integrity.
Prepare the Work Area and Protect Surroundings
Once you have all your tools and safety gear ready, focus on preparing your work area to guarantee a controlled environment. Begin by clearing the floor tiles and removing any furniture or objects nearby to provide unobstructed access. Use plastic sheeting or drop cloths to cover adjacent surfaces and prevent dust or debris contamination. Secure the coverings with painter’s tape to maintain stability throughout the process. Ascertain adequate ventilation by opening windows or using fans, adhering to safety precautions for dust and chemical exposure. Keep a clear pathway for easy movement and emergency exit. Finally, set up proper lighting to enhance visibility and accuracy during grout removal. Meticulous preparation of the work area minimizes damage risk and promotes efficient, safe progress throughout your project.
Soften the Grout Using Appropriate Methods
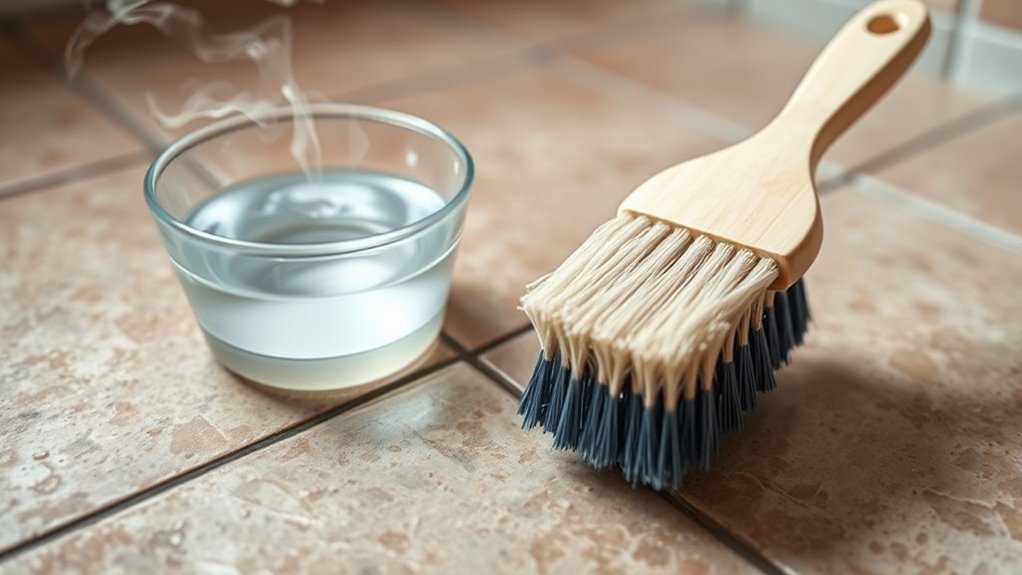
Although grout is designed to be durable, it can be softened effectively by applying the right techniques before removal. Start by selecting grout softening techniques suited to your grout type—cementitious or epoxy. For cement-based grout, apply effective cleaning solutions like a mixture of warm water and vinegar or a commercial grout softener, allowing it to penetrate for 10–15 minutes. Avoid overly acidic solutions on sensitive tiles. For epoxy grout, use specialized solvent-based softeners following manufacturer instructions. Always test your solution on a small, inconspicuous area first. After application, gently agitate the grout lines with a stiff brush to enhance softening. These precise steps will weaken grout bonds, making subsequent removal easier and reducing the risk of tile damage, thereby preserving your freedom to work efficiently and confidently.
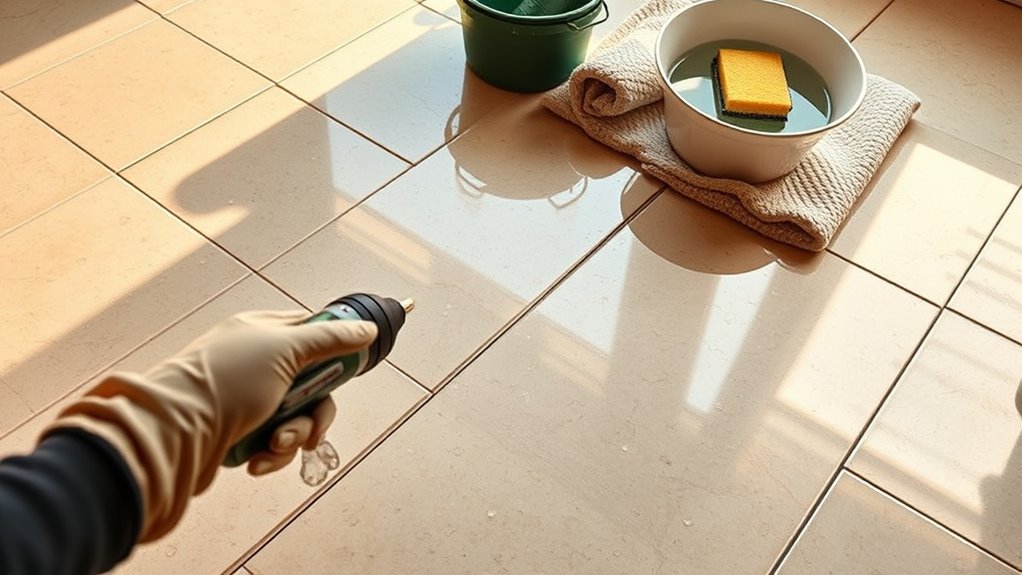
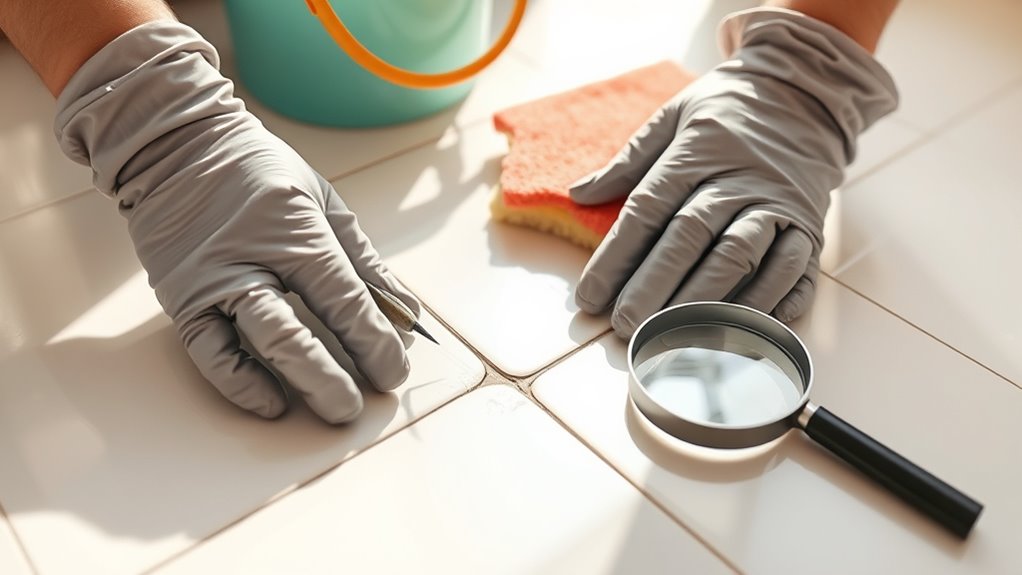
Remove the Grout Carefully Without Damaging Tiles
When you’ve sufficiently softened the grout, you’ll need to remove it carefully to prevent chipping or scratching the tiles. Start by selecting the appropriate grout removal techniques—manual removal using a grout saw or a multi-tool fitted with a grout removal blade offers precision and control. Work slowly along the grout lines, applying consistent pressure to avoid slipping onto the tiles. Maintain a steady hand and avoid aggressive scraping, which risks tile damage. Use a magnifying glass or good lighting to monitor progress closely. If using power tools, set them to a low speed and keep the blade perpendicular to the grout line. Prioritize tile damage prevention throughout the process, as damaged tiles limit your freedom to restore or replace grout seamlessly later.
Clean Up Residue and Inspect for Remaining Grout
Two critical steps follow grout removal: cleaning up residue and inspecting the area for any remaining grout. To guarantee a flawless finish, use effective cleaning techniques that won’t damage your tiles. Begin by sweeping or vacuuming loose debris. Then, employ a damp sponge with mild detergent to wipe away grout dust. Finally, inspect the joints meticulously under good lighting.
After grout removal, thoroughly clean residue and inspect joints to ensure a flawless tile finish.
Focus on these key actions:
- Use a soft brush or sponge for gentle residue removal.
- Apply a grout haze remover if stubborn residue persists.
- Carefully examine all grout lines for missed sections or uneven spots.