To remove old vinyl flooring in five easy steps, start by gathering tools like a utility knife, scraper, gloves, and adhesive remover. Clear and protect your room, and wear safety gear. Next, score the vinyl into sections with the knife, then gently peel it up using a putty knife. Apply adhesive remover to loosen stuck areas, then scrape off residue carefully. Finally, clean and inspect the subfloor for damage or moisture before installing new flooring. Keep going to find detailed tips for each step.
Gather Your Tools and Materials

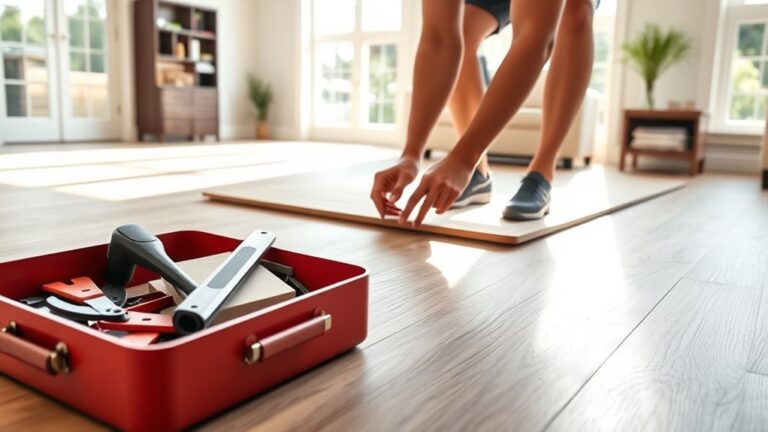
Before you begin removing old vinyl flooring, you’ll need to gather the right tools and materials to guarantee the job goes smoothly. Proper tool selection is essential; you’ll want a utility knife, pry bar, floor scraper, and a heat gun or hairdryer for loosening adhesive. Depending on your floor’s condition, a putty knife or chisel may also be helpful. For material types, consider disposable gloves, knee pads, and a dust mask to protect yourself during removal. Additionally, have heavy-duty trash bags ready for debris disposal. Choosing the appropriate tools and materials streamlines your work and reduces frustration, giving you the freedom to tackle this project efficiently. Once you’ve gathered everything, you’ll be well-prepared to proceed confidently with your vinyl floor removal.
Prepare the Room and Protect Yourself
Although removing old vinyl flooring can be messy, preparing the room and protecting yourself properly will make the process much safer and more manageable. Start with thorough room preparation by clearing furniture and covering vents to prevent dust spread. Next, focus on your safety gear—wear gloves, safety goggles, and a dust mask to shield against debris and potential allergens. Finally, guarantee good ventilation by opening windows or using fans to keep fresh air flowing.
Proper prep and protective gear make old vinyl flooring removal safer and more manageable.
- Remove all movable items and seal off adjacent rooms.
- Put on gloves, goggles, and a dust mask for protection.
- Ventilate the workspace to reduce dust inhalation.
Taking these steps gives you control, making removal easier and keeping hazards at bay.
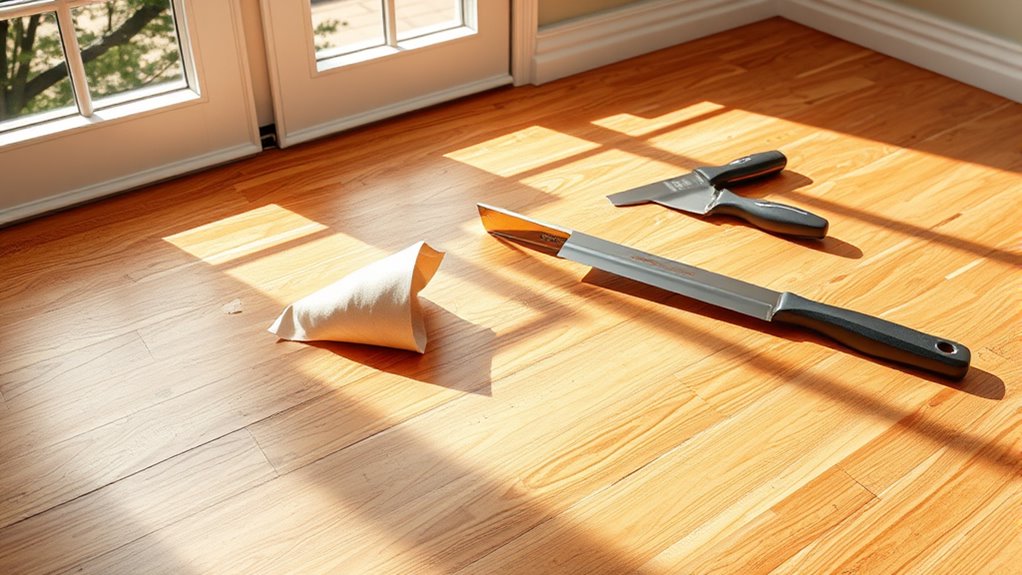
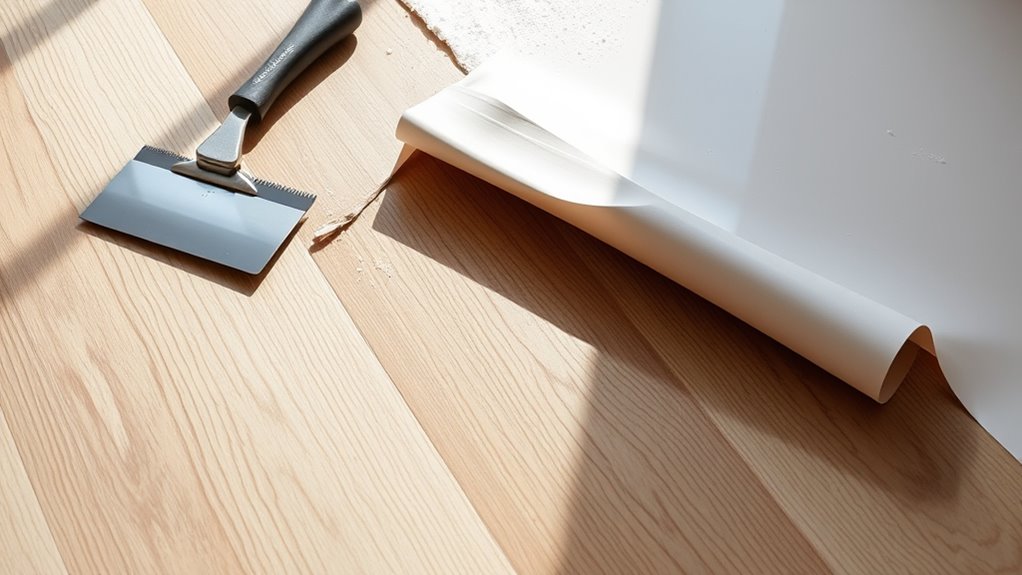
Score and Peel the Vinyl Flooring
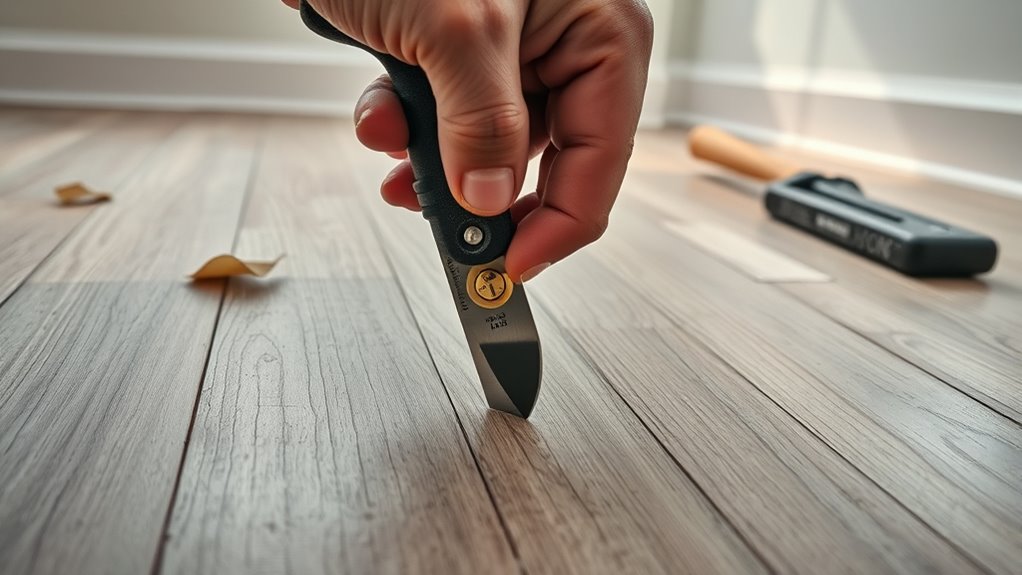
With the room prepared and your safety gear on, you’re ready to score and peel the vinyl flooring. Start by identifying the vinyl types—sheet vinyl requires different handling than vinyl tiles or planks. Use a utility knife to score the surface, creating manageable sections. Effective scoring techniques involve cutting deep enough to break the top layer without damaging the subfloor beneath. Work carefully along seams or natural breaks to ease peeling. For thicker or cushioned vinyl, scoring helps weaken the adhesive bond. Once scored, gently lift a corner using a putty knife or scraper, then slowly peel back the vinyl. Take your time, ensuring you don’t tear the material excessively. Proper scoring and peeling make the removal cleaner and faster, giving you the freedom to move on to your next project phase confidently.
Remove the Adhesive Residue
Once you’ve removed the vinyl flooring, you’ll need to tackle the adhesive residue left behind to guarantee a smooth surface for your next installation. Effective adhesive removal is key to residue cleanup without damaging the subfloor. Here’s how to proceed:
- Apply an adhesive remover: Use a commercial adhesive remover or a DIY solution like warm soapy water or vinegar. Let it sit to soften the residue.
- Scrape gently: Use a plastic scraper or putty knife to lift the softened adhesive. Avoid metal tools that could gouge the subfloor.
- Clean thoroughly: Wipe the area with a damp cloth to remove any leftover residue and solvent, ensuring the surface is ready for your next step.
This approach frees you from sticky messes and sets a clean foundation for your project.
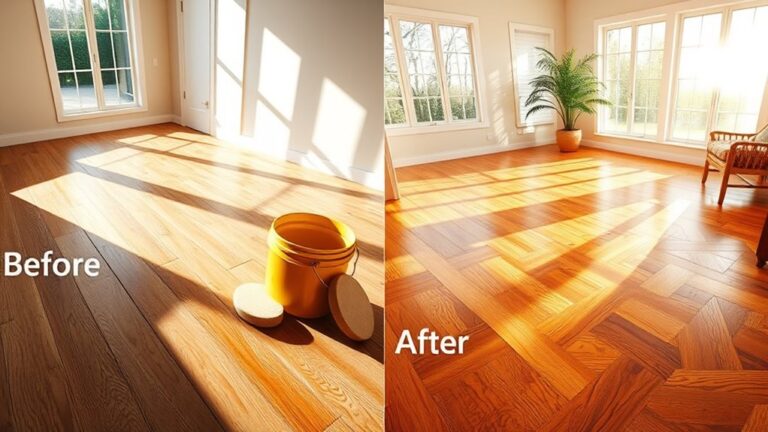
Clean and Inspect the Subfloor
Before installing new flooring, you’ll need to thoroughly clean and inspect the subfloor to confirm it’s in good condition. Start by sweeping and vacuuming to remove dust, debris, and any leftover adhesive. Then, examine the surface carefully for signs of subfloor damage, such as cracks, warping, or soft spots. Pay close attention to areas prone to moisture issues, especially if the flooring was in a bathroom or kitchen. Moisture can weaken the subfloor, leading to mold or structural problems. If you find any damage or moisture concerns, address them before proceeding. Repair or replace damaged sections, and verify the subfloor is completely dry. Taking these steps will give you a stable, clean foundation, confirming your new flooring lasts and performs well without unexpected problems down the line.