To remove floor tiles, first gather tools like a hammer, chisel, pry bar, and safety gear such as gloves and goggles. Clear the room and protect surfaces with drop cloths. Score grout lines using a grout saw to loosen tiles. Carefully tap and pry tiles up with a chisel and hammer, working methodically to avoid damage. Dispose of debris properly and inspect the subfloor for repairs. If you keep going, you’ll uncover detailed steps to simplify this process even further.
Gather Necessary Tools and Safety Gear
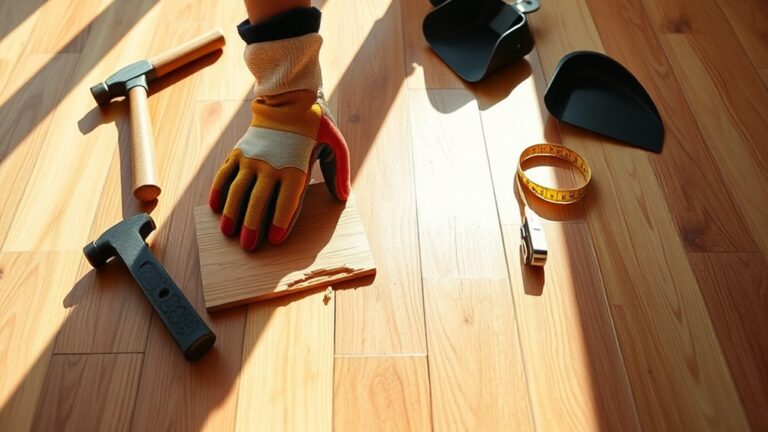
Before you begin removing tiles from the floor, you’ll need to gather a specific set of tools and safety gear to guarantee the process goes smoothly and safely. Essential tools include a sturdy chisel, hammer, putty knife, and a pry bar—each designed to help you execute tile removal techniques efficiently. You’ll also want a power scraper or oscillating tool for tougher spots. Safety gear is non-negotiable: wear heavy-duty gloves to protect your hands, safety goggles to shield your eyes from flying debris, and a dust mask to prevent inhalation of dust particles. Proper footwear with slip-resistant soles guarantees stability. Having these essential tools and safety items at your disposal empowers you to work confidently and methodically, clearing the way for a successful tile removal project.
Prepare the Work Area
Before you start removing tiles, clear all furniture from the room to create an unobstructed workspace. Use drop cloths or plastic sheeting to protect adjacent surfaces from dust and debris. Make sure your safety gear is within reach so you can put it on immediately before beginning.
Clear Furniture First
To prepare the work area effectively, start by removing all furniture and objects from the floor you plan to tile. This step clears the space, allowing you to move freely and work without obstacles. Assess your current furniture arrangement and decide where to temporarily relocate items, ensuring they won’t hinder your workspace or pose a safety risk. Use space utilization strategies to optimize storage—stack smaller pieces or place furniture in adjacent rooms. Label delicate or heavy items for careful handling later. By methodically clearing and organizing the area, you’ll create a clutter-free environment that supports efficient tile removal. This freedom to move and focus on the task will reduce frustration and speed up your project, setting a solid foundation for the steps that follow.
Protect Surrounding Surfaces
Although clearing the furniture creates space to work, you’ll need to protect the surrounding surfaces to prevent damage during tile removal. Start by identifying vulnerable areas like baseboards, adjacent walls, and nearby flooring. Employ effective tile protection methods such as laying down thick drop cloths or heavy-duty plastic sheeting secured with painter’s tape. For edges and corners, use foam corner protectors or cardboard strips to absorb accidental impacts. Surface safeguarding techniques also include covering electrical outlets and vents to avoid dust infiltration. Guarantee all protective materials are firmly in place and overlap to provide continuous coverage. By methodically applying these precautions, you minimize the risk of scratches, dents, or dust damage, preserving your space’s integrity while giving yourself the freedom to work confidently throughout the tile removal process.
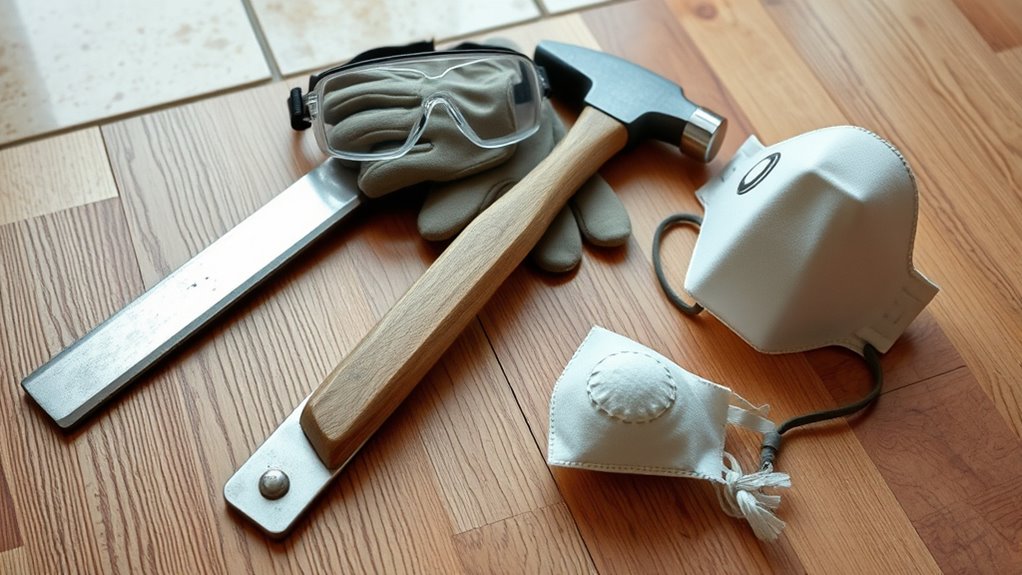
Gather Safety Gear
Three essential pieces of safety gear you’ll need for tile removal are goggles, gloves, and a dust mask. First, safety goggles protect your eyes from sharp tile shards and dust. Next, protective gloves shield your hands from cuts and abrasions. Ultimately, a dust mask prevents inhalation of fine particles stirred up during removal. Before starting, gather these items:
- Safety goggles to shield your eyes effectively
- Durable protective gloves for hand safety
- A high-quality dust mask for respiratory protection
Wearing this gear guarantees your freedom to work confidently and safely. Don’t skip these steps; they’re critical for preventing injury and maintaining control throughout the process. Preparing your safety gear is the foundation for a smooth, hazard-free tile removal.
Remove Baseboards and Trim
To remove baseboards and trim, gather tools like a pry bar, putty knife, and hammer to avoid damaging the walls. Start by gently detaching the baseboards, working slowly to prevent cracking or splitting the wood. Pay special attention when handling corner trim, as these pieces often require careful maneuvering to remove cleanly.
Tools Required
Before you begin removing baseboards and trim, you’ll need a few essential tools to guarantee the process goes smoothly and minimizes damage. Selecting the right tools is vital, especially when considering tile removal techniques and the flooring surface types involved. You’ll want instruments that protect your walls and floors while allowing precise detachment.
Key tools include:
- Pry bar or crowbar: For gently lifting trim without splintering wood or damaging drywall.
- Putty knife or paint scraper: To carefully loosen caulk or paint seals along edges.
- Hammer with a trim puller attachment: Provides controlled force when prying stubborn sections.
Having these tools ready guarantees you maintain control and preserve surrounding surfaces, enabling a clean, efficient start to your tile removal project.
Detaching Baseboards Carefully
One key step in preparing your floor for tile removal is detaching the baseboards carefully to avoid damaging both the trim and the wall. Begin by scoring the paint line where the baseboard meets the wall with a utility knife to loosen any sealant. Next, use baseboard tools like a pry bar and putty knife to gently create a gap behind the trim without cracking the drywall. Insert the putty knife first to protect the wall, then gradually work the pry bar deeper, applying steady pressure. Move along the length of the baseboard, releasing nails or adhesive methodically. Take your time; careful baseboard removal preserves the trim for reuse and prevents costly repairs. With precise technique, you maintain control and protect your freedom to restore the space as you wish.
Handling Corner Trim
Although corner trim can be tricky to remove, handling it carefully guarantees you avoid damaging adjacent walls and flooring. Start by identifying the corner trim types and materials—wood, metal, or plastic—as each requires a specific approach. Use a utility knife to score caulk or paint along edges, preventing wall damage. Gently pry the trim away with a putty knife or pry bar, applying even pressure.
- Assess corner trim materials to select proper tools.
- Score edges with a utility knife to loosen adhesives.
- Pry slowly, supporting walls and floors from stress.
Taking these methodical steps ensures you maintain the integrity of surrounding surfaces, giving you the freedom to proceed confidently with tile removal.
Score the Grout Lines
Start by carefully scoring the grout lines between the tiles using a grout saw or a rotary tool with a grout removal attachment. This step is essential for effective grout removal and guarantees the tiles can be lifted with minimal damage, making tile replacement smoother. Work methodically along each line, applying steady pressure to avoid slipping or damaging adjacent tiles. Patience here grants you freedom in the next steps.
| Tool Type | Best Use Case |
|---|---|
| Grout Saw | Manual, precise control |
| Rotary Tool | Faster, for larger areas |
| Grout Removal Bit | Efficient grout removal |
Mastering this step prevents unnecessary breakage, saving time and effort in your tile replacement journey.
Loosen Tiles With a Hammer and Chisel
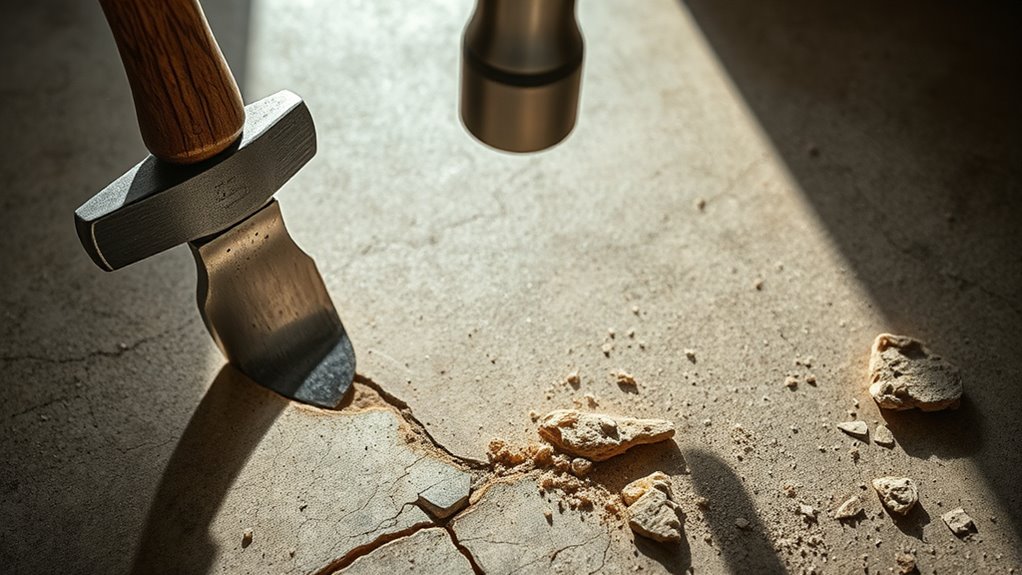
You’ll need a sturdy hammer and a flat chisel with a sharp edge to start loosening the tiles effectively. Before you begin, make sure to wear safety goggles and gloves to protect yourself from flying debris and sharp edges. Position the chisel at the grout line or tile edge, then tap gently with the hammer to avoid cracking surrounding tiles.
Selecting Proper Tools
Three essential tools you’ll need to loosen tiles effectively are a hammer, a chisel, and protective gear. Choosing the right tools is important in mastering tile removal techniques and ensuring efficiency. For tool selection tips, focus on quality and suitability for the job. A sturdy hammer with a comfortable grip lets you control force precisely. Select a chisel with a sharp, flat edge designed for prying tiles without damaging the underlying surface. Protective gear, such as gloves and safety glasses, is essential to shield you from debris during removal.
- Claw hammer with balanced weight for controlled strikes
- Flat chisel with hardened steel blade for effective tile loosening
- Durable gloves and impact-resistant safety glasses for protection
These choices empower you to work freely and methodically.
Safety Precautions
Before you begin loosening tiles with a hammer and chisel, it’s essential to follow specific safety precautions to protect yourself from injury. Start by equipping yourself with the safety gear essentials: sturdy gloves to shield your hands from sharp edges, safety goggles to protect your eyes from flying debris, and a dust mask to prevent inhaling dust particles. Verify your work area is well-ventilated and clear of obstacles to maintain freedom of movement. When using tile removal techniques, always position the chisel at a low angle to avoid slipping and apply controlled taps with the hammer. Take frequent breaks to prevent fatigue, which can compromise safety. By methodically adhering to these precautions, you’ll minimize risks and work efficiently while enjoying the freedom to transform your space.
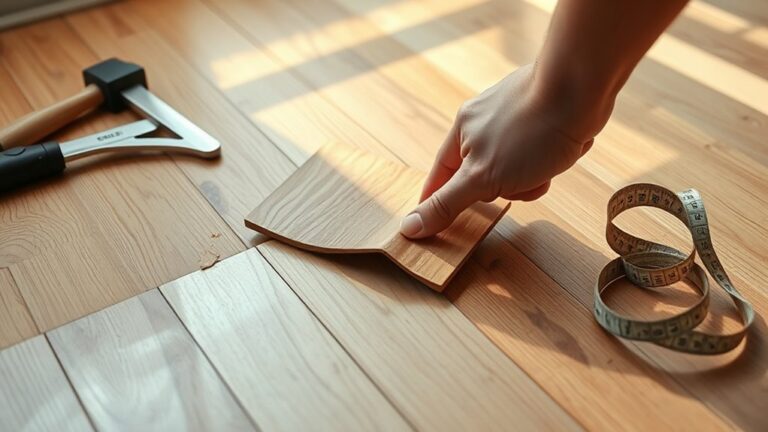
Pry Up Tiles Carefully
Start by loosening the grout around the tiles using a grout saw or rotary tool to minimize damage to adjacent tiles. This step is essential for effective tile removal techniques and tile damage prevention. Next, gently insert a flat pry bar or putty knife under the edge of a tile. Apply steady, controlled pressure to lift the tile without cracking it or harming the surrounding surface. Remember to:
- Work slowly and methodically to avoid sudden breaks
- Use protective gloves to safeguard your hands
- Keep the tools angled to maximize leverage and reduce tile stress
Dispose of Removed Tiles Properly
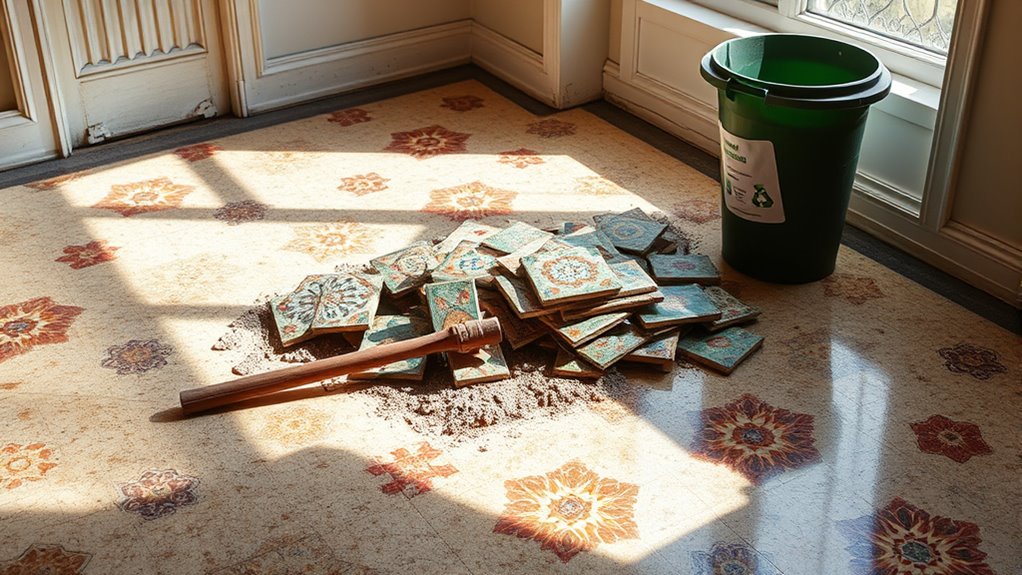
Once you’ve carefully pried up the tiles, handling their disposal correctly will help keep your workspace safe and organized. First, check local waste disposal regulations to avoid penalties. Explore tile recycling options—many facilities accept ceramic or porcelain tiles, reducing landfill waste. Separate broken tiles from whole ones; some centers require this for processing. Use sturdy containers to transport tiles safely.
| Emotion | Action | Outcome |
|---|---|---|
| Relief | Follow regulations | Avoid fines |
| Empowerment | Choose recycling options | Protect environment |
| Confidence | Sort tiles methodically | Simplify disposal |
| Control | Use proper containers | Prevent injury |
| Freedom | Dispose responsibly | Maintain workspace |
Clean Residual Adhesive and Mortar
Although removing the tiles clears the surface, you’ll still need to tackle the stubborn adhesive and mortar left behind to guarantee a smooth, clean base for any new flooring. Effective adhesive removal techniques involve using a putty knife or scraper to gently chip away at the residue without damaging the subfloor. For mortar cleaning tips, consider these steps:
Removing tiles is just the start—scrape off adhesive and soften mortar for a smooth, ready surface.
- Soften hardened mortar with a warm water soak or a mild acid solution, like diluted vinegar.
- Use a stiff-bristled brush to scrub away loosened mortar patches.
- Employ a floor sander or grinder for stubborn spots, but proceed carefully to avoid over-sanding.
Inspect and Repair the Subfloor
After thoroughly removing adhesive and mortar residues, it’s important to carefully inspect your subfloor for any damage or uneven areas. Begin your subfloor inspection by running your hand over the surface to detect rough spots, cracks, or weak sections. Use a flashlight at a low angle to highlight imperfections. Check for moisture damage or rot, especially if you had water issues before. Once identified, subfloor repair is essential to guarantee stability and longevity of your new flooring. Small cracks can be filled with patching compound, while soft or damaged sections may require cutting out and replacing with new plywood or cement board. Taking the time for a thorough subfloor inspection and precise subfloor repair assures a smooth, durable foundation ready for your next flooring project.
Prepare the Floor for New Flooring Installation
Begin by thoroughly cleaning the subfloor to remove any dust, debris, or leftover adhesive particles that could interfere with the new flooring’s adhesion. Next, verify the surface is level and smooth, as unevenness can compromise installation techniques and the durability of your flooring options. Address any imperfections using a suitable leveling compound.
Before installation, consider the specific requirements of your chosen flooring options. Different materials may require distinct underlayments or moisture barriers. Prepare the floor accordingly:
- Remove any nails, staples, or protrusions to avoid damage.
- Apply a primer or sealer if recommended to enhance adhesion.
- Allow the subfloor to dry completely to prevent mold or warping.