To remove a toilet from the floor, first gather tools like a wrench, screwdriver, and gloves. Next, shut off the water supply and flush to drain the tank and bowl, soaking up any leftover water. Then, disconnect the water line and unscrew the bolts securing the toilet. Carefully rock and lift the toilet straight up to avoid damage. Finally, clean the flange area and prep it for installation. Follow these steps precisely, and you’ll be ready for a smooth replacement process.
Gather the Necessary Tools and Materials
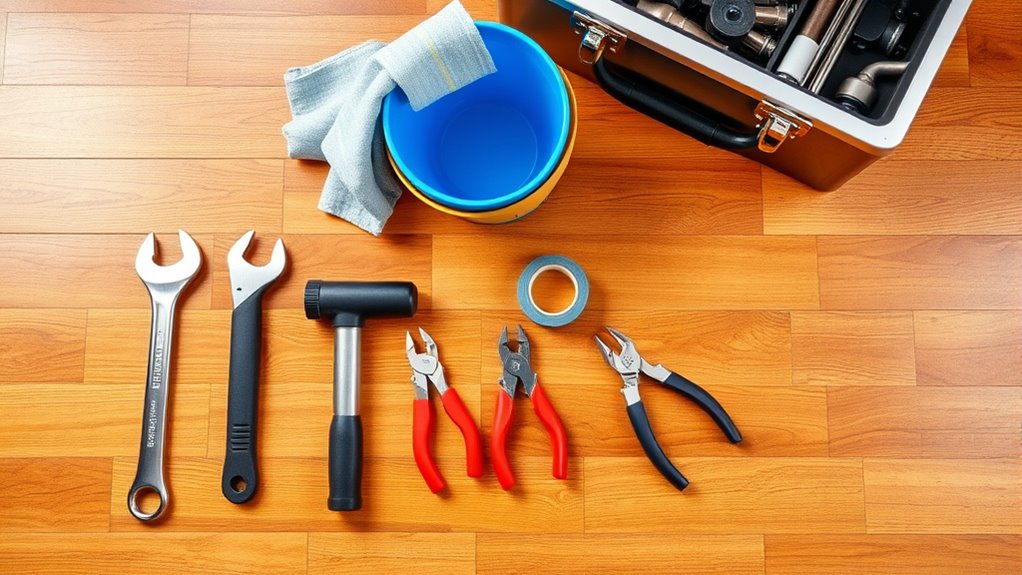
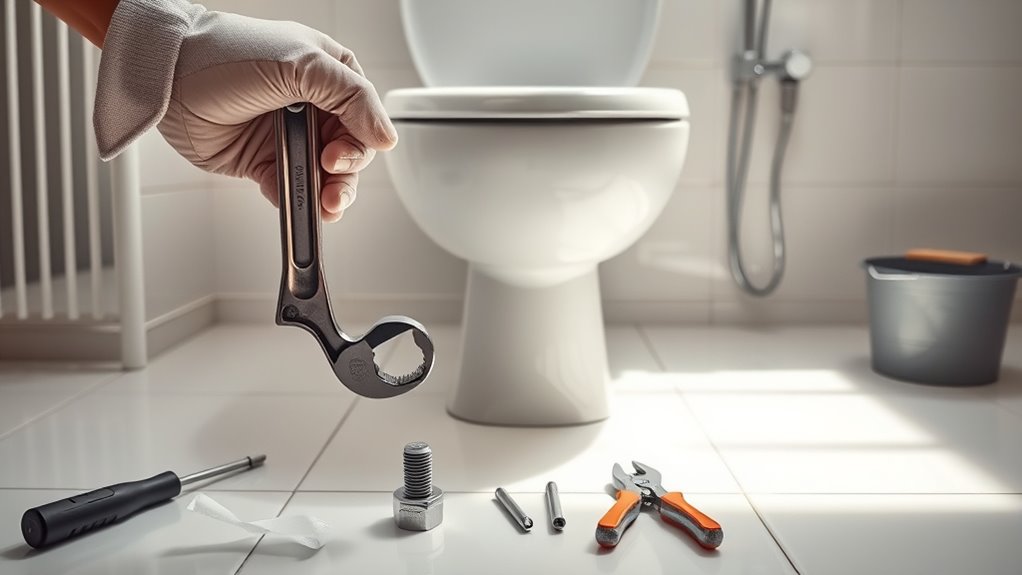
Before you begin removing the toilet, you’ll need to gather a specific set of tools and materials to guarantee the job goes smoothly. Essential tool types include an adjustable wrench, a putty knife, a screwdriver, and a utility knife. A bucket and sponge will help manage residual water. Safety precautions are critical: wear gloves to protect your hands and safety goggles to shield your eyes from debris and splashes. It’s also wise to have old towels or rags on hand to absorb any spills. Ensuring you have all necessary materials and observing safety precautions upfront will save time and avoid hazards. Preparing thoroughly grants you the freedom to work efficiently and confidently, minimizing interruptions during the removal process.
Shut Off the Water Supply and Drain the Toilet
Once you’ve gathered your tools and prepared the area, the next step is to shut off the water supply to the toilet. Locate the shut-off valve, usually found near the base of the toilet, and turn it clockwise until it stops. This halts water flow, preventing leaks during removal. Next, flush the toilet to drain the tank and bowl, minimizing residual water inside. Use a sponge or towel to soak up any remaining water in the bowl and tank for a dry workspace. Properly shutting off the water supply and draining the toilet is crucial for effective toilet maintenance and guarantees a clean, safe process. This step frees you to proceed confidently without water spills or damage.
Disconnect the Water Line and Remove the Toilet Bolts
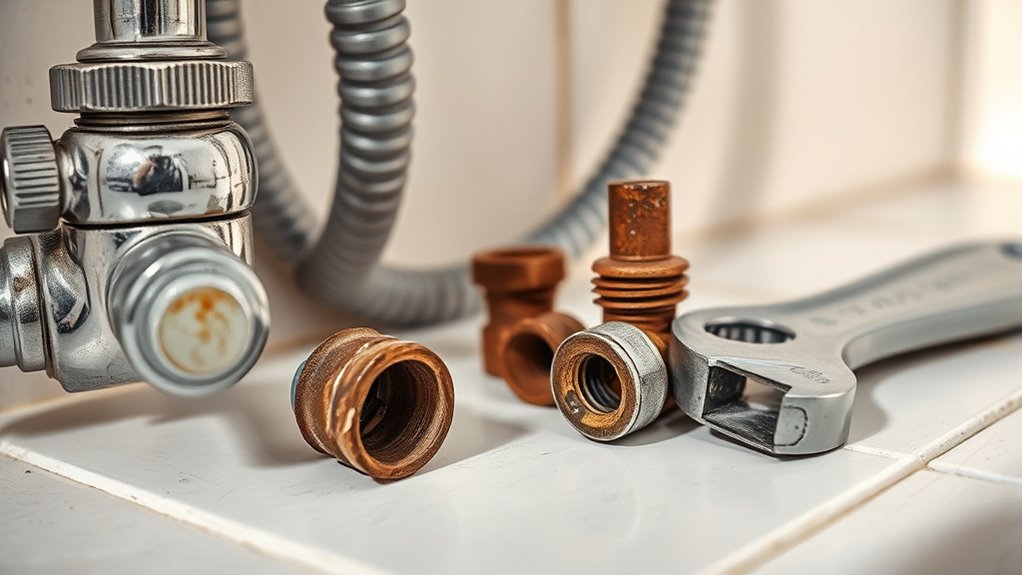
Two key steps come next: disconnecting the water line and removing the toilet bolts. Start by locating the water line connected to the toilet tank. Using an adjustable wrench, carefully loosen the coupling nut where the water line meets the fill valve. Be prepared for a small amount of water to drip. Once detached, move on to the toilet bolts securing the base to the floor. These are usually covered by caps; pry them off if needed. Use a wrench or socket set to unscrew the nuts. Keep these bolts and washers handy if you plan to reinstall the toilet. Removing the water line and toilet bolts frees the fixture, setting you up for the final removal step.
Lift and Remove the Toilet From the Floor
After disconnecting the water line and removing the toilet bolts, you’re ready to lift the toilet off the floor. Begin by rocking the toilet gently side to side to break the seal created by the wax ring. Use proper toilet removal techniques by gripping the bowl firmly near the base, then lift straight up to avoid damaging the flange or floor. If the toilet feels stuck, don’t force it; instead, apply slight rocking motions until it loosens. Once free, carefully set the toilet aside on a protective surface to prevent damage. Remember, these steps align with effective toilet installation tips, ensuring a smooth shift between removal and replacement. Mastering this process grants you the freedom to maintain or upgrade your bathroom efficiently.
Clean the Area and Prepare for Installation
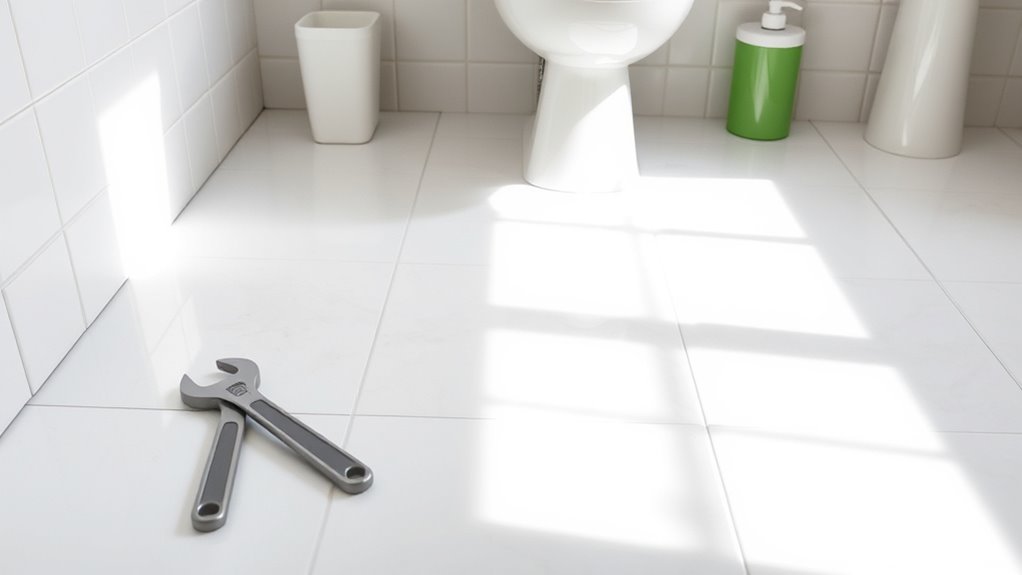
Before installing your new toilet, start by thoroughly cleaning the flange and surrounding floor area. Use appropriate cleaning supplies—like a stiff brush, mild detergent, and disinfectant—to remove old wax residue, dirt, and debris. This confirms a proper seal and prevents leaks. Inspect the flange for damage; replace or repair it if necessary to maintain stability. Protect the floor during this process by laying down floor protection materials, such as a drop cloth or cardboard, especially if you’re working with delicate flooring. Once clean and dry, position a new wax ring or gasket on the flange to prepare for installation. Taking these precise steps assures a secure, leak-free toilet setup and helps you maintain your freedom from future plumbing issues.