Start by inspecting the floor for stains and odors, marking affected spots. Blot up any fresh urine using a clean cloth without rubbing. Use an enzyme-based cleaner to break down urine molecules, letting it sit for 10–15 minutes, then rinse with plain water and dry thoroughly. For lingering smells, sprinkle baking soda and leave it overnight before vacuuming. If stains persist, gentle sanding might be needed. Following this methodical approach guarantees a fresher floor, with deeper techniques available for tougher cases.
Assess the Extent of the Urine Stain
Before you begin cleaning, how can you be certain of the stain’s size and severity? Start with thorough stain detection by visually inspecting the wood floor under natural light. Look for discoloration, warping, or darkened areas that indicate urine penetration. Next, perform an odor evaluation by sniffing close to the floor surface to detect lingering ammonia or sour smells, which reveal deeper contamination. Use a blacklight in a darkened room to identify hidden urine spots invisible to the naked eye. Mark affected areas to gauge the extent precisely. This methodical evaluation guarantees you don’t miss any hidden stains or odors, allowing you to tailor your cleaning approach effectively. By accurately estimating the stain’s scope, you maintain control and freedom in restoring your floor’s freshness.
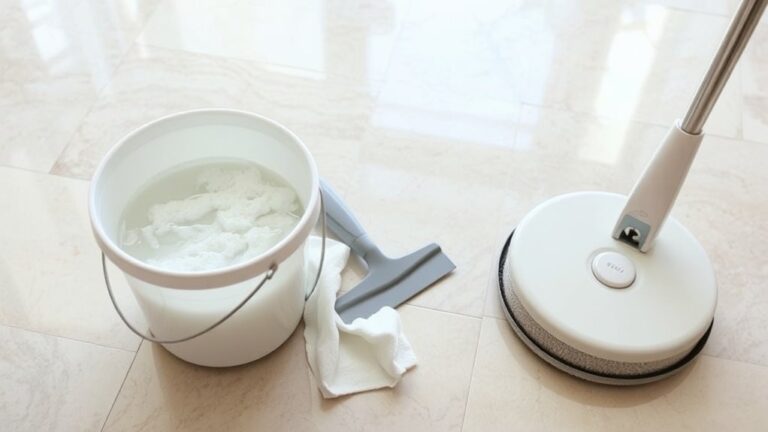
Gather Necessary Cleaning Supplies
Effective removal of urine odor from wood floors starts with gathering the right cleaning supplies tailored to the task. Begin by collecting essential cleaning tools such as microfiber cloths, a soft-bristle brush, and a spray bottle for targeted application. You’ll also need a pH-neutral wood cleaner to protect the flooring’s finish while breaking down residues. Significantly, select odor neutralizers designed specifically for organic stains; enzymatic cleaners work best because they break down urine molecules rather than masking smells. Avoid harsh chemicals that can damage wood or leave harmful residues. Having gloves on hand protects your skin, and a bucket will assist in diluting solutions if necessary. Organizing these supplies beforehand guarantees you move efficiently through each cleaning step, freeing you to restore your floor without unnecessary interruptions or risks.
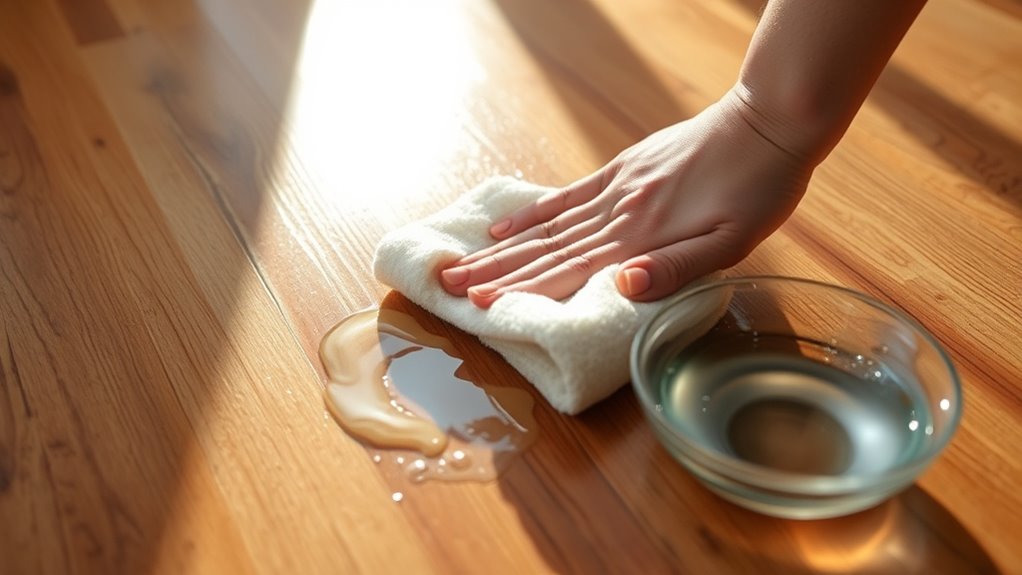
Blot Up Excess Urine Immediately
When urine spills on your wood floor, you’ll want to blot it up immediately to prevent the liquid from seeping deeper into the wood grain and causing lasting damage. Use clean, absorbent cloths and apply gentle blotting techniques—don’t rub, as that pushes urine further. Different urine types, such as fresh or dried, require swift action; fresh urine is easier to absorb and clean, while dried urine may have already penetrated the surface.
| Urine Type | Recommended Blotting Technique |
|---|---|
| Fresh | Use dry cloth, press firmly once |
| Dried | Slightly damp cloth, blot repeatedly |
| Pet Urine | Absorb quickly, avoid spreading |
| Human Urine | Immediate blot with multiple cloths |
Act fast to maintain your wood floor’s integrity and freedom from odors.
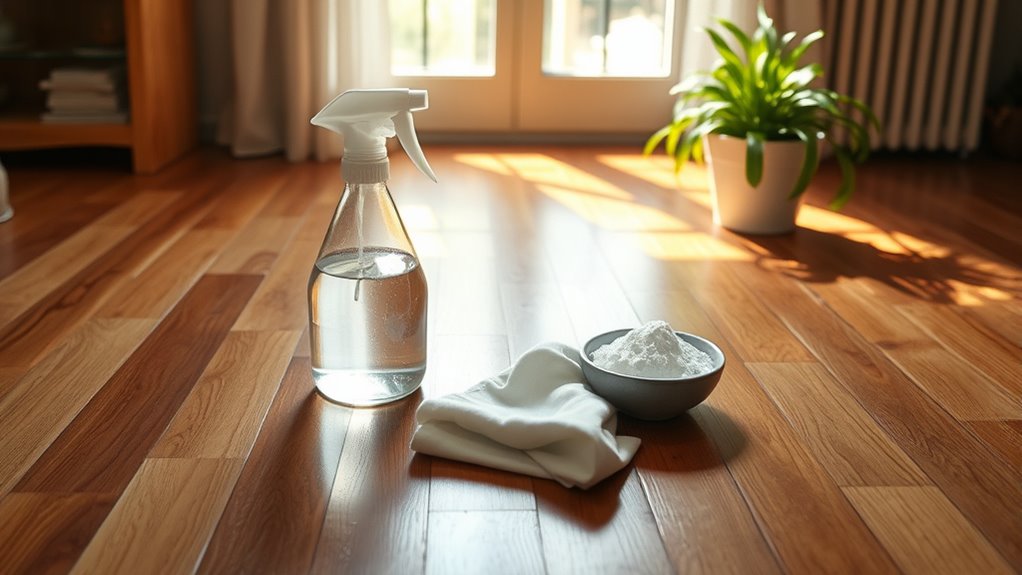
Prepare a Mild Cleaning Solution
You’ll want to select cleaning ingredients that are gentle on wood, such as diluted white vinegar or mild dish soap. Carefully measure and mix the solution to guarantee it’s properly balanced and won’t damage the floor’s finish. Avoid harsh chemicals or concentrated cleaners that could strip or discolor the wood.
Choose Safe Cleaning Ingredients
Although it might be tempting to reach for harsh chemicals, selecting safe cleaning ingredients is essential to protect your wood floors from damage while effectively removing urine odor. Opt for natural ingredients and safe alternatives that won’t erode the finish or discolor the wood. Here’s a clear comparison of suitable options:
| Ingredient | Purpose | Safety Notes |
|---|---|---|
| White vinegar | Odor neutralizer | Dilute to avoid finish damage |
| Baking soda | Absorbs odors | Non-abrasive, safe on wood |
| Mild dish soap | Cleans surface dirt | Use sparingly, rinse well |
| Hydrogen peroxide | Stain remover | Test small area first |
| Essential oils | Adds fresh scent | Use a few drops only |
These natural ingredients provide effective, safe alternatives that preserve your floor’s integrity while freeing your space from urine odor.
Mix Solution Properly
Since using the right proportions of ingredients is essential, you should carefully measure and mix your cleaning solution to confirm it’s effective without harming your wood floors. Begin by selecting a mild detergent or enzymatic cleaner, then follow recommended solution ratios precisely—typically one tablespoon per quart of warm water. Use accurate measuring tools like graduated cups to confirm exact amounts. When combining ingredients, apply gentle mixing techniques such as stirring slowly with a clean spoon or whisk to blend thoroughly without creating excessive bubbles. Avoid shaking vigorously, which can alter the solution’s consistency. Preparing your solution methodically confirms it penetrates the wood grain effectively, neutralizing urine odor while preserving the floor’s finish. By mastering these mixing techniques and adhering to proper solution ratios, you maintain your freedom to clean safely and efficiently.
Gently Clean the Affected Area
Before applying any cleaning solution, make sure to blot the urine stain gently with a clean, absorbent cloth to remove as much liquid as possible without spreading it further. Once blotting is complete, select the appropriate cleaning tools—usually a soft-bristle brush or a microfiber cloth—to avoid scratching the wood surface. Use gently scrubbing techniques, applying minimal pressure in circular motions to lift residue without damaging the finish. Avoid harsh abrasives or excessive moisture, which can warp or discolor the wood. Work methodically across the affected area, ensuring all spots are addressed evenly. After scrubbing, immediately dry the surface with a dry cloth to prevent moisture absorption. This precise approach helps maintain your wood floor’s integrity while effectively preparing it for the next treatment step.
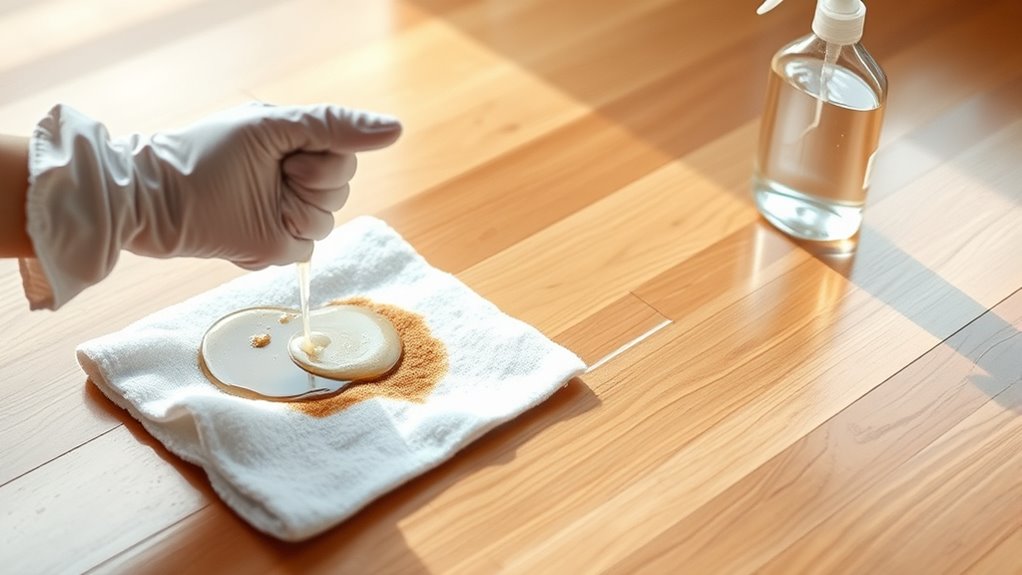
Use an Enzyme Cleaner to Break Down Odors
To effectively neutralize urine odors on wood floors, you’ll want to use an enzyme cleaner that breaks down the organic compounds causing the smell. Choose a product specifically designed for pet urine or organic stains to guarantee it contains the right enzymes. Apply the cleaner thoroughly, following the recommended contact time to allow the enzymes to work fully before wiping or drying.
How Enzymes Work
Understanding how enzymes work is key to effectively eliminating urine odor from wood floors. Enzymes are biological catalysts that speed up chemical reactions without being consumed. In the context of cleaning, the enzyme function targets organic molecules in urine—like proteins, urea, and uric acid—and breaks them down into simpler, odorless components. Cleaning enzymes specifically designed for this purpose penetrate deep into wood pores, reaching residues traditional cleaners can’t. By decomposing the source of the odor at a molecular level, enzymes prevent the smell from returning. When you apply an enzyme cleaner, you’re fundamentally releasing a natural process that eradicates odors rather than masking them. This precise biochemical action offers you freedom from persistent, unpleasant smells on your wood floors, ensuring a thorough and lasting clean.
Choosing the Right Cleaner
Selecting the right cleaner is essential when tackling urine odor on wood floors, and enzyme-based cleaners stand out as the most effective choice. These cleaners use natural enzymes to break down urine molecules, eliminating odors rather than masking them. When evaluating products, focus on those specifically formulated for pet or organic stains, as their cleaning techniques target uric acid crystals deep in wood pores. Avoid harsh chemicals that can damage wood finishes. Comparing enzyme cleaners involves checking ingredients, pH balance, and user reviews to ascertain effectiveness and wood safety. By choosing a high-quality enzyme cleaner, you guarantee a thorough, lasting odor removal that preserves your floor’s integrity. This informed selection empowers you to regain control over your space and maintain a fresh, odor-free environment.
Application Tips and Timing
Once you’ve chosen a high-quality enzyme cleaner, applying it correctly and at the right time will maximize its odor-eliminating power. Proper application timing guarantees the enzymes break down urine molecules effectively, freeing you from persistent smells. Follow these precise steps:
- Apply the cleaner immediately after spotting the urine to prevent deep absorption.
- Saturate the area thoroughly, allowing enzymes to penetrate wood pores.
- Let the cleaner sit undisturbed for the recommended time, typically 10–15 minutes, to maximize breakdown.
- Repeat the process according to cleaning frequency guidelines—usually once daily for several days—to fully neutralize odors.
Rinse and Dry the Floor Thoroughly
Grab a clean mop or microfiber cloth to rinse the treated area with plain water, ensuring you remove any leftover cleaning solution that could attract dirt or damage the wood. Use a gentle rinse technique by dampening the cloth or mop without soaking the floor, preventing excess moisture from seeping into the wood. Change your rinse water frequently to avoid reapplying residue. After rinsing, focus on drying methods that promote quick evaporation—use a dry microfiber cloth to blot any remaining dampness and open windows or turn on fans to circulate air efficiently. Avoid walking on the area until it’s completely dry to maintain the floor’s finish and prevent new odors. Proper rinsing and drying are essential steps to free your wood floor from lingering urine odor effectively.
Apply a Baking Soda Treatment for Persistent Smells
If the urine odor lingers after rinsing, you’ll want to prepare a layer of baking soda evenly across the affected area, ensuring full coverage for maximum absorption. Apply the baking soda gently, avoiding clumping, and let it sit for several hours or overnight to neutralize persistent smells. Once the treatment has set, vacuum or sweep up all residue thoroughly to prevent any gritty buildup on your wood floor.
Preparing the Baking Soda
To effectively prepare the baking soda treatment, you’ll need about half a cup of baking soda for each affected area. Baking soda’s benefits include neutralizing odors and absorbing moisture, making it an ideal choice for persistent urine smells on wood floors. Its versatile applications extend beyond deodorizing, but here, precise preparation is key.
Follow these steps:
- Measure half a cup of baking soda per stained spot.
- Confirm the floor is dry to maximize baking soda’s absorption.
- Optionally, mix baking soda with a few drops of essential oil for a fresh scent.
- Stir gently to create an even, loose powder ready for application.
Application Techniques
Once you’ve prepared the baking soda mixture, you’ll want to evenly sprinkle it over each affected area, ensuring full coverage of the stain while avoiding clumps. Use a fine-mesh sieve or your fingers to distribute it uniformly. For best results, gently press the powder into the wood grain without scratching the surface. Application methods matter: layering too thickly can trap moisture, so keep it moderate. Allow the baking soda to sit for at least several hours, ideally overnight, to neutralize persistent odors effectively. Depending on the severity of the smell, you may need to repeat this process. Adjust your cleaning frequency accordingly—stubborn stains might require multiple treatments spaced a day apart. This methodical approach gives you control to restore freshness and enjoy your space freely.
Post-Treatment Cleaning
After letting the baking soda sit overnight, you’ll need to carefully remove the powder to prevent residue buildup that can attract dirt or moisture. This step is essential for effective post cleaning maintenance and long-term odor prevention strategies. Follow these steps precisely:
- Use a vacuum with a brush attachment to gently lift the baking soda without scratching the wood.
- Wipe the area with a damp microfiber cloth, ensuring you don’t saturate the wood.
- Dry the floor immediately with a clean, dry towel to avoid moisture damage.
- Repeat if any odor lingers, reinforcing your efforts.
Consider Light Sanding for Deep Stains
Although surface cleaning can remove most urine odors, deep stains often require light sanding to fully eliminate the source. Start by selecting fine-grit sandpaper, typically between 120 and 150 grit, to avoid damaging the wood. Focus your sanding on the stained area, using gentle, circular motions to gradually lift the discoloration without removing too much wood. Employ precise sanding techniques to target the affected spots while preserving the surrounding finish. After sanding, vacuum the dust thoroughly and wipe the area with a damp cloth. This process exposes fresh wood, allowing you to treat or seal the surface effectively, preventing odor recurrence. By methodically applying light sanding, you free yourself from persistent stains and restore your floor’s natural beauty without extensive refinishing.
Maintain Wood Floor Freshness Regularly
A consistent cleaning routine is essential to keep your wood floors smelling fresh and free from urine odors. Regular cleaning not only removes residues but also supports long-term scent prevention. Here’s how to maintain your floor’s freshness effectively:
- Sweep or vacuum daily to eliminate dirt and debris that can trap odors.
- Mop weekly using a wood-safe cleaner diluted with water to break down any lingering urine compounds.
- Wipe up spills immediately to prevent absorption and staining.
- Use natural deodorizers like baking soda periodically; sprinkle, let sit for 15 minutes, then vacuum thoroughly.