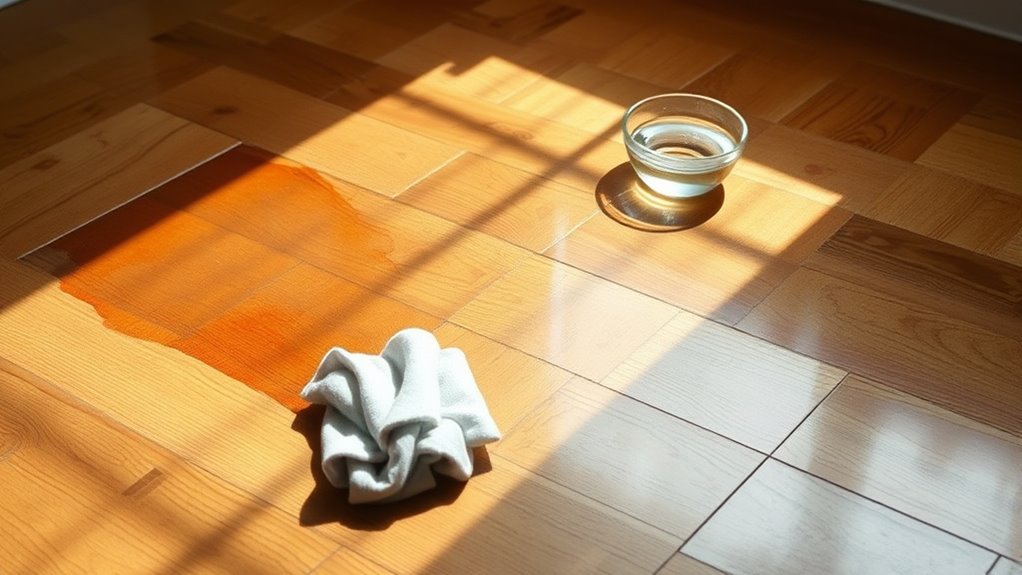
To remove water stains from hardwood floors, first identify the stain type—white marks are surface moisture, while dark or black indicates deeper damage. Gather soft cloths, fine steel wool, pH-neutral cleaner, and sandpaper for tough stains. Clear and clean the area, then try applying heat with an iron over a cloth to lift light stains. For stubborn marks, a mild homemade cleaning solution helps. Deep stains may require sanding and refinishing. You can explore detailed techniques to restore your floor’s look and prevent future damage.
Identify the Type of Water Stain on Your Hardwood Floor
Before you begin treating water stains, it’s essential to accurately identify their type, as different stains require specific removal methods. Effective stain identification starts with distinguishing between white, dark, and black marks, each indicating varying levels of water damage. White stains typically represent surface moisture trapped under the finish, while dark stains suggest water has penetrated the wood fibers, causing deeper damage. Black stains indicate severe water damage, often involving mold or rot. You should carefully inspect the affected area under good lighting and note the stain’s color, size, and texture. Accurate identification enables you to select the appropriate remediation technique, ensuring you restore your hardwood floor without causing further harm or compromising its integrity. Recognizing the stain type is the first step toward reclaiming your floor’s freedom from water damage.
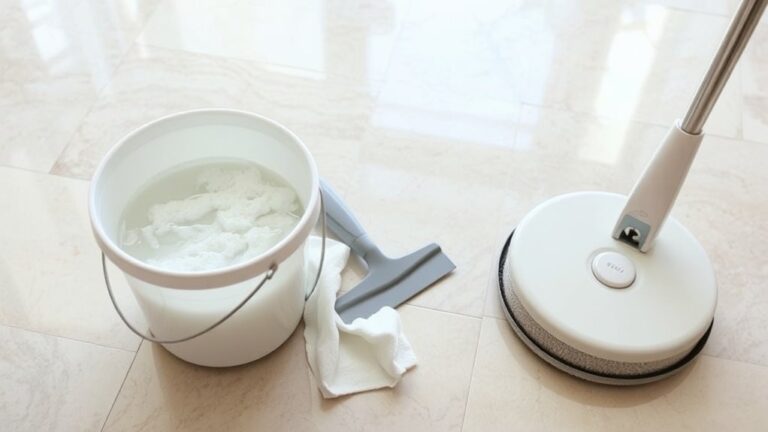
Gather Necessary Tools and Materials
To effectively remove water stains from your hardwood floor, you’ll need a specific set of tools and materials tailored to the stain type and severity. Having the right cleaning supplies is essential for precision and efficiency, ensuring your maintenance routine restores your floor without damage.
| Tool/Material | Purpose | Notes |
|---|---|---|
| Soft Cloths | Gentle cleaning and drying | Avoid abrasive fabrics |
| Fine Steel Wool (#0000) | Light abrasion for tough stains | Use with care to prevent scratches |
| Wood Cleaner | Removes residue and dirt | Choose pH-neutral formulas |
Gather these items beforehand to maintain control over the restoration process and achieve ideal results with minimal risk to your hardwood flooring.
Prepare the Affected Area for Treatment

Start by clearing the area around the stain to prevent any accidental damage or contamination during treatment. Proper floor preparation is essential to guarantee effective stain removal while preserving your hardwood’s integrity. Follow these steps carefully:
- Remove all furniture and rugs from the affected zone to gain unobstructed access.
- Vacuum or sweep thoroughly to eliminate dust and debris that might interfere with treatment.
- Put on gloves and safety goggles as part of cleaning precautions to protect your skin and eyes.
- Test your chosen cleaning agent on a small, inconspicuous spot to confirm it won’t discolor or damage the finish.
Taking these precise measures during floor preparation sets the stage for successful water stain removal while maintaining your freedom to restore your hardwood flooring confidently.
Use Heat to Lift Light Water Stains
Although light water stains may seem stubborn, applying controlled heat can effectively lift these marks without damaging your hardwood floor. Begin with a clean, dry cloth and a household iron set to low or medium heat without steam. Place the cloth over the stained area to protect the wood from direct heat exposure. Gently apply the iron in short intervals, moving it steadily to avoid overheating any section. The heat application causes trapped moisture within the wood fibers to evaporate, facilitating stain removal. Monitor the process closely; stop once the stain lightens or disappears. Avoid excessive heat to prevent warping or discoloration. This precise technique offers a safe, efficient method to restore your floor’s natural finish while maintaining your freedom to treat minor water stains independently.
Apply a Homemade Cleaning Solution for Stubborn Marks
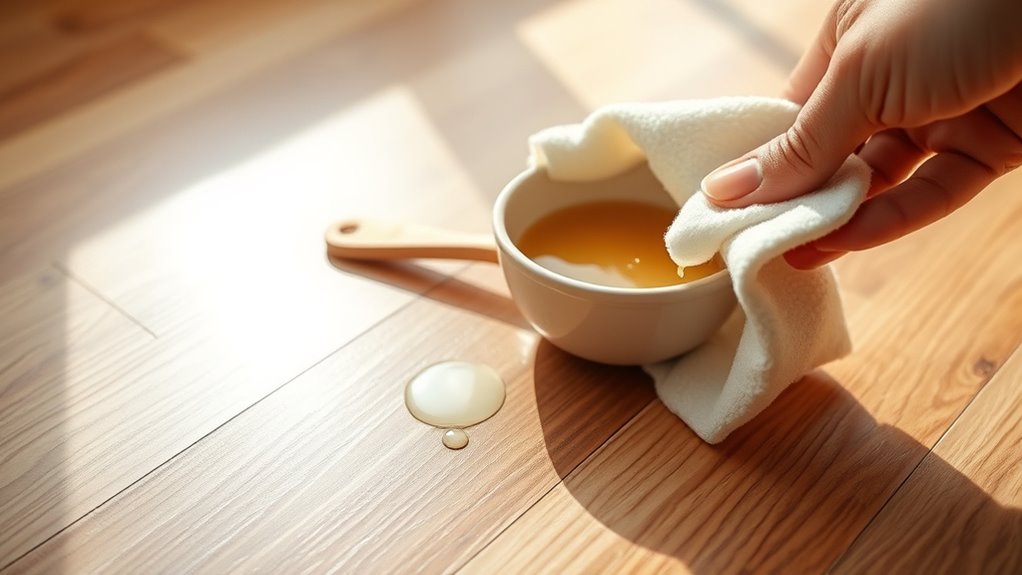
You’ll need a few common ingredients like vinegar, olive oil, and baking soda to create an effective homemade cleaning solution for stubborn water stains. Apply the mixture carefully using a soft cloth, gently working it into the affected area without saturating the wood. Proper technique guarantees the solution breaks down the stain without damaging the floor’s finish.
Ingredients for Cleaning Solution
When tackling stubborn water stains on hardwood floors, a homemade cleaning solution can be both effective and safe for your wood’s finish. For ideal stain removal, you’ll need precise ingredients that balance cleaning power without damaging the wood. Here’s a reliable list to prepare your solution:
- White vinegar (1/4 cup) – Acts as a mild acid to break down mineral deposits causing stains.
- Olive oil (1/4 cup) – Conditions and protects the wood surface during cleaning.
- Dish soap (1 teaspoon) – Provides gentle detergent action to lift dirt and residue.
- Warm water (1 cup) – Dilutes the mixture for safe application.
Combine these ingredients carefully for a cleaning solution tailored to effective hardwood stain removal without risking damage.
Application Techniques for Stains
Start by applying the homemade cleaning solution sparingly to the stained area using a soft cloth or sponge. Focus on gentle, circular motions to avoid damaging the wood’s finish. Effective stain removal relies on controlled application techniques—too much solution can saturate the wood, while too little won’t lift the stain. After applying, allow the solution to sit for 5–10 minutes to penetrate stubborn marks. Next, gently blot the area with a clean, dry cloth to absorb the loosened stain particles. Repeat the process if necessary, but always test a small hidden area first to verify the wood’s integrity. By mastering these precise application techniques, you maintain your hardwood floor’s freedom from damage while efficiently removing water stains.
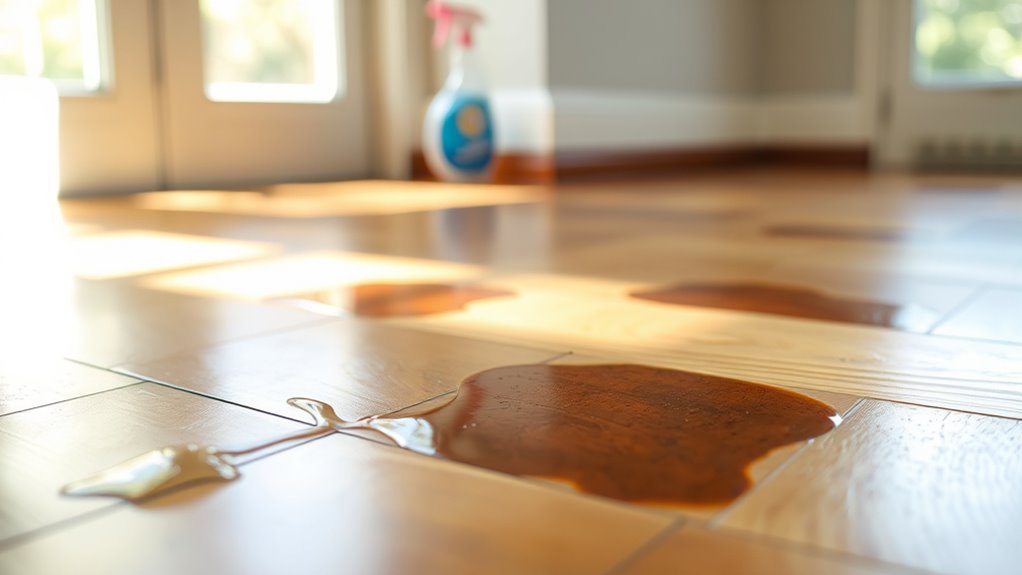
Sand and Refinish Deep Water Stains
Although light water stains can often be treated with surface cleaning methods, deep water stains usually require sanding and refinishing to fully restore the hardwood floor’s appearance. To effectively sand and refinish these areas, follow these steps:
- Start with coarse sandpaper grades (around 60-80 grit) to remove the damaged layer.
- Progressively use finer sandpaper grades (120-150 grit) to smooth the surface.
- Apply appropriate refinishing techniques, such as staining and sealing, to match the surrounding floor.
- Allow sufficient drying time between each coat, ensuring a durable and consistent finish.
Mastering these steps gives you control over restoring your floor’s natural beauty and freedom from unsightly water damage.
Prevent Future Water Damage on Hardwood Floors
To prevent future water damage, you’ll need to apply a high-quality sealant evenly across the hardwood surface, ensuring all seams and edges are covered. Use proper cleaning techniques by avoiding excess water and opting for damp mops with hardwood-safe solutions. These steps help maintain the floor’s integrity and reduce the risk of new stains.
Sealant Application Tips
A properly applied sealant is essential for protecting your hardwood floors from future water damage and staining. To guarantee lasting protection, consider these sealant application tips:
- Choose the right sealant type: Opt for polyurethane or aluminum oxide finishes for superior water resistance.
- Prepare the floor surface: Clean thoroughly and sand lightly to promote adhesion.
- Apply using recommended methods: Use a high-quality brush or applicator pad, applying thin, even coats to avoid puddling.
- Allow adequate drying time: Follow manufacturer guidelines, usually 24 hours between coats, and avoid foot traffic until fully cured.
Proper Cleaning Techniques
Once your hardwood floors are properly sealed, maintaining their condition depends largely on how you clean them. Choose cleaning products specifically designed for hardwood to avoid damaging the sealant or wood fibers. Avoid harsh chemicals or abrasive tools that can strip the finish or cause micro-scratches. Use a damp mop rather than a wet one to minimize moisture exposure, which leads to water damage. Promptly wipe up any spills to prevent stains or warping. Incorporate regular floor maintenance routines, such as sweeping or vacuuming with a soft brush attachment, to remove dirt and grit that can wear down the surface. By following these precise cleaning techniques, you’ll preserve the integrity and appearance of your hardwood floors, ensuring freedom from future water damage and prolonging their lifespan.