First, identify the type of wax on your tiles to choose the right removal method. Clear the area and gather supplies like a plastic scraper, warm water, and mild detergent. Gently heat the wax using a hairdryer to soften it, then carefully scrape it off at a low angle to avoid damage. Clean residual wax with a damp cloth and mild cleaner, then buff your tiles for shine. Following these steps guarantees a wax-free finish, and there’s more to learn about polishing and prevention.
Identifying the Type of Wax on Your Floor Tiles
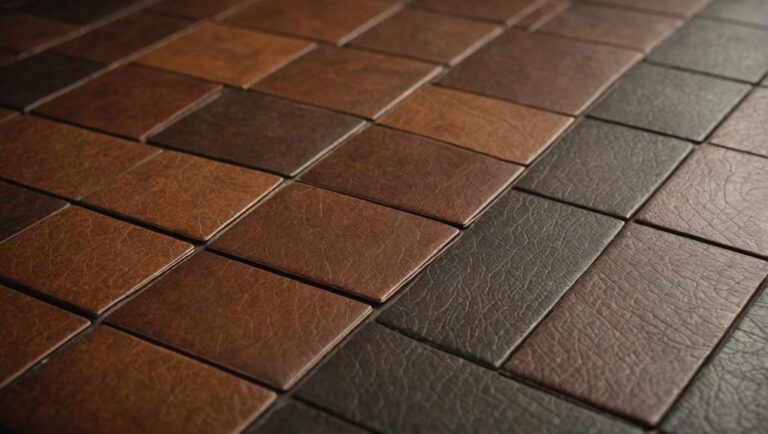
Before you can effectively remove wax from your floor tiles, you need to identify the type of wax you’re dealing with. Start by examining its texture and appearance. Paste waxes are solid and often leave a cloudy film, while liquid waxes dry clear and may feel sticky. Candle wax, usually harder and thicker, can be colored or scented. Knowing these differences is essential for selecting the right approach. Identifying wax types helps you apply the most effective wax removal techniques without damaging your tiles. For instance, heat works well on candle wax, but solvent-based removers are better for paste wax. By understanding the wax composition, you guarantee a targeted, efficient cleaning process that saves time and effort, giving you the freedom to restore your floor’s original shine confidently.
Preparing the Area and Necessary Materials
Start by clearing the area around the waxed tiles to prevent accidents and protect nearby surfaces with drop cloths or old towels. Next, gather all necessary cleaning supplies, including a plastic scraper, warm water, mild detergent, and soft cloths. Having everything ready guarantees an efficient and safe wax removal process.
Clear and Protect Space
To effectively remove wax from floor tiles, you’ll need to clear the area completely and gather all necessary materials beforehand. Start by removing furniture, rugs, and any items that could obstruct your work or get damaged. This step is essential for space organization, giving you unrestricted access to the affected tiles. Next, protect adjacent surfaces and areas not involved in cleaning to avoid accidental damage. Check the floor for any loose debris or dust, which could interfere with your process and compromise floor safety. Ensuring a clean, open workspace reduces hazards and improves your efficiency. By maintaining a well-organized, safe environment, you set the stage for a smooth, effective wax removal process without risking slips, falls, or additional messes.
Gather Cleaning Supplies
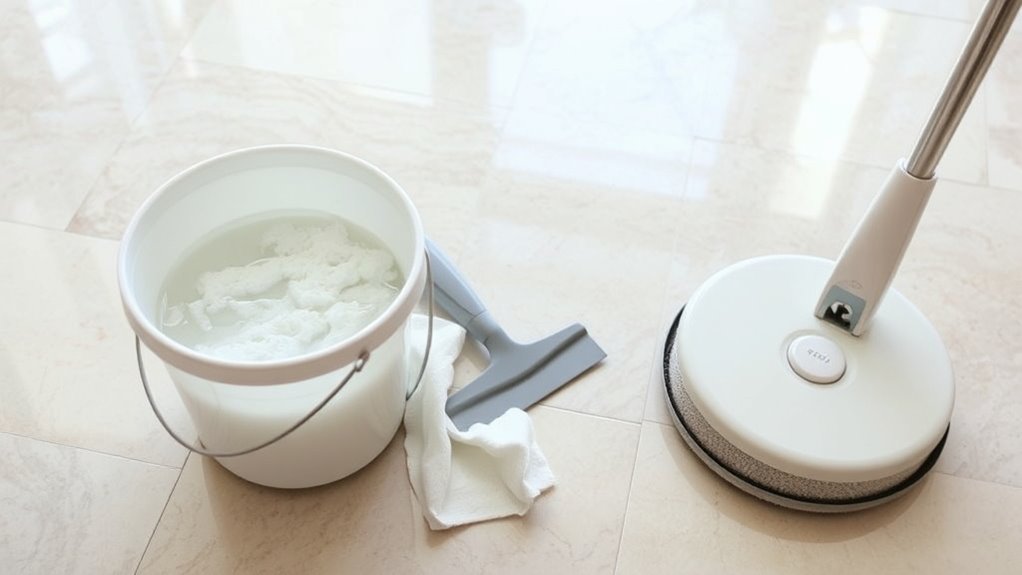
Although clearing and protecting your workspace is essential, gathering the right cleaning supplies is equally important for efficient wax removal. You’ll need specific tools and cleaning solutions designed for floor maintenance to avoid damage and guarantee a thorough job. Here’s a concise list of what to assemble before you start:
| Supply | Purpose | Notes |
|---|---|---|
| Plastic scraper | Remove hardened wax gently | Avoid metal to prevent scratches |
| Warm water | Dilute and soften wax | Use moderate temperature |
| Mild detergent | Break down wax residue | Choose pH-neutral |
| Soft cloths | Apply solution & wipe clean | Microfiber preferred |
| Floor cleaner | Final floor maintenance | Suitable for tile surfaces |
Having these supplies ready lets you work confidently and maintain your floor’s freedom from damage.
Softening the Wax for Easier Removal
To soften wax effectively, you’ll need to apply gentle heat using tools like a hairdryer or warm cloth. Timing is essential—heat the wax just enough to become pliable without melting it into the grout. This method guarantees the wax lifts easily without damaging your floor tiles.
Heat Application Techniques
Start by warming the wax gently to make it pliable and easier to lift from your floor tiles. Selecting the right heat sources and application methods is essential to prevent damage. Controlled heat softens the wax, freeing you to remove it without scraping.
| Heat Source | Application Method |
|---|---|
| Hair Dryer | Direct, steady warm air |
| Iron (with cloth) | Gentle pressing through fabric |
| Heat Gun | Low setting, moving constantly |
| Warm Cloth | Apply heat via damp warmth |
Each method offers controlled heat delivery. Use a hair dryer or heat gun cautiously, keeping the device moving to avoid overheating. An iron with a cloth protects the tile surface, while a warm cloth provides gentle heat. Choose a method that fits your comfort level and tile type to maintain freedom in your cleaning process.
Choosing the Right Tools
Selecting the right tools makes softening wax on floor tiles more efficient and less risky. In your tools overview, focus on items that apply controlled heat safely, such as a hairdryer or a heat gun with adjustable settings. Tool selection is essential—choose heat sources that won’t damage your tiles or grout. Avoid open flames or overly high heat. Additionally, have a plastic scraper on hand to gently lift softened wax without scratching. Using a clean, lint-free cloth helps in blotting melted wax effectively. Prioritize tools that offer precision and control, empowering you to manage the softening process confidently. This methodical approach guarantees you maintain your floor’s integrity while freeing yourself from stubborn wax buildup quickly and safely.
Timing for Softening
Although softening wax may seem straightforward, timing plays a crucial role in ensuring the wax becomes pliable without overheating your tiles. Different wax types respond uniquely to heat, so mastering timing techniques is essential. For harder waxes, apply heat in short intervals of 20-30 seconds, then test softness to avoid damage. Softer waxes require less heat and shorter exposure, often just 10-15 seconds. Use a heat gun or hairdryer on a low setting, maintaining a safe distance to prevent tile discoloration. By monitoring the wax carefully and adjusting your timing techniques based on wax type, you’ll achieve ideal softening. This methodical approach lets you remove wax effectively while preserving your floor’s integrity, giving you the freedom to restore your space confidently.
Scraping Off the Wax Safely
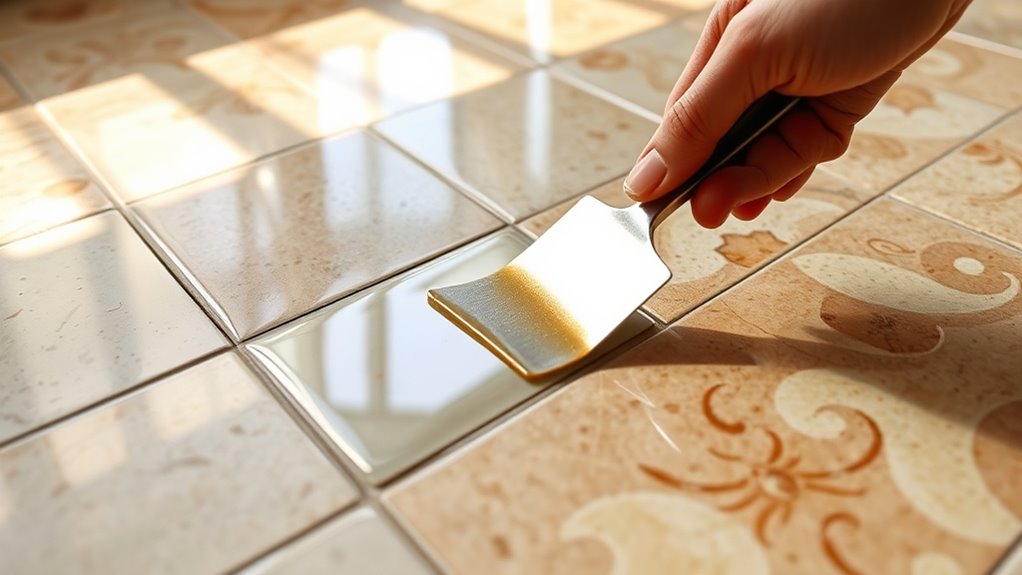
Carefully scrape off the wax using a plastic scraper or a putty knife to avoid damaging your floor tiles. Employing proper scraping techniques guarantees you lift the wax without scratching or gouging the surface. Keep these safety precautions in mind:
Use a plastic scraper gently to lift wax without scratching floor tiles, ensuring careful and controlled removal.
- Use gentle, controlled strokes rather than forceful scraping to protect tile integrity.
- Hold the scraper at a low angle to effectively loosen wax layers without excessive pressure.
- Wear gloves to prevent slipping and protect your skin from sharp edges.
- Work in small sections to maintain better control and avoid spreading softened wax.
Cleaning Residual Wax Stains From Tiles
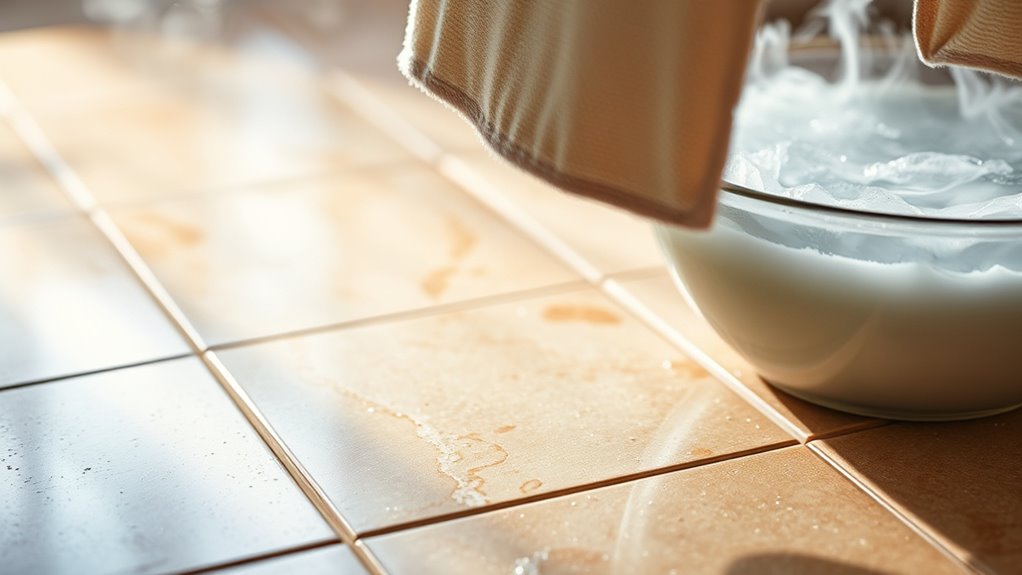
Once you’ve scraped off the bulk of the wax, you’ll need to tackle any remaining residue to restore your tiles’ original appearance. Effective wax removal techniques involve using a warm, damp cloth with a mild detergent or rubbing alcohol for stubborn spots. Avoid harsh chemicals that can damage your tiles. Consistent tile maintenance tips include regular cleaning and immediate wax removal to prevent buildup.
| Step | Material Needed | Action |
|---|---|---|
| 1 | Warm water | Dampen cloth |
| 2 | Mild detergent | Apply to residual wax |
| 3 | Soft cloth | Gently rub residue |
| 4 | Rubbing alcohol | For tough stains, apply gently |
| 5 | Dry towel | Wipe dry and inspect |
Follow these steps methodically for a clean, wax-free tile surface.
Polishing and Restoring Tile Shine
Three key steps will help you polish and restore your tile’s shine effectively. After removing wax, focus on tile maintenance to keep that fresh look. First, thoroughly clean the tiles with a pH-neutral cleaner to avoid damage. Next, gently buff the surface with a microfiber cloth or a low-speed polisher to enhance the shine without scratching. Finally, apply a tile-specific polish or sealant designed for shine enhancement.
Remember to:
- Use non-abrasive tools for buffing
- Avoid harsh chemicals that dull finishes
- Work in small sections for even results
- Allow polish to dry completely before walking on tiles
Preventative Tips to Avoid Future Wax Buildup
Maintaining your tile’s shine is easier when you prevent wax buildup from occurring in the first place. Implementing effective wax prevention strategies starts with using the right products—avoid wax-based cleaners and opt for pH-neutral solutions specifically designed for tile. Stick to regular maintenance tips like sweeping and mopping frequently to remove dirt and debris that can trap wax residue. Also, consider applying a high-quality sealant to your tiles; it creates a protective barrier that minimizes wax absorption. Be mindful of the amount of wax you apply during polishing—less is more. Finally, establish a routine cleaning schedule to stay ahead of buildup. These steps help you maintain freedom from stubborn wax layers, keeping your floor pristine without extra effort.