To repair click lock flooring, first identify and assess the damaged planks by checking for warping or gaps. Gather tools like a tapping block, rubber mallet, utility knife, and replacement planks. Carefully remove the damaged plank by disengaging the click-lock mechanism, using gentle tapping and scoring if needed. Prepare your replacement by measuring and trimming it precisely to fit. Install the new plank by aligning and locking it into place, ensuring joints are flush and secure. Following these steps will guide you through a smooth, durable repair.
Identify the Problem Area
The first step in repairing click lock flooring is to accurately identify the problem area. Begin with thorough problem identification by examining the floor for visible signs of damage such as warping, gaps, or lifting planks. Conduct a damage assessment by gently pressing and flexing the affected planks to detect instability or loose connections. Pay close attention to edges and seams, where issues frequently occur. Utilize natural and artificial light sources to highlight imperfections. Document the exact location and extent of damage to guide your repair process. Accurate problem identification guarantees you target the right sections, avoiding unnecessary work and preserving your flooring’s integrity. This precise damage assessment empowers you to proceed confidently, maintaining your freedom to manage repairs efficiently and effectively without professional dependence.
Gather Necessary Tools and Materials
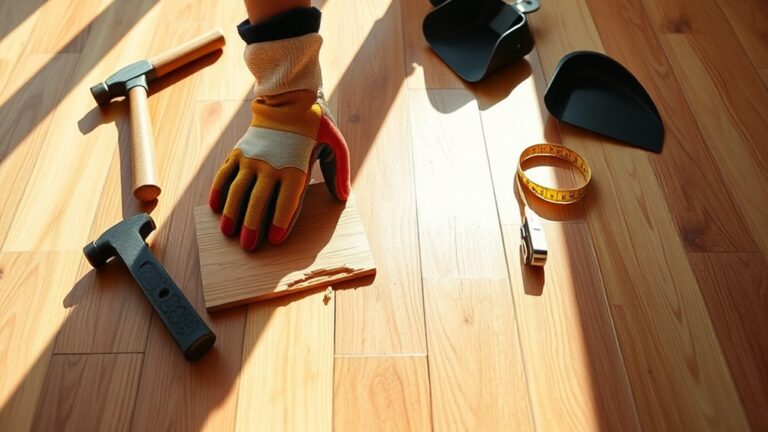
Before starting your repair, gather all necessary tools and materials to assure a smooth process. Proper tool selection is essential for efficient flooring maintenance and guarantees you avoid unnecessary damage. You’ll need a tapping block and pull bar to safely disassemble planks, a rubber mallet for gentle tapping, a utility knife for cutting, and a pry bar for lifting. Additionally, prepare replacement planks matching your flooring type and adhesive if required. Have measuring tape and a pencil on hand for precise alignment. Organize these tools within reach before you begin to maintain workflow freedom and minimize interruptions. This preparation lets you focus entirely on the repair steps, improving accuracy and reducing time spent on the task.
Remove the Damaged Plank
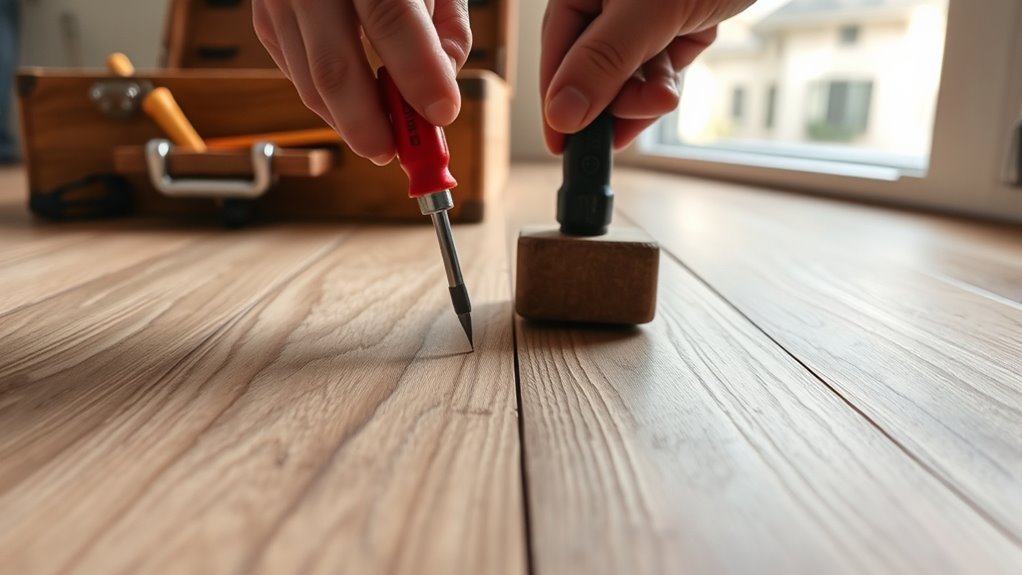
Start by locating the damaged plank and carefully disengaging it from the surrounding flooring. Use a tapping block and a rubber mallet to gently release the click lock mechanism without damaging adjacent planks. Work methodically along the edges, freeing the plank from its locking profile. If the plank is tightly secured, consider lightly scoring the edges with a utility knife to ease removal. Avoid applying excessive force to preserve the integrity of surrounding pieces, crucial for ongoing flooring maintenance. Once freed, remove the plank completely. This precise removal guarantees your plank selection for replacement matches perfectly, maintaining both aesthetics and structural stability. Proper removal is essential to uphold the freedom of future repairs and longevity of your click lock flooring system.
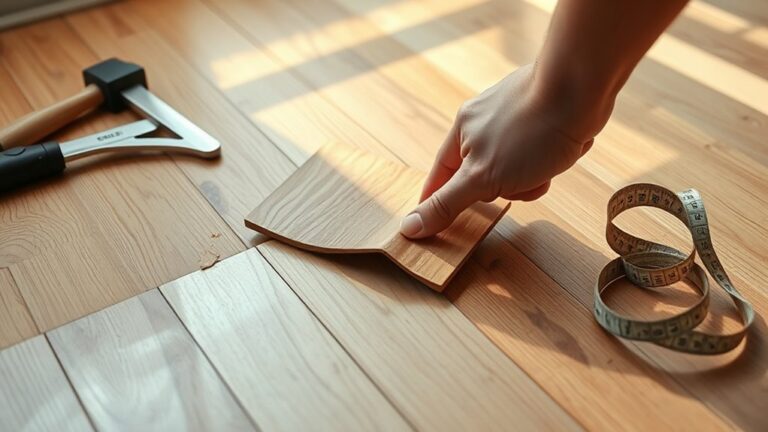
Prepare the Replacement Plank
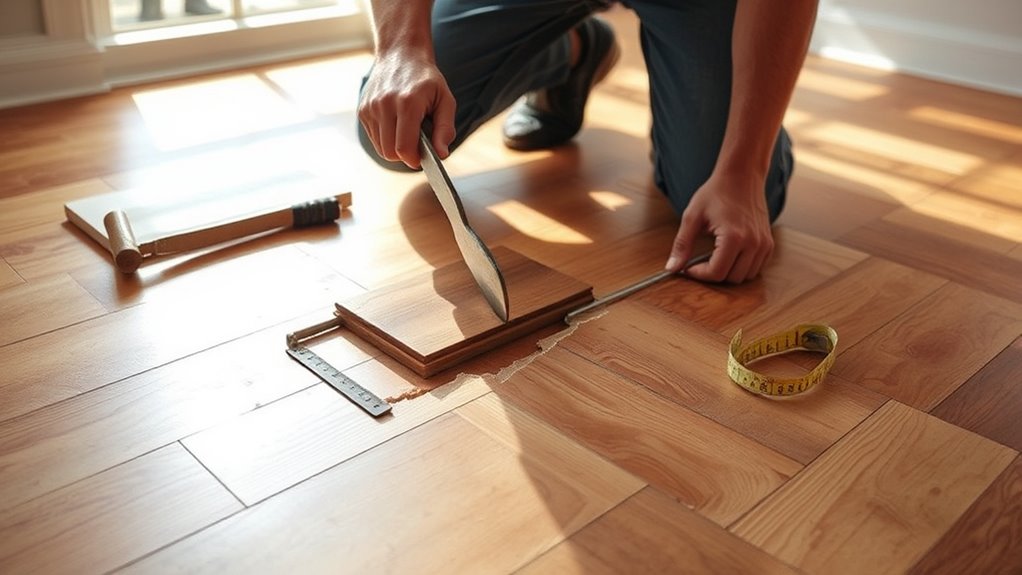
To prepare a replacement plank, first inspect it for any manufacturing defects or damage that could affect installation. Confirm your plank selection matches the existing flooring in thickness, color, and profile for seamless integration. Measure the area requiring replacement precisely and mark the plank accordingly. Employ accurate cutting techniques using a fine-toothed saw or laminate cutter to achieve straight, clean edges. Avoid splintering by supporting the plank firmly and cutting slowly along the marked lines. If the plank requires trimming to fit around obstacles, use appropriate tools such as a jigsaw, confirming cuts are smooth and precise. Proper preparation guarantees the replacement plank will fit snugly, maintaining the floor’s structural integrity and your freedom to move confidently across a flawless surface.
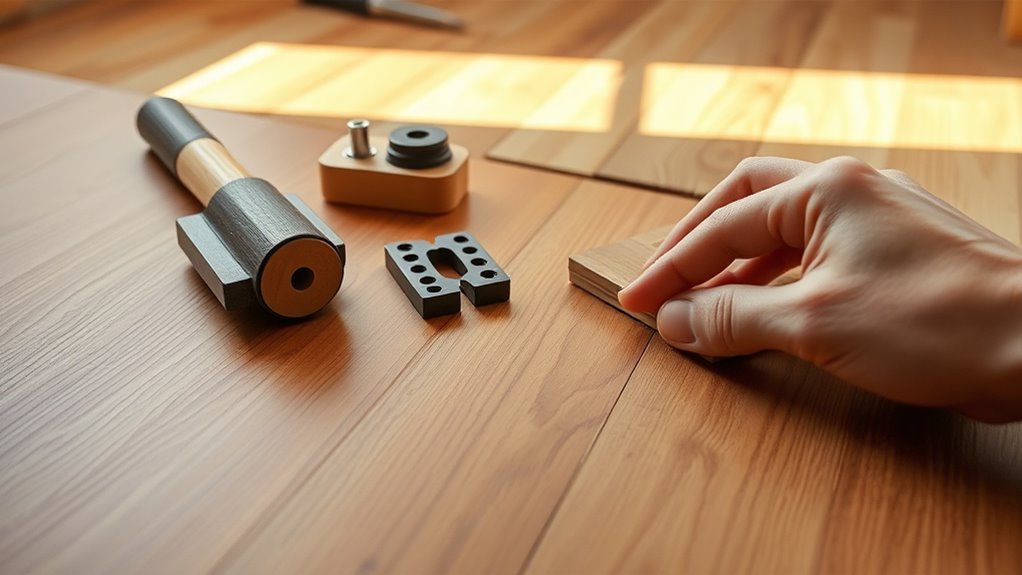
Install the New Plank and Secure the Floor
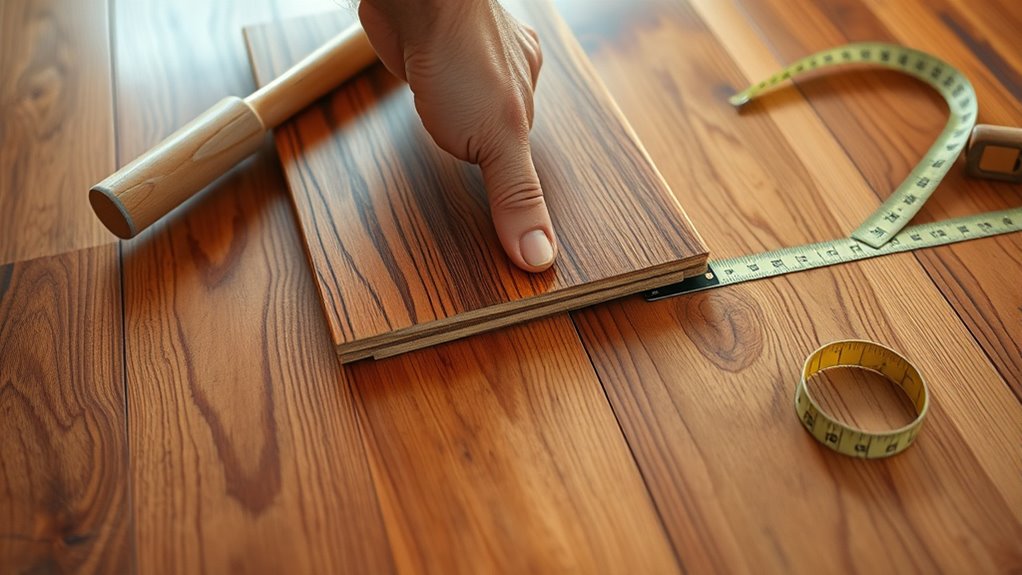
Align the replacement plank carefully with the adjoining flooring, making sure the click lock edges are positioned to engage smoothly. Begin by angling the plank slightly and inserting the tongue into the groove of the adjacent piece. Then, lower it gently while maintaining consistent pressure along the joint to avoid gaps. Confirm plank alignment visually and by running your hand across the seam to detect any unevenness. Once positioned, use a tapping block and a mallet to lock the plank securely, enhancing flooring stability. Avoid excessive force that might damage the locking mechanism. Finally, inspect the entire repaired section to verify all joints are flush and stable, preventing future movement. Proper installation guarantees your flooring maintains structural integrity and aesthetic continuity.