To repair your linoleum floor, first assess the damage and gather needed tools like adhesive, fillers, and a putty knife. Clean the area thoroughly, then trim any loose edges. For small tears, apply adhesive and press edges together. Deeper gouges require filler—apply smoothly and sand after drying. Let repairs dry fully, then finish by buffing and sealing to protect the area. Follow these steps carefully, and you’ll master restoring your floor’s appearance with ease.
Assess the Damage on Your Linoleum Floor
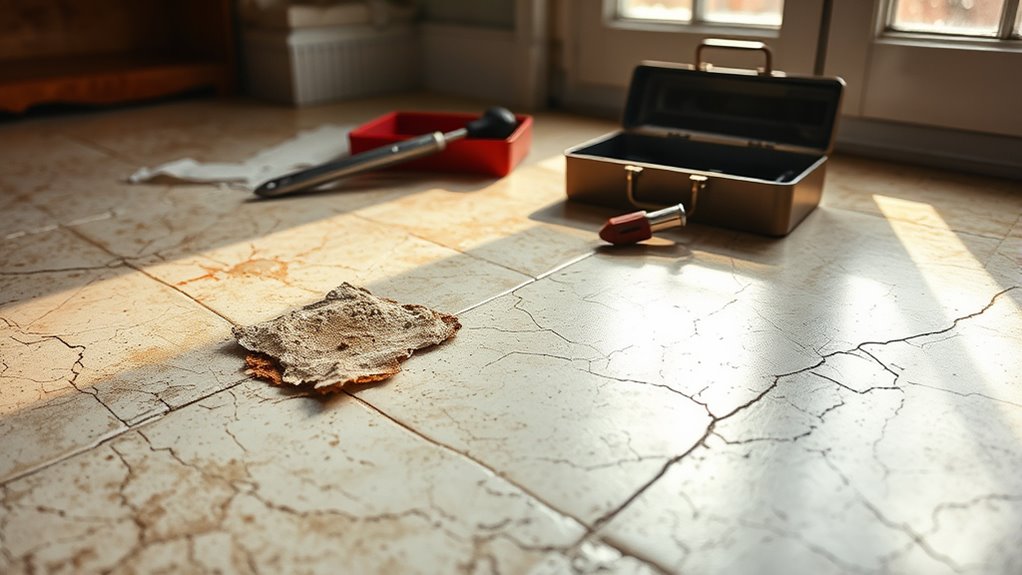
Before you begin repairing your linoleum floor, you need to carefully assess the damage to determine the best approach. Start by identifying the linoleum types in your home, since different types like sheet or tile linoleum may require unique repair methods. Examine the floor’s surface for cracks, tears, or lifting edges, noting whether the damage is superficial or extends deeper. Check for water damage or discoloration, as these issues often need special attention. Also, consider the floor’s age and your regular floor maintenance habits, since poor upkeep can worsen problems. By thoroughly evaluating the damage and understanding your linoleum’s specific characteristics, you’ll gain the freedom to choose the most effective, efficient repair strategy that preserves your floor’s longevity and appearance.
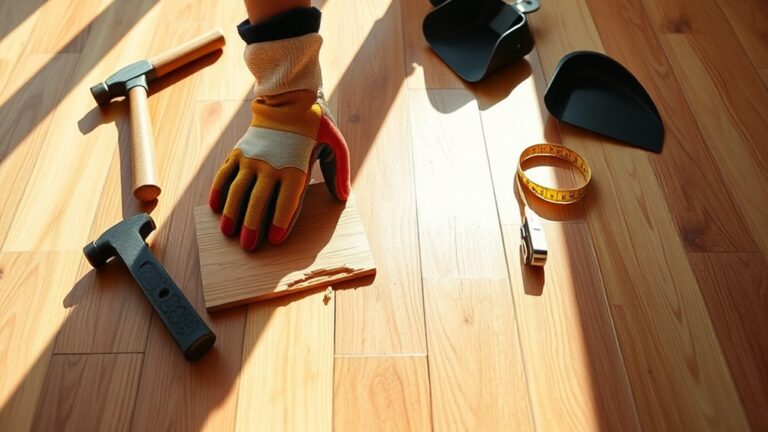
Gather Necessary Repair Materials and Tools
To repair your linoleum floor effectively, you’ll need to gather a specific set of materials and tools tailored to the type and extent of the damage. Having the right items on hand saves time and guarantees a smooth fix. Depending on your floor’s condition, you might need specialized repair kits designed for linoleum, which include color-matched compounds and fillers. Choosing the correct adhesive types is also vital—some work better for small cracks, others for larger tears or loose sections.
Gather the right tools and materials, including color-matched fillers and appropriate adhesives, for a smooth linoleum floor repair.
Here’s a practical list to get you started:
- Linoleum repair kit with color-matched filler
- Suitable adhesive (contact cement or vinyl floor adhesive)
- Utility knife or sharp blade
- Putty knife or small spatula
- Fine-grit sandpaper for smoothing repairs
Gather these, and you’ll be ready to proceed confidently.
Clean the Damaged Area Thoroughly
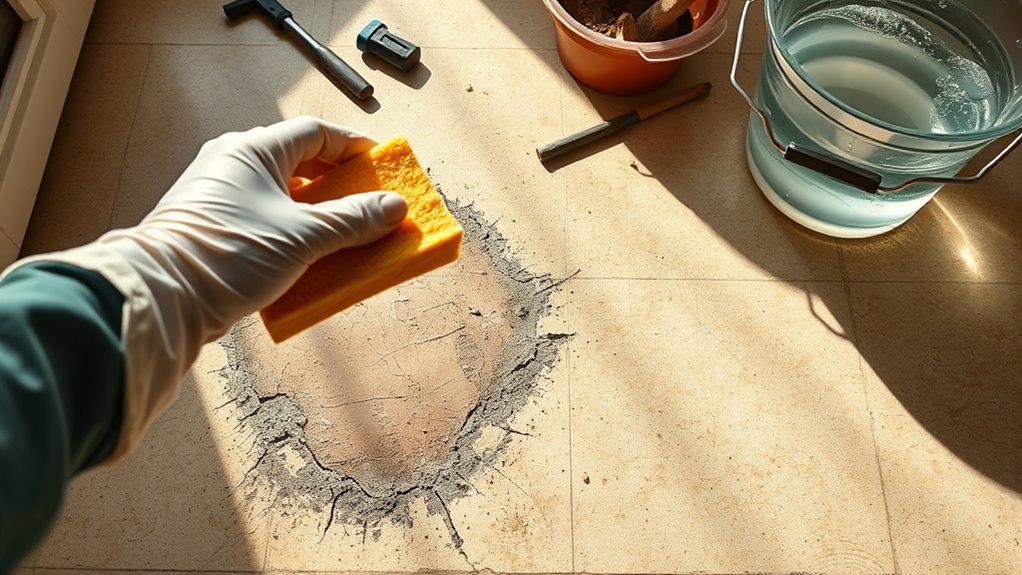
Two key steps will guarantee the damaged area is perfectly clean and ready for repair. First, remove any loose debris or dust by sweeping or vacuuming the spot. Next, apply a gentle cleaning solution—like diluted dish soap or a linoleum-safe cleaner—to a soft cloth or sponge. Use this to scrub the damaged area thoroughly, focusing on removing grease, dirt, and old adhesive residues. Proper cleaning techniques are essential; avoid harsh chemicals that could damage the linoleum’s surface. After scrubbing, rinse the area with clean water and dry it completely with a lint-free cloth. This precise surface care guarantees the repair materials will bond properly, giving your floor a seamless finish. Taking these steps sets the foundation for a lasting and effective linoleum floor repair.
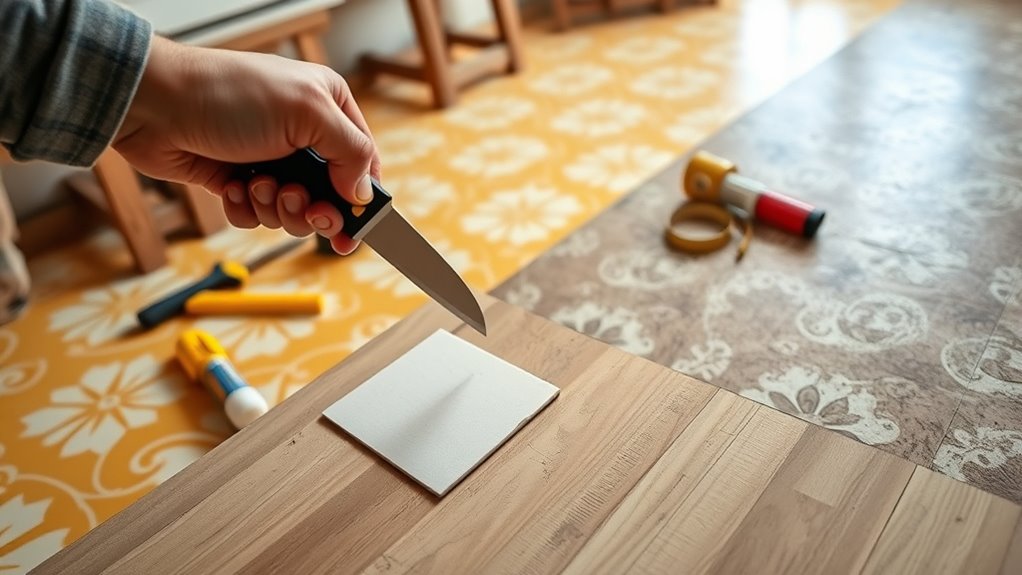
Trim Loose or Frayed Edges
Although your linoleum floor may look rough around the edges after damage, trimming any loose or frayed sections is essential to achieving a clean repair. Edge trimming helps prevent further tearing and guarantees your repair will blend seamlessly.
Trimming loose linoleum edges ensures a neat repair and stops further damage.
Here’s how to handle frayed repairs effectively:
- Use sharp scissors or a utility knife for precise cuts
- Trim only the loose fibers, avoiding damage to intact linoleum
- Cut along a straight line to create a smooth edge
- Remove any debris or dust from trimmed edges before proceeding
- Double-check that trimmed edges lay flat and align with the surrounding floor
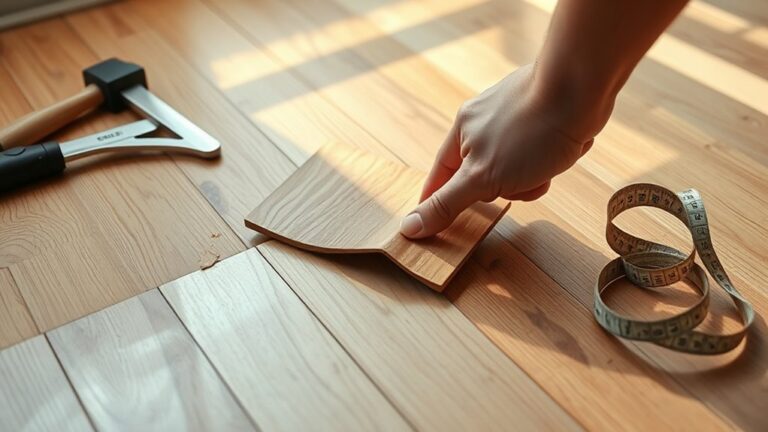
Apply Linoleum Adhesive to Small Tears
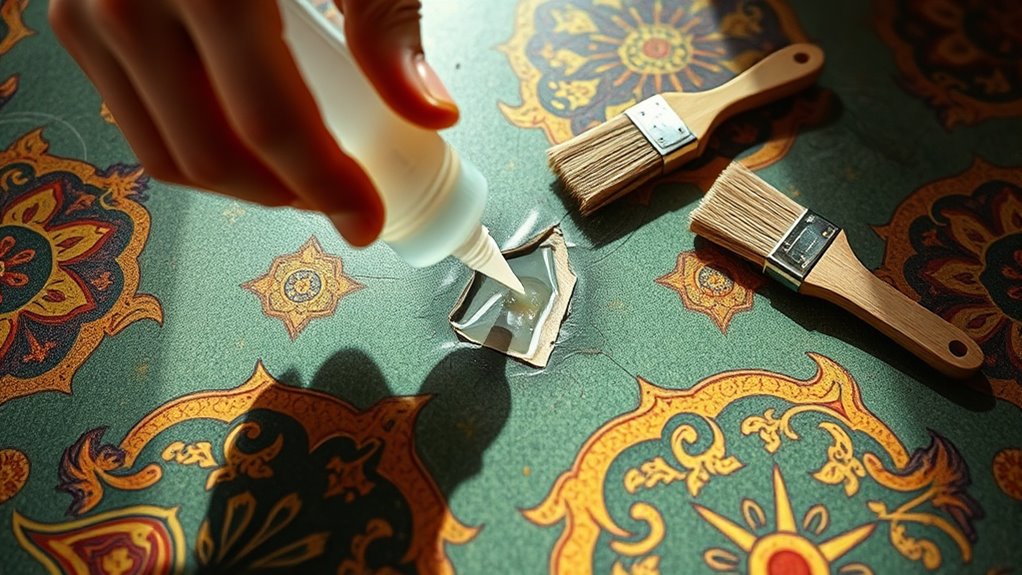
Start by carefully applying linoleum adhesive to the small tears you’ve trimmed. Choose the right adhesive type—usually a water-based or solvent-based adhesive works best for flexibility and strong bonding. Apply a thin, even layer using a small brush or applicator to avoid excess glue that could seep out. This step is key for tear prevention, reinforcing the damaged area to stop further splitting.
| Adhesive Type | Best For |
|---|---|
| Water-based | Easy cleanup, indoor use |
| Solvent-based | Strong bond, heavy traffic |
| Contact adhesive | Quick setting, small repairs |
Using the proper adhesive guarantees your repairs hold, giving your linoleum floor lasting durability and keeping your freedom to enjoy it without worry.
Press and Secure the Torn Area
Once you’ve applied the adhesive, carefully align the torn edges to guarantee a seamless fit. Press the area firmly to bond the linoleum and remove any air bubbles. Hold it in place until the adhesive sets to secure a strong, lasting repair.
Align Torn Edges
Anyone repairing a torn linoleum floor will want to carefully align the edges before pressing them down. Proper edge alignment guarantees the repair looks seamless and lasts longer. To get this right, follow these steps:
- Gently lift the torn linoleum edges without causing more damage.
- Match the torn edges precisely to avoid gaps or overlaps.
- Use a straightedge or ruler to check the alignment.
- Press the edges lightly to hold them in place before securing.
- Adjust as needed until the edges fit snugly together.
This careful alignment sets the foundation for a strong, invisible repair. Taking your time here frees you from future worries about peeling or uneven surfaces, giving you lasting freedom from floor damage.
Apply Adhesive Properly
With the torn edges aligned perfectly, the next step is to apply adhesive to secure the linoleum firmly in place. Choose the right adhesive type—vinyl floor adhesive or a strong contact cement works best for linoleum repairs. Use a small brush or a notched trowel for precise application, spreading the adhesive evenly on the underside of the torn area and the floor base. Avoid over-applying to prevent seepage. Once applied, press the torn edges together firmly, guaranteeing no gaps or bubbles remain. Hold or weigh down the area for several minutes to confirm a strong bond. Proper application techniques like this guarantee your linoleum repair is seamless and durable, giving you the freedom to enjoy a smooth, restored floor without worry.
Fill Deeper Gouges With a Linoleum Repair Compound
If you notice gouges that are too deep to fix with simple fillers, you’ll need a linoleum repair compound to restore the surface properly. For effective gouge repair, start by cleaning the damaged area thoroughly. Then, carefully mix the repair compound according to the instructions. When it’s ready, apply the compound evenly into the gouge using a putty knife or similar tool. Here’s what to keep in mind during compound application:
- Remove any loose debris to guarantee adhesion
- Use a flexible spatula for better control
- Overfill slightly to allow for sanding later
- Let the compound cure fully before moving on
- Wear gloves to protect your hands from chemicals
Following these steps, you’ll achieve a solid, long-lasting repair that blends seamlessly with your linoleum floor.
Smooth the Repair Surface for Evenness
Once the repair compound has dried, you’ll want to gently sand the surface to remove any bumps or ridges. If you spot small imperfections, apply a thin layer of filler and sand again to guarantee a smooth, level finish. Taking your time with sanding and filling will make the repair blend seamlessly with the rest of your linoleum floor.
Sanding Techniques
Begin by lightly sanding the repaired area to blend it seamlessly with the surrounding linoleum. Choosing the right sanding methods and sanding tools is key to achieving a smooth, even surface without damaging your floor. You’ll want to:
- Use fine-grit sandpaper (220 grit) for gentle smoothing
- Prefer a sanding block for better control over power sanders
- Sand in small circular motions to avoid uneven spots
- Clean the area frequently to remove dust and check progress
- Wear a mask to protect yourself from fine particles
Filling Imperfections
A smooth, even surface is essential before finishing your linoleum repair, and filling imperfections is the next step to achieve that. Start by selecting appropriate repair materials like vinyl filler or epoxy putty designed for linoleum. Using a putty knife, apply these materials carefully into cracks, chips, or gouges, ensuring you don’t leave air pockets. Familiarize yourself with filling techniques such as layering thin amounts for better control and drying. Once filled, let the repair materials cure fully according to the manufacturer’s instructions. This approach guarantees a solid, level base that won’t compromise your floor’s durability. By mastering these filling techniques and choosing proper repair materials, you’ll create a seamless foundation that paves the way for a flawless, long-lasting linoleum floor finish.
Surface Leveling
Although filling imperfections is essential, you’ll need to level the repair surface next to guarantee evenness. This step guarantees your linoleum looks seamless and feels smooth underfoot. To tackle surface imperfections effectively, consider using leveling compounds designed for flooring repairs. Here’s how to proceed:
- Clean the filled area thoroughly to remove dust or debris.
- Mix the leveling compound according to the manufacturer’s instructions.
- Apply a thin, even layer over the patched spots with a putty knife.
- Feather the edges to blend the repair into the surrounding floor.
- Allow the compound to dry completely before sanding lightly for a smooth finish.
Allow the Repair to Dry Completely
Since proper drying is essential to guarantee a durable repair, you’ll need to let the patched area sit undisturbed for the recommended amount of time. Different repair methods require varying drying times, so following manufacturer instructions is key to avoid weakening the fix. Avoid walking on or placing weight on the spot until fully dry, ensuring the repair bonds securely and lasts longer.
| Repair Method | Typical Drying Time |
|---|---|
| Linoleum adhesive | 24-48 hours |
| Filler compound | 12-24 hours |
| Heat welding | 6-12 hours |
Finish by Buffing and Sealing the Repaired Spot
To finish your linoleum repair, start by selecting a sealant that matches your floor’s finish and offers strong protection. You’ll want to buff the repaired spot gently to blend it smoothly with the surrounding area without damaging the surface. Applying the right sealant and using proper buffing techniques will guarantee a durable, long-lasting finish.
Choosing the Right Sealant
Picking the right sealant is essential for ensuring your linoleum repair lasts and blends seamlessly with the rest of the floor. Different sealant types offer varied durability and finishes, so choosing one that matches your floor’s texture and shine is key. Consider these factors when selecting and applying your sealant:
- Water-based sealants dry quickly and are easy to clean.
- Solvent-based sealants provide a tougher, longer-lasting finish.
- Use a foam brush or roller for even application.
- Apply thin, multiple coats rather than one thick layer.
- Allow proper drying time between coats for best adhesion.
Proper Buffing Techniques
One of the final steps to achieving a smooth, professional look on your linoleum repair is mastering proper buffing techniques. Start by selecting the right buffing equipment—usually a soft cloth or a low-speed buffer with a fine pad works best. Gently buff the repaired spot in circular motions, applying even pressure to blend the patch seamlessly with the surrounding floor. Avoid aggressive scrubbing, which can damage the linoleum’s surface. Keep your movements steady and consistent, ensuring you cover the entire area evenly. Proper buffing techniques not only smooth out imperfections but also prepare the spot for sealing. Once buffed, the surface will be clean and receptive, helping your sealant adhere better and enhancing the overall finish of your linoleum repair.
Ensuring Durable Finish
Although buffing smooths the repaired area, sealing is essential for protecting your linoleum and ensuring the fix lasts. The sealant acts as a barrier against wear, moisture, and stains, which are key durability factors. To get the best results, apply a thin, even coat after buffing, then let it dry completely before walking on it. For ongoing protection, follow these maintenance tips:
- Clean spills promptly to avoid damage.
- Use gentle, pH-neutral cleaners.
- Avoid abrasive scrubbing tools.
- Place mats in high-traffic zones.
- Reapply sealant annually or as needed.