To repair scratched wood floors, first assess the damage to determine if scratches are superficial or deep. Gather fine-grit sandpaper, wood filler or wax sticks, stain markers, and sealants matched to your floor’s finish. Clean the area thoroughly to remove dust. Apply wood filler or wax to deep scratches, allow drying, then sand smoothly following the grain. Finish by refinishing with stain and sealant for a seamless look. For detailed guidance on each step and long-term care, continue exploring expert methods.
Assess the Damage on Your Wood Floors
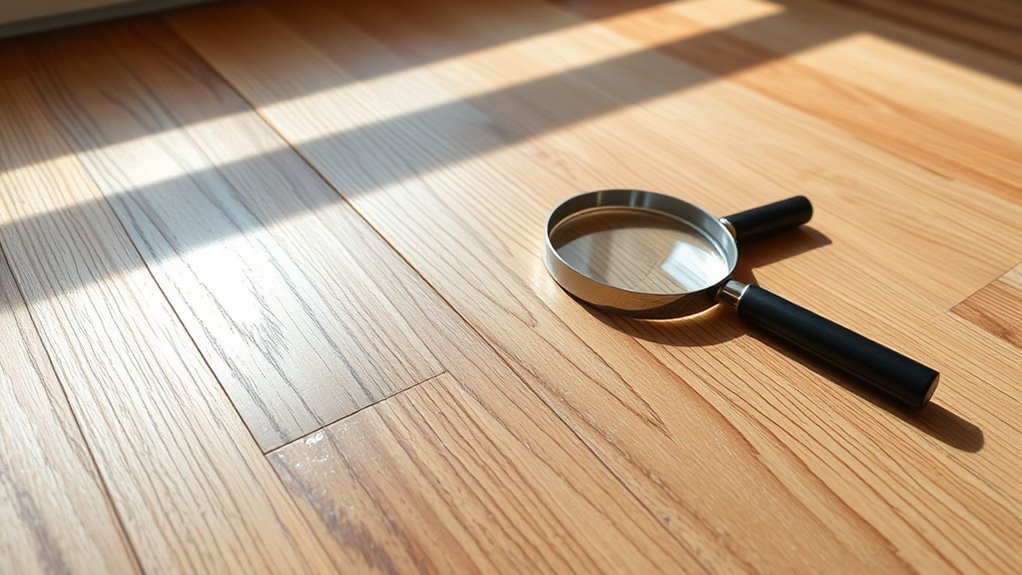
Before you begin any repairs, carefully examine the extent of the scratches on your wood floors. Conduct a thorough scratches evaluation by inspecting each affected area under good lighting. Identify whether the scratches are superficial, affecting only the finish, or if they penetrate deeper into the wood fibers. Evaluate the overall floor condition, noting any additional signs of wear or damage that could influence your repair strategy. This precise evaluation guarantees you select the appropriate repair method, whether a simple touch-up or a more extensive refinishing. By accurately evaluating the scratches and floor condition, you maintain control over the repair process, preserving your freedom to restore your floors efficiently without unnecessary interventions or costs. This foundational step dictates all subsequent actions for excellent results.
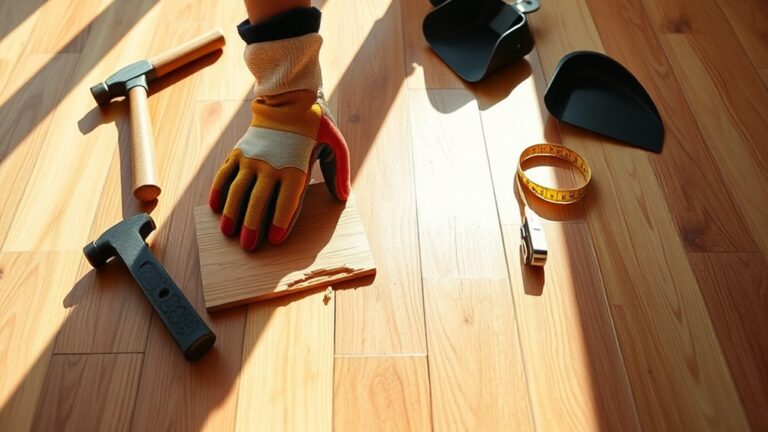
Gather Necessary Tools and Materials
Once you’ve assessed the damage, you’ll need to gather specific tools and materials tailored to the severity and type of scratches on your wood floors. Essential tool types include fine-grit sandpaper, putty knives, and applicator brushes, each selected for precision in smoothing or filling scratches. Material options vary from wood filler sticks and wax repair kits for minor abrasions to stain markers and polyurethane finishes for deeper damage. Choose materials that match your floor’s wood species and finish to guarantee seamless blending. Additionally, having lint-free cloths and protective gloves will aid in application and cleanup. Equipping yourself with the right tool types and material options guarantees efficient repairs, granting you the freedom to restore your floors with professional accuracy and lasting results.
Clean the Scratched Area Thoroughly
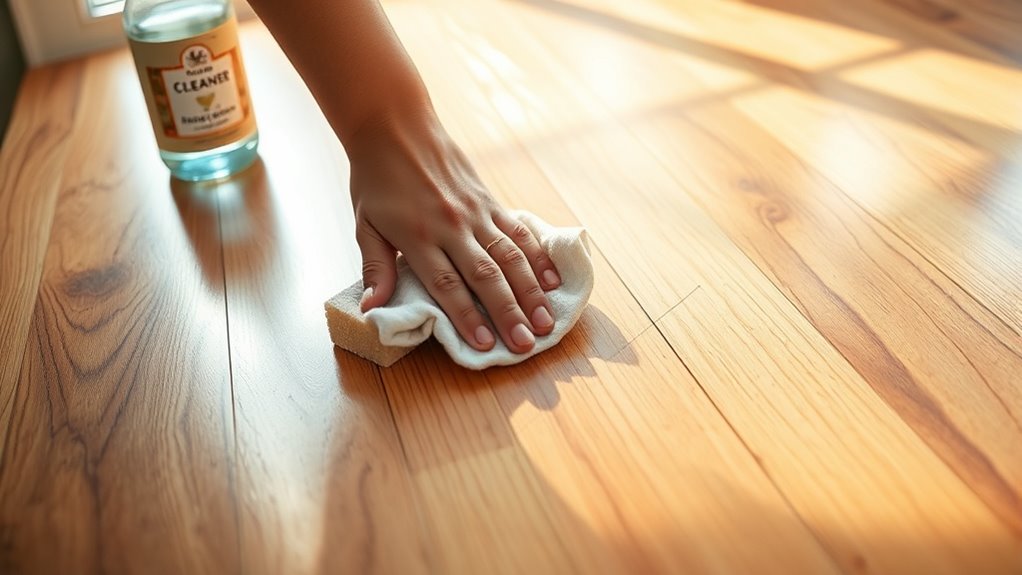
Before repairing, you need to remove all dust and debris from the scratched area to guarantee proper adhesion of repair materials. Select a cleaning solution compatible with your wood floor’s finish to avoid damage. Use a soft cloth or brush to gently clean without causing further scratches.
Remove Dust and Debris
To guarantee an effective repair, start by thoroughly removing all dust and debris from the scratched area. Proper dust removal guarantees the repair materials adhere correctly and prevents imperfections. Use appropriate cleaning tools designed for wood surfaces to avoid further damage. Follow these steps for precise cleaning:
- Use a soft-bristle brush to loosen dust within the scratch.
- Vacuum the area with a nozzle attachment to extract all particles.
- Wipe the surface gently with a microfiber cloth to catch remaining debris.
- Inspect under bright light to confirm complete dust removal.
This methodical approach provides you the freedom to proceed confidently, ensuring your wood floor repair is seamless and long-lasting without compromising the surface integrity.
Choose Appropriate Cleaning Solution
Selecting the right cleaning solution is crucial for thoroughly preparing the scratched area without damaging the wood finish. You’ll want to choose between natural cleaners and commercial solutions based on your floor’s finish and your personal preferences. Natural cleaners, such as diluted vinegar or mild soap, offer a gentle, eco-friendly approach, minimizing chemical exposure while effectively removing grime. However, for tougher residues or older scratches, commercial solutions designed specifically for wood floors can provide enhanced cleaning power and conditioning agents. Always test your chosen product on an inconspicuous spot first to verify it doesn’t dull or discolor the wood. By carefully selecting and applying the appropriate cleaner, you maintain the floor’s integrity and create an ideal surface for subsequent repair steps, guaranteeing your freedom to enjoy a beautifully restored wood floor.
Use Soft Cloth or Brush
One essential tool for cleaning the scratched area is a soft cloth or a fine-bristled brush, which allows you to remove dirt and debris without causing further damage. Selecting the right soft cloths and brush types is critical for preserving the wood’s integrity. Follow these steps:
- Choose microfiber soft cloths for gentle yet effective cleaning.
- Opt for a fine-bristled brush, such as a natural or nylon bristle, to avoid abrasion.
- Lightly dampen the cloth or brush with the chosen cleaning solution.
- Carefully clean the scratched area, moving with the wood grain to prevent additional scratches.
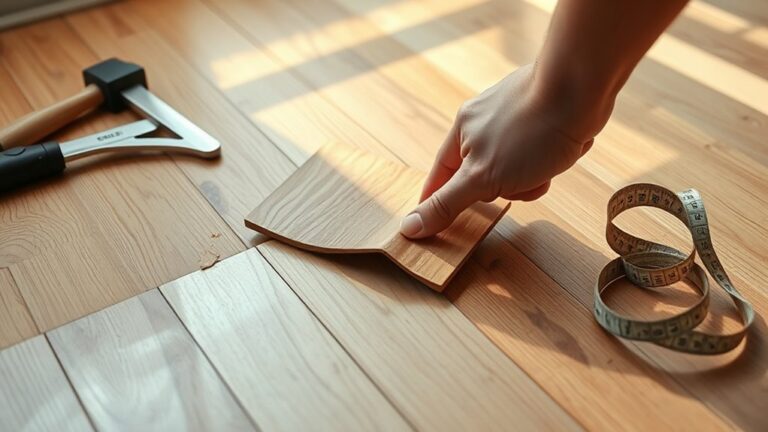
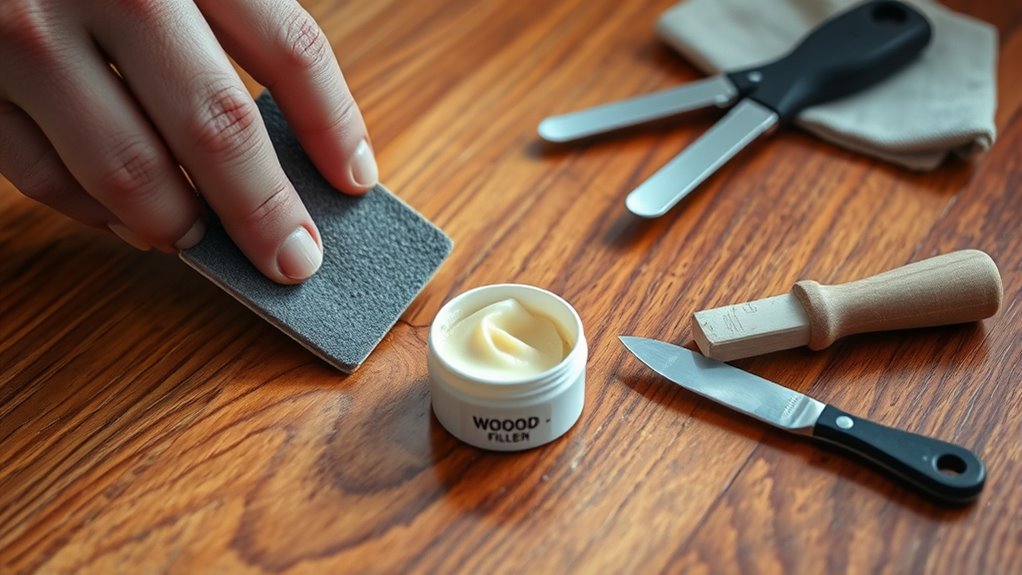
Apply Wood Filler or Wax to Deep Scratches
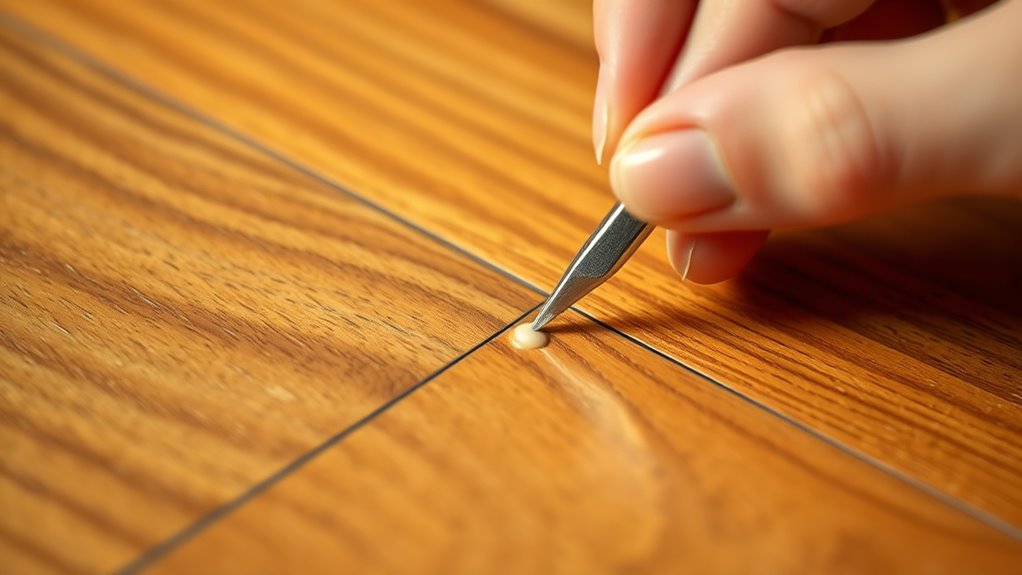
Although minor surface scratches can often be buffed out or touched up with stain, deep scratches require a more robust solution like wood filler or wax. Begin by selecting a wood filler that closely matches your floor’s tone; apply it directly into the groove using a putty knife, ensuring the filler fully penetrates the scratch. Allow it to dry according to the manufacturer’s instructions. For wax application, choose a wax stick tinted for your wood floor. Rub the wax firmly into the scratch, filling the void and smoothing the surface. Both methods restore the floor’s integrity and prevent moisture intrusion. Applying wood filler or wax correctly is essential for a durable, seamless repair that preserves your freedom to enjoy a flawless wood floor.
Sand the Area Smoothly to Blend Repairs
You’ll want to start with a fine-grit sandpaper—typically 220 grit—to gently smooth the filled area without damaging the surrounding wood. Use light, even strokes, following the grain to guarantee the repair blends seamlessly with the floor. Pay close attention to feathering the edges so the changeover is invisible once finished.
Choosing the Right Grit
When sanding a scratched wood floor, selecting the proper grit sandpaper is vital to achieve a smooth, seamless repair. Your grit selection directly impacts how well the repair blends with the surrounding wood. Follow this grit progression to optimize sanding techniques:
- Start with 80-grit to remove rough scratches and damaged finish quickly.
- Move to 120-grit for refining the surface and smoothing out deeper abrasions.
- Use 150-grit to even out minor scratches and prepare for finishing.
- Finish with 220-grit to achieve a polished, consistent texture that blends flawlessly.
Choosing the right grit guarantees controlled sanding, preventing over-sanding and preserving wood integrity. Mastering grit selection grants you freedom to restore your floor with professional precision.
Sanding Technique Tips
Selecting the right grit sets the foundation, but how you handle the sander determines the repair’s final look. Mastering sanding methods means applying even pressure and moving with the grain to avoid uneven surfaces. Start with coarse grit to remove scratches, then gradually progress to finer grits for a smooth finish.
| Step | Technique |
|---|---|
| Initial Sanding | Use 80-grit; steady, with grain |
| Intermediate | Switch to 120-grit; light touch |
| Final Pass | 220-grit; smooth, consistent |
| Edge Handling | Feather edges without overlap |
This approach guarantees your repair blends seamlessly. Precision in grit selection combined with controlled sanding methods empowers you to restore freedom and beauty to your wood floors without unnecessary damage.
Blending Edges Seamlessly
Although sanding removes scratches effectively, blending the edges seamlessly is essential to avoid visible repair lines. To achieve a flawless finish, focus on precise color matching and refined blending techniques. Here’s how you can master this step:
- Use fine-grit sandpaper to feather the edges, creating a smooth change between the repaired and original wood.
- Apply stain carefully, matching the floor’s existing color to maintain uniformity.
- Blend the stain outward from the repaired area with a soft cloth, ensuring no harsh lines appear.
- Seal the area with a clear finish that matches the surrounding floor’s sheen.
Refinish the Floor With Stain or Sealant
Before applying any stain or sealant, guarantee the floor is thoroughly cleaned and sanded to create an even surface that promotes ideal adhesion. For stain application, select a color that matches or enhances your wood’s natural tone. Use a high-quality brush or cloth to apply the stain evenly, working in the direction of the grain. Allow it to penetrate for the recommended time, then wipe off excess to avoid blotches. Once dry, evaluate sealant options—polyurethane, varnish, or penetrating oil—each providing distinct levels of protection and finish sheen. Apply your chosen sealant evenly with a clean applicator, maintaining smooth, consistent strokes. Proper refinishing restores the floor’s durability and appearance, granting you the freedom to enjoy a flawless, refreshed surface without worry.
Maintain and Protect Your Wood Floors Moving Forward
Once your wood floors are repaired and refinished, maintaining their condition requires consistent care and protection strategies. Effective floor maintenance hinges on implementing protective measures that prevent damage and preserve finish integrity. To safeguard your investment and maintain freedom of movement without worry, follow these key steps:
- Use high-quality area rugs or mats in high-traffic zones to reduce wear.
- Apply felt pads to furniture legs to avoid scratches during movement.
- Clean floors regularly with pH-neutral, wood-safe products to prevent surface degradation.
- Control indoor humidity levels between 30-50% to minimize wood expansion and contraction.
Adhering to these protective measures guarantees your floors remain pristine, extending their lifespan and maintaining aesthetic appeal with minimal intervention.