To replace a damaged laminate plank, first inspect the area and clear debris. Next, carefully score and pry up the broken plank using a utility knife and pry bar. Then, measure the replacement piece precisely and cut it to fit. After that, install the new plank by locking its tongue and groove with adjacent boards, securing it with a tapping block if needed. Finally, check seams for gaps and clean the floor properly to finish. Understanding these basics prepares you for smoother repairs ahead.
Assessing and Preparing the Damaged Area
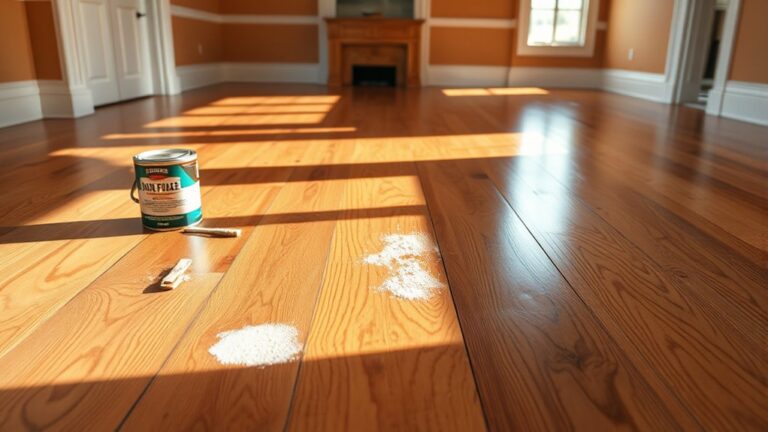
Before you begin replacing laminate flooring, carefully assess the damaged area to determine the extent of the repair needed. Conduct a thorough damage assessment by inspecting the affected plank and surrounding sections for cracks, warping, or moisture infiltration. This step guarantees you identify whether a single plank or multiple pieces require replacement. Use precise preparation techniques to clear the area—remove debris, dust, and any loose fragments that could interfere with the repair. Confirm the subfloor’s condition; it must be clean, dry, and level to support the new laminate. Proper damage assessment and systematic preparation techniques are critical to avoid further issues and assure a seamless replacement, giving you the freedom to restore your flooring efficiently and confidently.
Removing the Damaged Laminate Plank
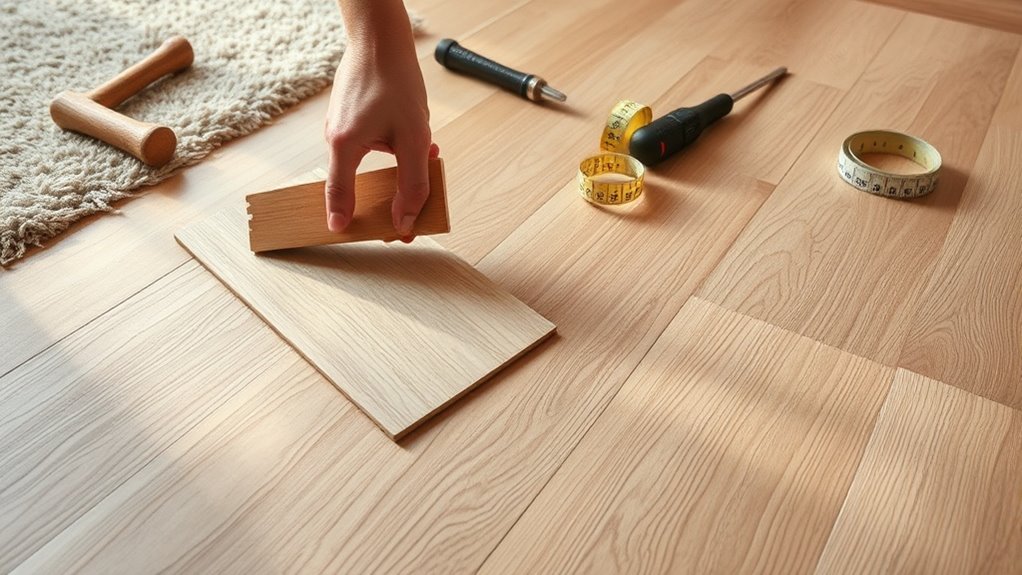
With the damaged area properly assessed and prepped, you can move on to removing the affected laminate plank. Start by gathering the tools needed: a utility knife, pry bar, and hammer. Safety precautions are essential—wear gloves and eye protection to avoid injury from sharp edges or flying debris.
Before removing a damaged laminate plank, gather tools and wear gloves and eye protection for safety.
To remove the plank efficiently:
- Score the damaged plank along the seams with a utility knife to weaken the locking mechanism.
- Gently insert the pry bar under the plank edge and lift carefully to avoid damaging adjacent planks.
- Use the hammer to tap the pry bar if necessary, applying controlled force.
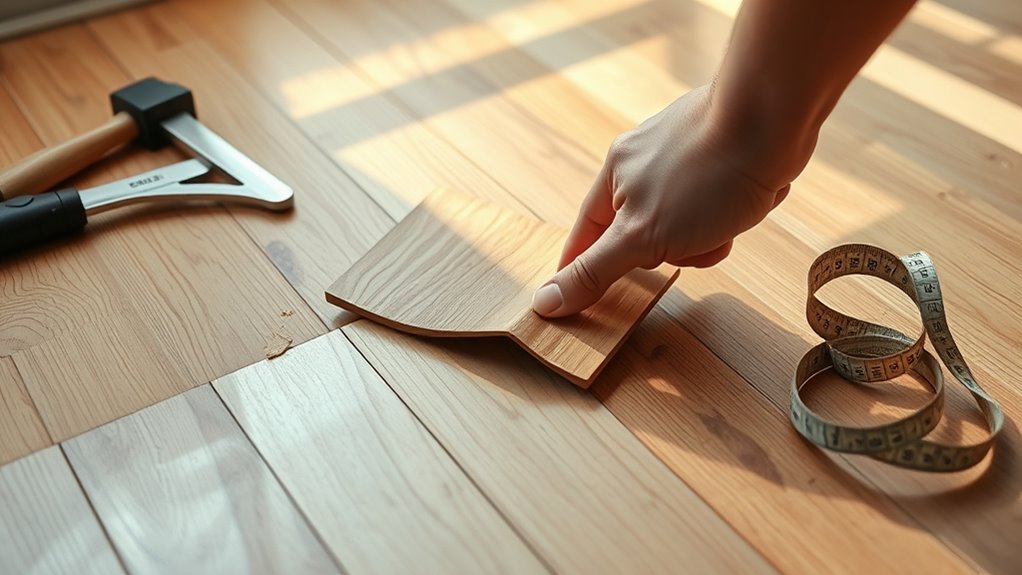
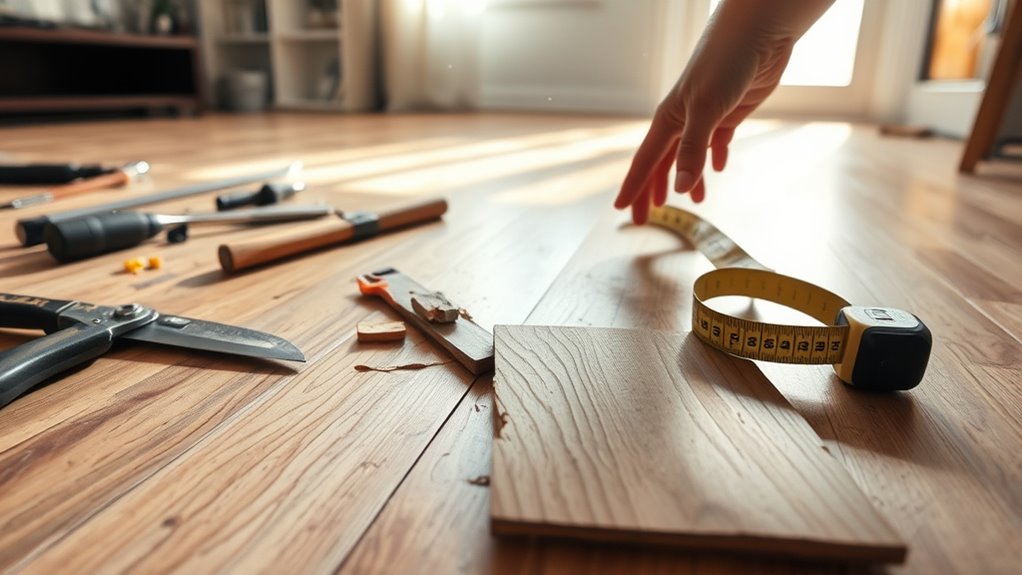
Measuring and Cutting the Replacement Plank
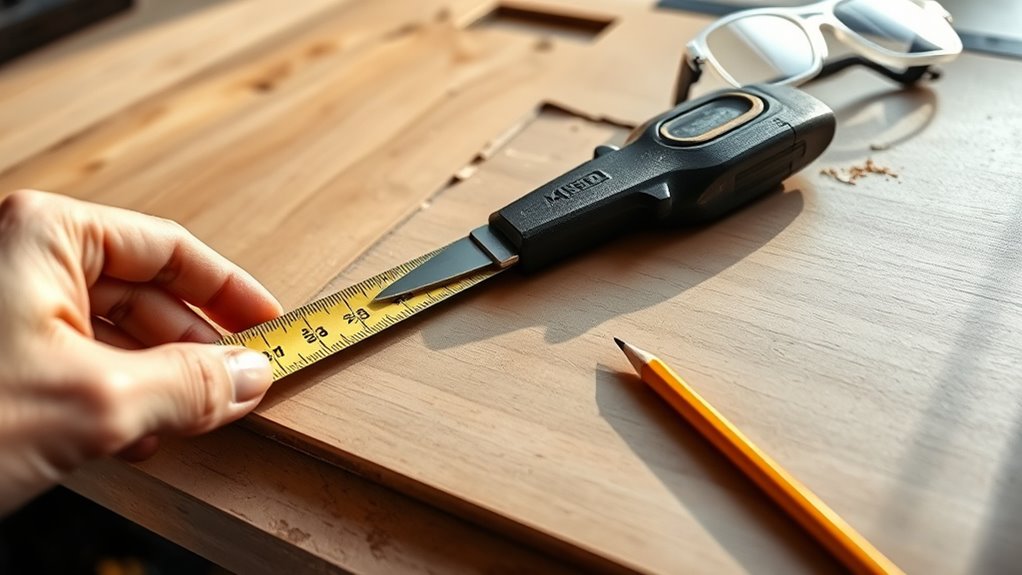
Once you’ve removed the damaged plank, you’ll need to measure the replacement precisely to guarantee a seamless fit. Use accurate measuring techniques by recording the plank’s length and width, accounting for any irregular cuts or space for expansion. Always double-check your measurements before proceeding. Next, select appropriate cutting tools such as a fine-toothed handsaw, jigsaw, or laminate cutter to assure clean, straight cuts without splintering. Secure the plank firmly before cutting to maintain control and accuracy. Cutting on the underside of the plank can help minimize visible damage. Precision during this step assures your replacement blends flawlessly with the existing flooring, maintaining both function and aesthetic. Mastering these measuring techniques and cutting tools frees you to restore your floor confidently and efficiently.
Installing the New Laminate Plank
Having accurately measured and cut your replacement plank, you’re ready to install it into the existing laminate floor. Begin by identifying the laminate types involved to ascertain compatibility during plank installation. Align the new plank’s tongue with the groove of the adjacent flooring. Insert at an angle, then press down firmly to lock it into place. Maintain the floor’s expansion gap and avoid forcing the plank to prevent damage.
- Use a tapping block and mallet to secure tight joints without marring the surface.
- Check plank alignment with surrounding boards for a seamless fit.
- Ascertain the underlayment remains intact to preserve flooring stability and sound insulation.
Following these steps guarantees a durable, professional-looking replacement that restores your floor’s integrity and freedom of movement.
Finishing Touches and Floor Maintenance Tips
Although the new plank is securely installed, you’ll need to complete a few finishing steps to guarantee longevity and maintain the floor’s appearance. Start by inspecting seams for gaps and apply matching laminate filler if necessary. Replace baseboards or moldings to secure edges and conceal expansion gaps. For floor cleaning, use a damp microfiber mop with a manufacturer-approved cleaner—avoid excessive water to prevent swelling. Implement damage prevention by placing felt pads under furniture, using area rugs in high-traffic zones, and promptly wiping spills to avoid stains or warping. Regularly check for loose planks or signs of wear to address issues early. These precise maintenance habits will preserve your laminate’s durability and aesthetic, giving you freedom from frequent repairs.