To lay linoleum flooring, start by gathering your tools including a utility knife, measuring tape, and adhesive. Prepare the subfloor by cleaning and ensuring it's level. Measure your space and acclimate the linoleum sheets for 24-48 hours. Cut the linoleum to fit, marking clearly and allowing for expansion gaps. Apply the adhesive evenly with a notched trowel, then position the first sheet and press firmly. Use a roller to remove air bubbles and continue laying additional sheets, ensuring tight seams. Finally, trim excess linoleum and seal edges to prevent moisture. You'll find more detailed steps and tips ahead.
Gather Necessary Tools
Before you begin laying linoleum flooring, it's vital to gather all necessary tools to guarantee a smooth installation process. Start with a utility knife for cutting the linoleum types you've chosen. A straight edge will help make certain precise cuts for your desired flooring patterns. You'll also need a measuring tape to accurately size your space and linoleum pieces. A roller is key for firmly adhering the flooring to the subfloor. Don't forget adhesive, whether it's glue or double-sided tape, depending on your linoleum type. Finally, keep a pair of knee pads handy; they'll protect your knees as you work. With the right tools in place, you're ready to transform your space with beautiful linoleum flooring.
Prepare the Subfloor
Before laying linoleum, you need to prepare the subfloor properly. Start by clearing the area of any furniture or debris, then inspect for any damage that could affect the installation. Finally, make certain to clean the subfloor thoroughly to guarantee peak adhesion of the linoleum.
Clear the Area
To successfully lay linoleum flooring, it is vital to begin by clearing the area and preparing the subfloor properly. Effective area preparation and space organization are fundamental for a seamless installation. Here's how to get started:
- Remove furniture: Take out all furniture and fixtures from the space to create a clear work area.
- Clean the subfloor: Sweep and mop the subfloor to eliminate dust, dirt, and debris that could affect adhesion.
- Check for unevenness: Verify the surface is level; fill any gaps or holes with a suitable leveling compound.
- Allow drying time: If you've applied any products, allow ample time for them to dry completely before proceeding.
Inspect for Damage
Once you've cleared the area, it's vital to inspect the subfloor for any damage that could compromise your linoleum installation. Begin your damage assessment by checking for cracks, warping, or moisture issues. These factors can lead to uneven surfaces and affect adhesion. Use a level to identify any dips or rises that need addressing. During your flooring inspection, pay attention to areas near walls and under appliances, as these spots often conceal potential problems. If you find significant damage, it's wise to repair or replace the subfloor before proceeding. Addressing these issues now guarantees a stable foundation for your linoleum flooring, allowing for a successful and long-lasting installation. Don't skip this step; it's essential for ideal results.
Clean Thoroughly Beforehand
Cleaning the subfloor thoroughly is essential for guaranteeing proper adhesion of your linoleum flooring. Without adequate surface preparation, your new flooring may not stick as intended. Follow these steps to achieve a clean foundation:
- Remove Furniture: Clear the area to prevent obstruction during cleaning.
- Sweep and Vacuum: Eliminate dust and debris using a broom and vacuum for a fine finish.
- Select Appropriate Cleaning Products: Use pH-neutral cleaners to avoid damaging the subfloor material.
- Mop the Surface: Employ a damp mop to guarantee all residues are removed, allowing the subfloor to dry completely before proceeding.
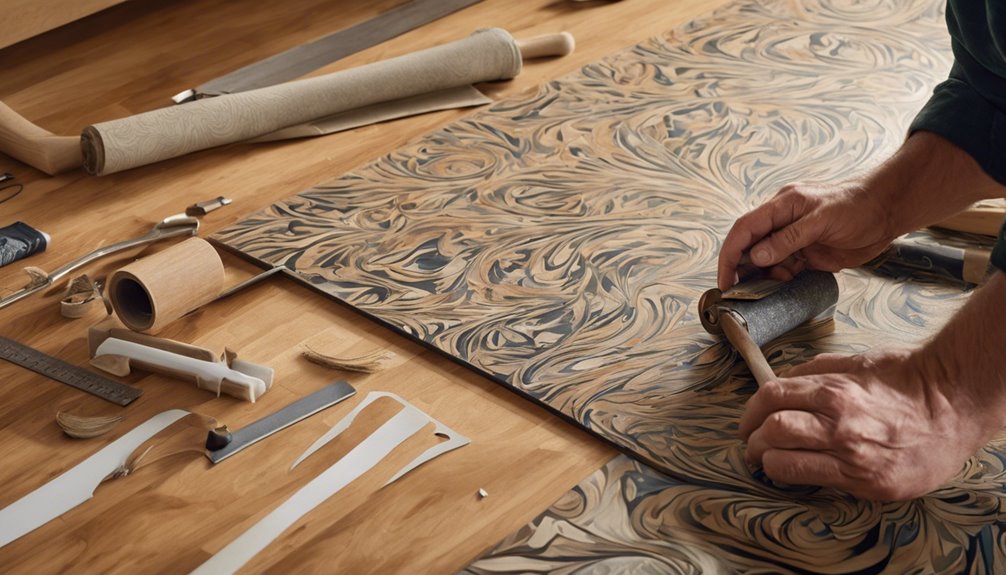
Measure and Cut Linoleum
Measuring and cutting linoleum accurately is essential for achieving a professional finish in your flooring project. Start by measuring the area where you'll install the linoleum, ensuring measure accuracy. Record your measurements and account for any irregularities in the space.
Next, use the appropriate cutting techniques. A straightedge and utility knife work best. Mark your cuts clearly before slicing through the linoleum.
Here's a quick reference table to guide you:
| Measurement Type | Tool |
|---|---|
| Straight Cuts | Utility Knife |
| Curved Cuts | Jigsaw or Scissors |
| Final Adjustments | Tile Cutter |
Apply Adhesive
Before you lay your linoleum, it's essential to choose the right adhesive for your specific flooring type. Different adhesives have varying application techniques, so make certain to follow the manufacturer's instructions closely. Proper application will guarantee a secure bond and a lasting finish.
Types of Adhesives
Choosing the right adhesive is essential for a successful linoleum installation, as it affects both the durability and appearance of your flooring. Familiarize yourself with these common adhesive types:
- Water-Based Adhesives: These are eco-friendly and easy to clean, making them a popular choice for residential applications.
- Pressure Sensitive Adhesives: Ideal for temporary installations; they allow for easy repositioning without sacrificing hold.
- Solvent-Based Adhesives: Offer strong bonding but require careful handling due to fumes; best for high-traffic areas.
- Contact Adhesives: Provide instant bonding on contact, suitable for specific projects where immediate adhesion is critical.
Choose the adhesive that best aligns with your project's needs, ensuring a lasting and visually appealing linoleum floor.
Application Techniques
While applying adhesive may seem straightforward, using the correct technique is essential for guaranteeing a strong bond and a smooth finish. Start by selecting the right adhesive for your linoleum patterns. Use a notched trowel to evenly spread the adhesive over the subfloor, following your chosen installation techniques. Apply enough pressure to create a uniform layer, avoiding excess that could ooze out during installation. Work in manageable sections to maintain control and prevent the adhesive from drying before you lay the linoleum. Be mindful of alignment; guarantee the patterns match as you lay each piece. Finally, roll the linoleum with a floor roller to remove air bubbles and secure the bond, giving you a flawless finish.
Lay the Linoleum
Once you've prepared the subfloor and gathered your materials, it's time to lay the linoleum. Follow these steps to guarantee a smooth installation that showcases beautiful linoleum patterns and flooring textures:
- Begin by unrolling the linoleum sheet, allowing it to acclimate to the room temperature for a few hours.
- Position the linoleum in the desired location, making sure it aligns correctly with your room's dimensions.
- Use a utility knife to trim any excess material, but leave a little overhang for adjustments.
- Apply adhesive on the subfloor, starting from the center and moving outward, pressing the linoleum into place to eliminate air bubbles.
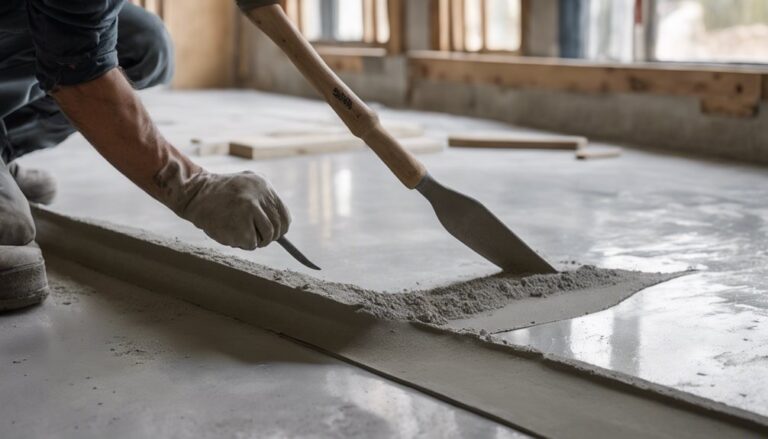
Trim the Edges
Trimming the edges of your linoleum flooring is essential for achieving a clean and professional finish. Start by using a utility knife and a straight edge to score the linoleum along the walls. Apply consistent pressure, ensuring you cut through the material without damaging the subfloor. After cutting, fold back the excess linoleum to expose the edges. For ideal results, employ edge sealing techniques to prevent moisture from seeping beneath the flooring. These techniques include applying adhesive along the edges and using a caulking gun for a neat seal. Once you've sealed the edges, double-check for any gaps or irregularities. This meticulous trimming process enhances durability and gives your floor a polished look.
Finish and Clean Up
After you've completed the installation of your linoleum flooring, it's crucial to finish and clean up to guarantee a long-lasting and appealing result. Here's a quick guide to help you wrap things up:
- Final Inspection: Check for any loose edges or imperfections. Confirm everything looks smooth and even.
- Clean the Surface: Sweep or vacuum to remove debris. Use a damp mop with a mild cleaner to wash the floor.
- Seal the Edges: Apply a sealant around the edges if required, to protect against moisture.
- Maintenance Tips: Regularly clean with a damp mop and avoid harsh chemicals to preserve the floor's shine.
Frequently Asked Questions
Can Linoleum Flooring Be Installed Over Existing Floors?
Imagine transforming your space, much like a canvas waiting for a masterpiece. Yes, you can install linoleum flooring over existing floors, but you'll need to take into account the flooring types underneath. Make certain they're level and clean for proper adhesion. Common installation methods include glue-down and loose lay techniques. Remember, the freedom to choose your style lies in preparation. A solid foundation guarantees your new flooring lasts while enhancing your home's aesthetic.
How Long Does Linoleum Flooring Last on Average?
When considering how long linoleum flooring lasts on average, you should account for various durability factors. Typically, linoleum has a lifespan expectation of 20 to 40 years, depending on the quality of the material and maintenance practices. Regular cleaning, avoiding excessive moisture, and proper installation help maximize its longevity. You'll find that investing in higher-quality linoleum can greatly enhance its durability and overall performance in your space.
Is Linoleum Flooring Suitable for Bathrooms and Kitchens?
Yes, linoleum flooring is suitable for bathrooms and kitchens due to its water resistance. It can handle spills and humidity better than some other flooring types. When choosing linoleum, you'll find a variety of design options, allowing you to match your personal style while ensuring functionality. Just make sure to properly seal the seams to enhance its moisture resistance and maintain its longevity. Enjoy the freedom to create a stylish yet practical space!
What Maintenance Is Required for Linoleum Flooring?
Maintaining linoleum flooring involves regular cleaning techniques and occasional repair tips. You should sweep or vacuum frequently to remove dirt and debris, and mop with a mild detergent to keep it looking fresh. Avoid harsh chemicals that can damage the surface. For repairs, address scratches or dents promptly using a linoleum repair kit, ensuring the color matches. With these steps, your flooring will remain in excellent condition, giving you the freedom to enjoy your space.
Can I Install Linoleum Flooring Myself, or Should I Hire a Professional?
You can definitely tackle linoleum flooring installation yourself if you're handy and enjoy DIY projects. However, if you're unsure about the process or lack the right tools, hiring professional assistance might be the better choice. They'll guarantee proper installation and save you potential headaches down the line. Ultimately, it depends on your confidence level and willingness to invest time in learning the techniques required for a successful outcome.