To fix a scratch in your wood floor, first determine its depth by feeling with your fingernail. Clean the area thoroughly and lightly sand around the scratch. For minor surface scratches, apply a matching wax stick or wood marker, then buff gently. For deeper damage, press wood filler firmly into the scratch and smooth excess before it dries. Proper sanding and refinishing improve results. Following these steps guarantees a professional finish; learn additional tips to enhance your floor’s longevity.
Identifying the Type and Depth of the Scratch
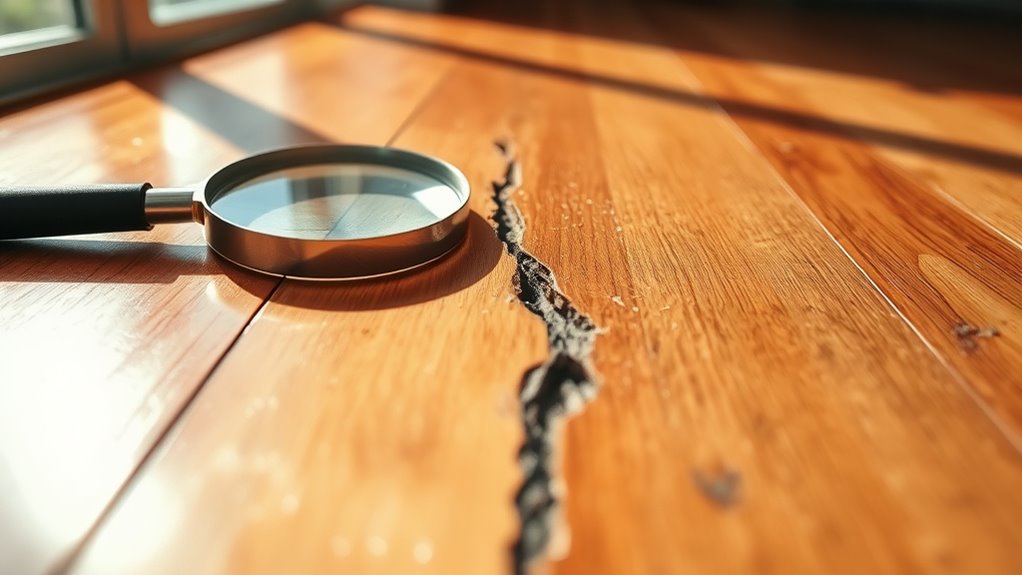
How deep is the scratch on your wood floor? To repair effectively, you must first identify the scratch types and assess the scratch depth accurately. Surface scratches only affect the finish layer and are typically shallow, visible as fine lines. In contrast, deeper scratches penetrate into the wood substrate, sometimes exposing bare wood. Use a fingernail or a magnifying glass to gauge depth: if your nail catches, the scratch is deeper and may require filling. Differentiating between finish damage and structural wood damage is essential. Understanding these distinctions gives you the freedom to choose the proper repair method—whether simply buffing out the finish or applying wood filler for deeper gouges. Precise identification saves time and guarantees your floor’s durability and aesthetic restoration.
Preparing the Wood Floor for Repair
Before starting any repair work, you’ll need to thoroughly prepare the wood floor to guarantee ideal adhesion and a smooth finish. Proper preparation involves meticulous cleaning surface residues and carefully evaluating damage to confirm your repair method fits the scratch severity.
Thoroughly prepare your wood floor with cleaning and damage evaluation for the best repair results.
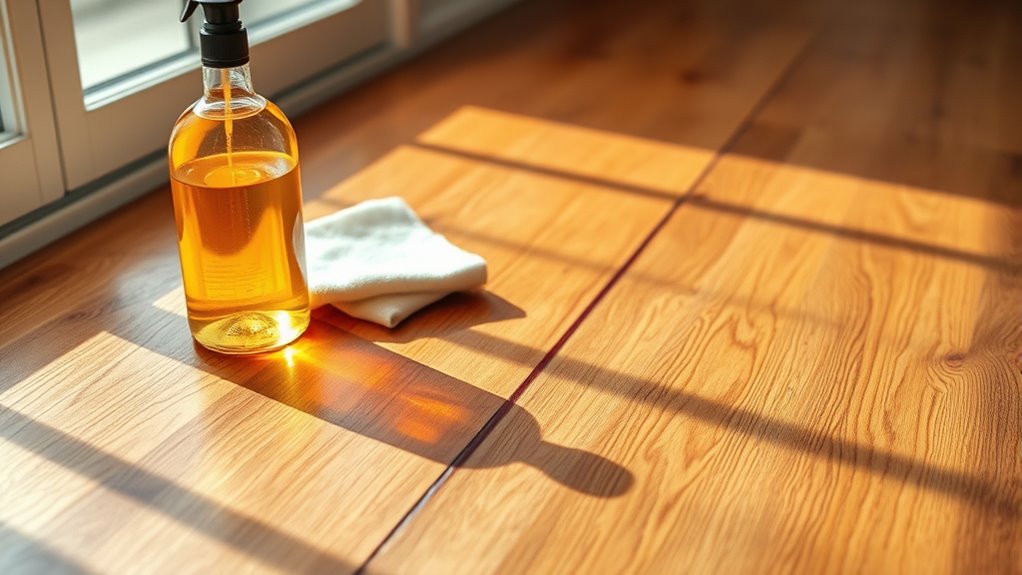
- Cleaning Surface: Remove all dirt, dust, and oils using a wood-safe cleaner and a lint-free cloth; this prevents interference with repair materials.
- Evaluating Damage: Re-examine the scratch under good lighting to confirm depth and whether it penetrates the finish or the wood itself.
- Sanding Edges: Lightly sand the scratch perimeter with fine-grit sandpaper to smooth rough edges, promoting better filler or stain adhesion.
Following these steps empowers you to achieve a durable, seamless repair that restores your wood floor’s freedom from visible damage.
Using Wax or Wood Markers for Minor Scratches
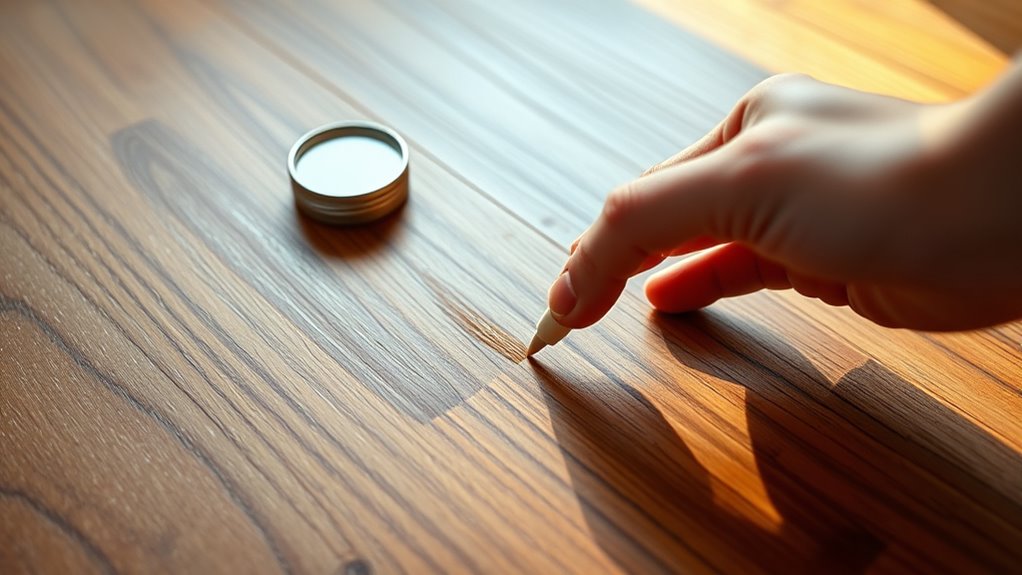
A wax stick or wood marker provides an efficient solution for addressing minor scratches that only affect the surface finish without penetrating deeply into the wood. Begin by carefully evaluating the scratch depth and color match needed. For wax application, choose a wax stick closely matching your floor’s hue, then gently rub it over the scratch, filling it completely. Use a plastic scraper or cloth to remove excess wax, ensuring a smooth surface. When it comes to marker selection, pick a wood marker shade that aligns precisely with your floor’s tone. Apply the marker carefully within the scratch’s boundaries, avoiding overlap onto surrounding areas. Allow the marker to dry fully before lightly buffing. These targeted steps restore appearance while preserving the wood’s original texture and finish.
Applying Wood Filler for Deeper Scratches
When deeper scratches penetrate the wood surface, you’ll need to use wood filler to restore structural integrity and appearance. Choosing the right wood filler types is essential—they vary by composition (latex, epoxy, or solvent-based) and drying times. Proper application techniques guarantee a seamless repair:
Deeper wood scratches require the right filler type and technique for a flawless, lasting repair.
- Clean the scratch thoroughly to remove dust and debris.
- Apply the wood filler with a putty knife, pressing firmly to fill the scratch completely.
- Smooth the surface by removing excess filler before it dries to minimize sanding later.
Select a filler that closely matches your floor’s color for a natural look. Accurate application prevents gaps and cracking, preserving your floor’s durability and aesthetic freedom.
Sanding and Refinishing the Repaired Area
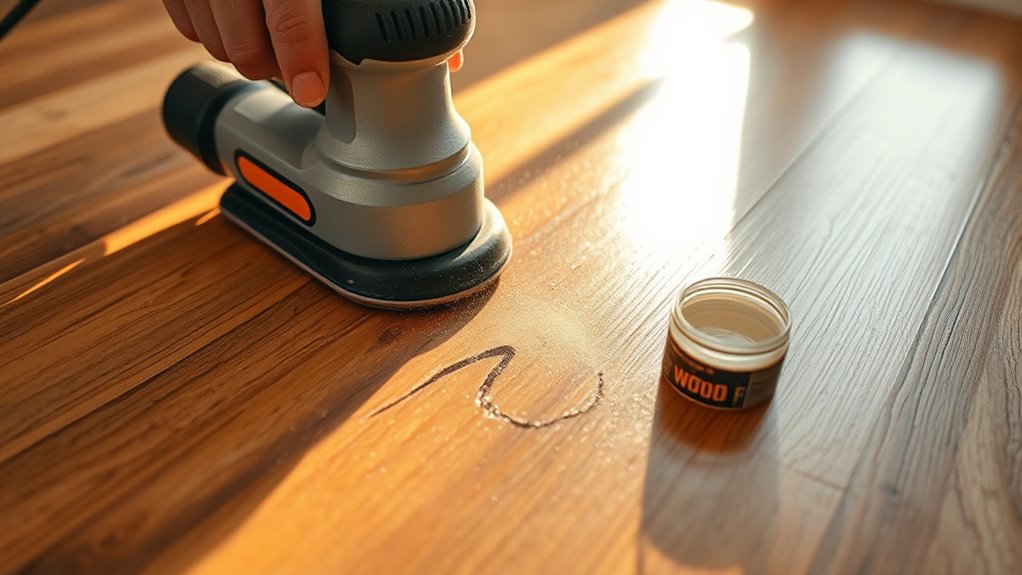
Since wood filler needs to be flush with the floor surface, you’ll start by sanding the repaired area with fine-grit sandpaper to achieve a smooth, level finish. Employ precise sanding techniques, moving the sandpaper in the direction of the wood grain to avoid unevenness or further damage. After sanding, thoroughly clean the dust to guarantee proper adhesion of refinishing products. Choose a refinishing product that matches your floor’s original finish—whether it’s oil-based polyurethane or water-based varnish—and apply it evenly using a high-quality brush or applicator. Allow adequate drying time between coats, lightly sanding with ultra-fine grit sandpaper between applications to maintain smoothness. This careful sanding and refinishing process restores the wood floor’s seamless appearance and durability, giving you the freedom to enjoy a flawless surface.
Preventive Measures to Avoid Future Scratches
To prevent future scratches on your wood floor, apply protective floor coverings like area rugs or mats in high-traffic zones to absorb impact and reduce friction. Guarantee furniture legs have high-quality felt pads securely attached to distribute weight evenly and minimize surface abrasion. Regularly inspect and replace these pads to maintain effective protection over time.
Use Protective Floor Coverings
Although repairing scratches is essential, preventing them through protective floor coverings greatly extends the lifespan of your wood floor. You’ll want to strategically use protective mats and floor rugs to shield vulnerable areas from abrasion, dirt, and moisture. Here are three key applications to take into account:
- Place protective mats at entryways to capture grit and debris that cause micro-scratches.
- Use floor rugs in high-traffic zones to reduce direct wear and tear.
- Select non-slip, breathable materials to avoid trapping moisture under coverings, which can warp wood.
Maintain Furniture With Pads
When you place furniture directly on your wood floor, even slight movements can cause scratches and dents over time. To guarantee effective scratch prevention, use furniture pads designed for various leg types. These pads act as a barrier, distributing pressure and minimizing friction during furniture shifts. Regular furniture maintenance includes inspecting pads for wear and replacing them promptly to sustain protection.
| Pad Type | Suitable Furniture |
|---|---|
| Felt | Chairs, small tables |
| Rubber | Sofas, heavy cabinets |
| Plastic Glides | Desks, movable shelves |
Consistent use of these pads is crucial for preserving your wood floor’s integrity and maintaining a scratch-free environment, granting you the freedom to move furniture without worry.