To start vinyl plank flooring, first gather your tools and materials like a utility knife and spacers. Prepare your subfloor by cleaning and fixing any uneven spots. Measure your room and plan the layout to minimize waste. Acclimate the planks in the room for a couple of days. Begin laying the first row, ensuring a snug fit, then continue installing rows in a staggered pattern. Finally, finish with trim and inspect for gaps. Keep going to discover helpful tips for a flawless finish.
Gather Your Tools and Materials
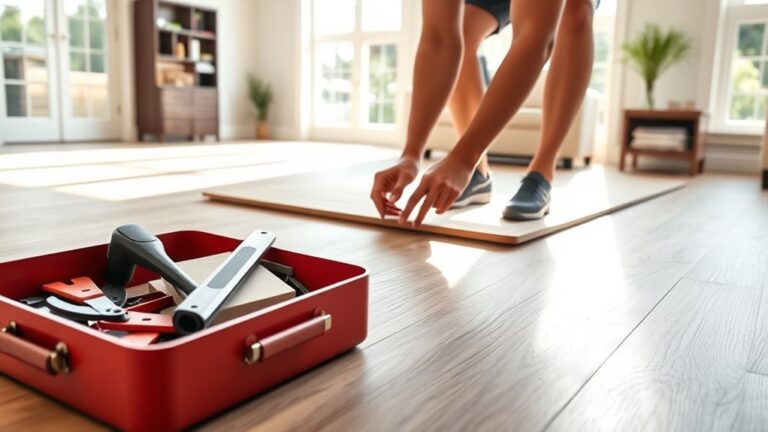
Before you begin installing vinyl plank flooring, it’s important to gather all the necessary tools and materials. Your success depends heavily on smart tool selection and efficient material sourcing. Start by choosing essential tools like a utility knife, measuring tape, spacers, a tapping block, and a rubber mallet. These will help you cut and fit the planks precisely. For material sourcing, pick high-quality vinyl planks that suit your style and durability needs. Don’t forget underlayment if your flooring requires it, and adhesive if you’re not using click-lock planks. By preparing everything upfront, you’ll avoid interruptions and maintain momentum throughout your project. This approach gives you the freedom to work smoothly and confidently, making the installation process more enjoyable and efficient.
Prepare the Subfloor
Before laying your vinyl planks, make certain the subfloor is clean and completely dry to prevent any issues down the line. Fix any cracks, holes, or uneven spots so your flooring will sit flat and look professional. Taking these steps guarantees a smooth, level surface that’ll help your vinyl planks last longer.
Clean and Dry Surface
One essential step to guarantee your vinyl plank flooring lasts is making sure the subfloor is completely clean and dry. Proper cleaning techniques and drying methods are key to a smooth installation and long-term durability.
Follow these steps to prepare your surface:
- Sweep or vacuum thoroughly to remove all dirt and debris.
- Use a damp mop with a mild cleaner to wipe down the floor, avoiding excess water.
- Let the floor air dry completely or speed up drying with fans or dehumidifiers.
- Check for any moisture by placing a plastic sheet on the floor overnight; if condensation appears, continue drying.
Repair Floor Imperfections
Although you’ve cleaned and dried the surface, you’ll still need to repair any imperfections in the subfloor to guarantee your vinyl plank flooring lays flat and adheres properly. Start by inspecting the floor for cracks, holes, or loose sections. Fill small gaps with a quality floor patch compound, applying it smoothly to maintain an even surface. For deeper damage, you might need to use a stronger repair product or replace damaged sections. This step is essential in surface preparation because any unevenness can compromise the flooring’s durability. Proper floor leveling isn’t about perfection, but about creating a stable foundation. Taking the time now assures your vinyl planks won’t warp or shift later, giving you the freedom to enjoy a flawless, long-lasting floor.
Ensure Level Subfloor
After fixing any imperfections, the next step is to verify your subfloor is completely level. This guarantees your vinyl plank flooring lays flat and lasts longer. Different subfloor types—like plywood, concrete, or OSB—each need specific leveling techniques. Here’s how to proceed:
- Check levelness: Use a long level or straightedge across the subfloor to spot high or low spots.
- Fill low areas: Apply a leveling compound to depressions and let it dry completely.
- Sand high spots: Lightly sand raised areas to create a smooth surface.
- Recheck the surface: Confirm the entire subfloor is even before laying planks.
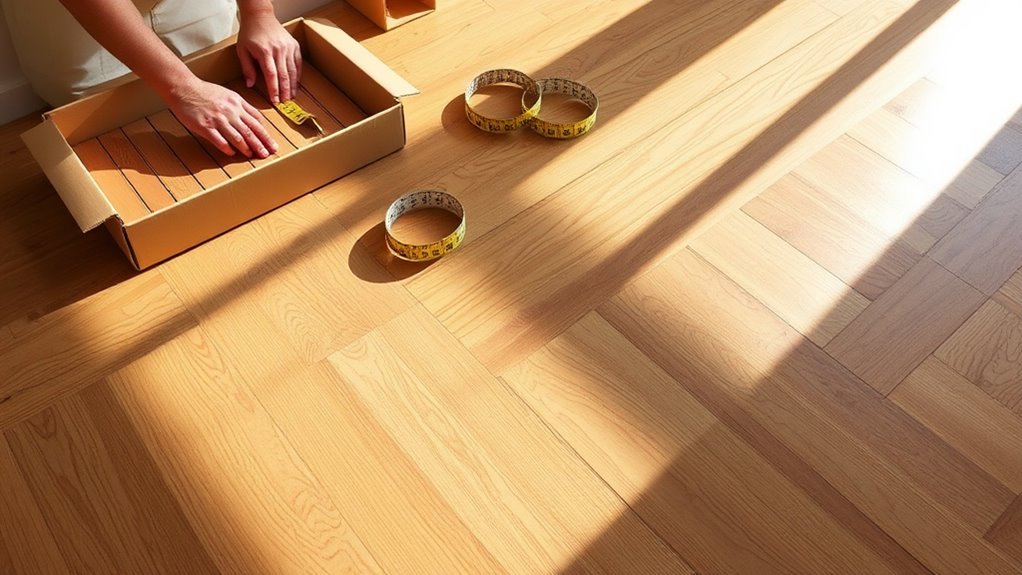
Measure and Plan Your Layout
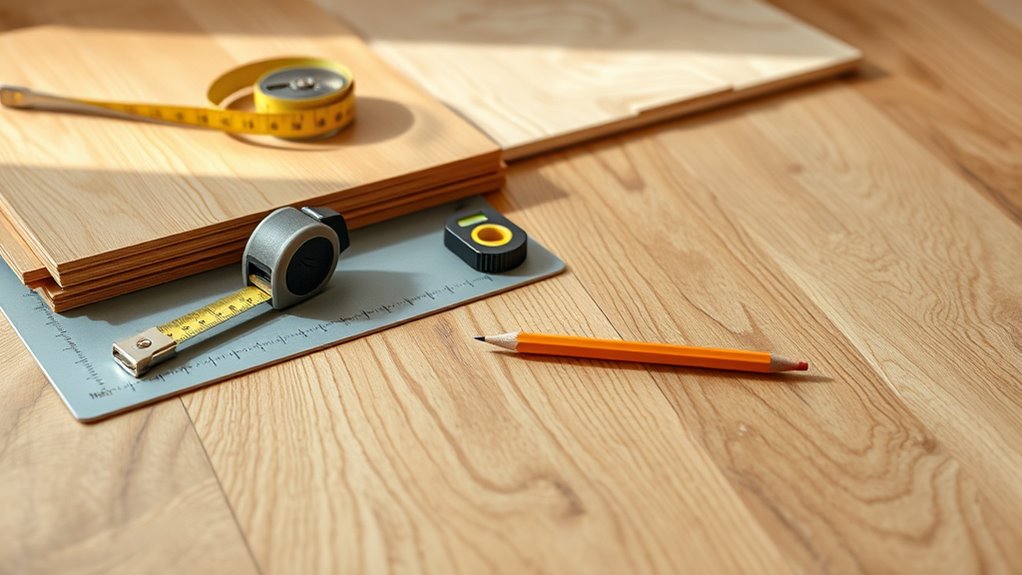
Before you lay down any vinyl planks, taking accurate measurements and planning your layout is essential to guarantee a smooth installation. Start by measuring the room dimensions carefully—length and width—so you know exactly how much material you’ll need. Next, consider your layout design; decide whether you want the planks to run parallel to the longest wall or create a diagonal pattern for visual interest. Sketching your layout on paper helps you spot potential challenges like awkward cuts or uneven edges. Keep in mind that starting along a straight wall will make the process easier and the final result cleaner. By planning ahead and understanding your room’s dimensions, you’ll save time, reduce waste, and enjoy a flooring project that feels truly liberating.
Acclimate the Vinyl Planks
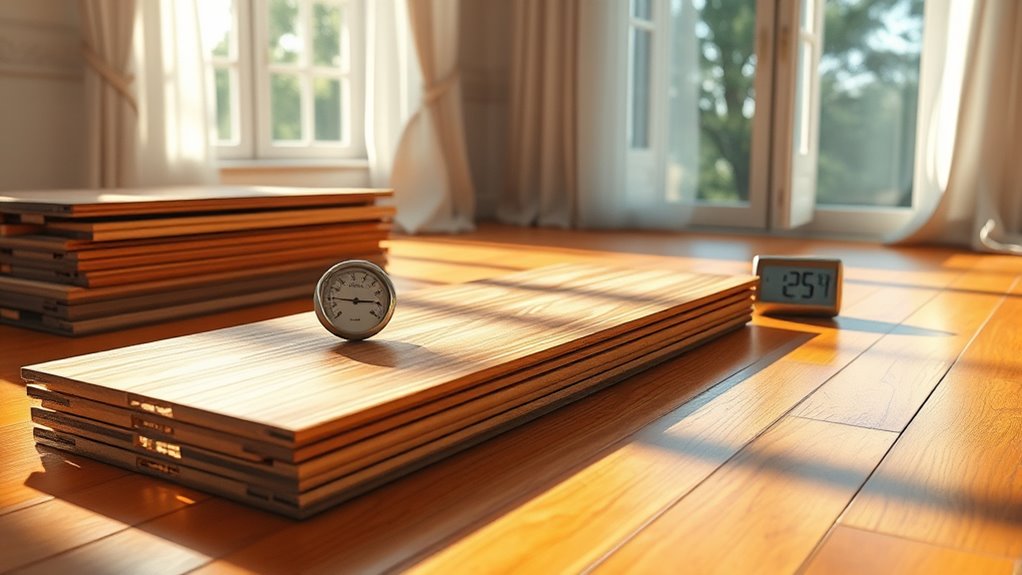
To guarantee your vinyl planks perform well and fit perfectly, you’ll want to acclimate them properly. This means letting them adjust to the room’s temperature and humidity levels before installation. Here’s how to do it right:
- Store the planks unopened in the room where you’ll install them.
- Maintain consistent temperature control between 65°F and 85°F.
- Keep humidity levels steady, ideally between 30% and 50%.
- Let the planks sit for at least 48 hours, allowing them to expand or contract naturally.
Start Laying the First Row
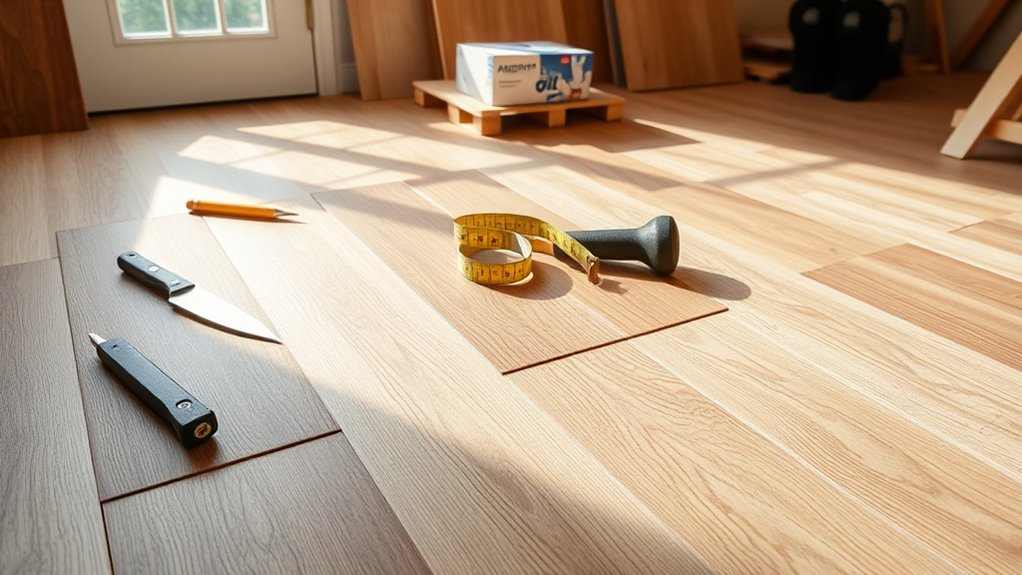
Once your vinyl planks have acclimated to the room’s conditions, you’re ready to start laying the first row. Begin by selecting the longest, straightest planks for this row to guarantee a solid foundation. Pay close attention to your first row alignment—make sure the planks are perfectly straight and flush against the wall, leaving a small plank spacing gap (usually about ¼ inch) to allow for natural expansion. Use spacers to maintain consistent gaps along the edges. This careful alignment sets the tone for the entire floor, so take your time. As you place each plank, check that the edges click tightly together without forcing them. Starting strong with proper first row alignment and plank spacing will give your vinyl plank flooring a flawless, professional look and the freedom to expand without issues.
Continue Installing Remaining Rows
Keep the momentum going by carefully installing each subsequent row of vinyl planks. Proper row alignment guarantees your floor looks seamless and professional. Here’s how to proceed:
- Begin each new row by connecting the plank’s tongue to the groove of the previous row, maintaining tight seams.
- Stagger the end joints by cutting the first plank in each row to a different length—this boosts stability and style.
- Use precise cutting techniques for fitting planks around obstacles or walls; a sharp utility knife and straight edge work best.
- Tap the planks gently with a tapping block to lock them firmly in place without damaging edges.
Following these steps will keep your floor sturdy and visually appealing as you work across the space.
Finish and Inspect Your Flooring
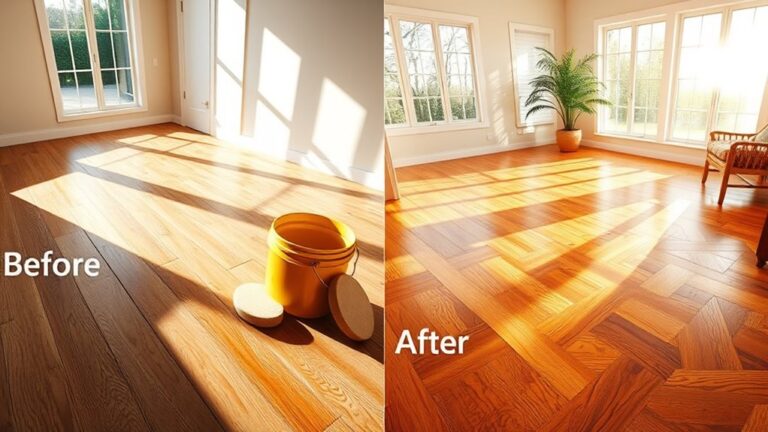
Now that your vinyl planks are in place, it’s time to focus on the final touches and make certain everything looks perfect. Take a close look for any gaps, damage, or uneven edges that might need fixing. This quality check guarantees your flooring not only looks great but lasts longer too.
Final Touches Overview
Before you call your vinyl plank flooring project complete, there are a few essential final touches to address that confirm durability and a polished look. These final touches guarantee your hard work lasts and looks great.
- Install flooring accessories like baseboards and connector strips to cover expansion gaps neatly.
- Apply trim pieces where the flooring meets walls or cabinets for a seamless finish.
- Clean the surface thoroughly to remove dust and adhesive residue.
- Check that all planks are securely locked together with no movement or gaps.
Quality and Damage Check
A thorough quality and damage check is essential to guarantee your vinyl plank flooring looks flawless and performs well over time. Start by carefully inspecting each plank for any scratches, dents, or imperfections. Conducting a detailed quality assessment at this stage helps you catch issues early, ensuring your floor remains durable and attractive. Next, examine the seams and edges to make sure everything fits snugly without gaps. This not only enhances the appearance but also plays a crucial role in damage prevention by reducing moisture infiltration. If you spot any problems, address them immediately—replacing damaged planks or tightening loose sections. Taking these proactive steps lets you enjoy a beautiful, long-lasting floor without unexpected repairs down the road.