Are your hardwood floors looking tired and worn out? Do you dream of bringing back their original beauty without breaking the bank?
You’re not alone. Many homeowners like you are discovering the magic of DIY hardwood floor refinishing. Imagine the satisfaction of transforming your space with your own hands, saving money, and adding value to your home all at once. As you embark on this rewarding project, you’ll uncover the secrets to achieving a professional finish, while enjoying the process and learning new skills.
Keep reading to discover step-by-step guidance, handy tips, and tricks that will empower you to make your floors shine like never before.
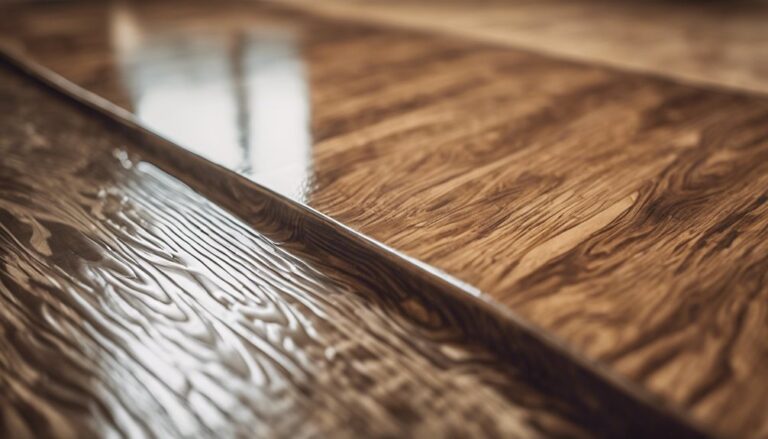
 Floor Refinishing: Ultimate Guide”/>
Benefits Of Diy Hardwood Floor Refinishing
Save money by doing the work yourself. Professional services can cost a lot. DIY projects often cost less. You get to learn new skills. Refinishing floors can be fun.
You control the process and timing. Work at your own pace. Choose the finish you like best. Personalize your floors as you wish.
Gain a sense of achievement. Completing a DIY task feels great. Your home looks better. Your floors will shine bright. Friends and family will notice.
Tools And Materials Needed
A sander is crucial for this project. Choose a drum sander for large areas. Get an edger for corners and edges. A scraper helps remove stubborn spots. Sandpaper is vital too. Use different grits for smoothness. A vacuum removes dust and debris. Don’t forget a brush or roller for applying finish.
| Material | Description |
|---|---|
| Wood Stain | Changes the color of the floor. |
| Sealant | Protects the wood surface. |
| Finish | Gives shine and durability. |
| Wood Filler | Fills gaps and cracks. |
Always wear a dust mask. It keeps dust away from your lungs. Use goggles to protect your eyes. Gloves shield your hands from chemicals. Choose earplugs to guard against loud noises. Safety shoes protect your feet from heavy tools. Safety matters!
Preparing The Floor
Move all furniture and items from the room. Ensure the space is clear. This helps to avoid any damage. Use a hand truck for heavy items. Keep small items in boxes. Remember, a clear area makes work easy.
Look for cracks or holes in the floor. Fill them with wood filler. Make sure the filler is dry. Sand it down until smooth. Check for loose boards. Nail them back in place. A fixed floor is a happy floor.
Sweep the floor to remove dust. Use a vacuum for small particles. Mop the floor with warm water and mild soap. Let it dry completely. A clean floor ensures good results. Always keep the floor dry before starting.
Sanding The Hardwood
Picking the correct sandpaper is key for a smooth finish. Coarse grit sandpaper removes old stains and dirt. Start with 40-grit sandpaper. Medium grit helps make the floor smoother. Move to 60-grit next. Fine grit provides a polished look. Finish with 100-grit sandpaper.
Sand in the direction of the wood grain. This keeps the floor looking natural. Use steady, slow motions. Avoid staying in one spot too long. This prevents dents or uneven surfaces. Keep the sander moving for a uniform look.
Edges and corners need extra care. Hand sand these areas with a small piece of sandpaper. Use the same grit as the main floor. Ensure all surfaces are even. Be gentle to avoid scratches. Patience is key for a neat finish.
Staining And Finishing Options
Picking the right stain color is important. It changes the look of your floor. Dark colors make rooms feel cozy. Light colors make them look bright and big. Test a few colors first. Use a small hidden spot on the floor. This helps you see which color you like best.
Clean the floor well before applying stain. Use a clean cloth or brush. Work in small sections. This helps cover the floor evenly. Let the stain dry completely. This usually takes a few hours. Check the instructions on the stain can. They tell you how long to wait.
There are two main finish types: glossy and matte. Glossy finishes shine bright. They are easy to clean. Matte finishes look soft. They hide scratches better. Think about how much foot traffic your floor gets. This helps you pick the best finish type for your home.

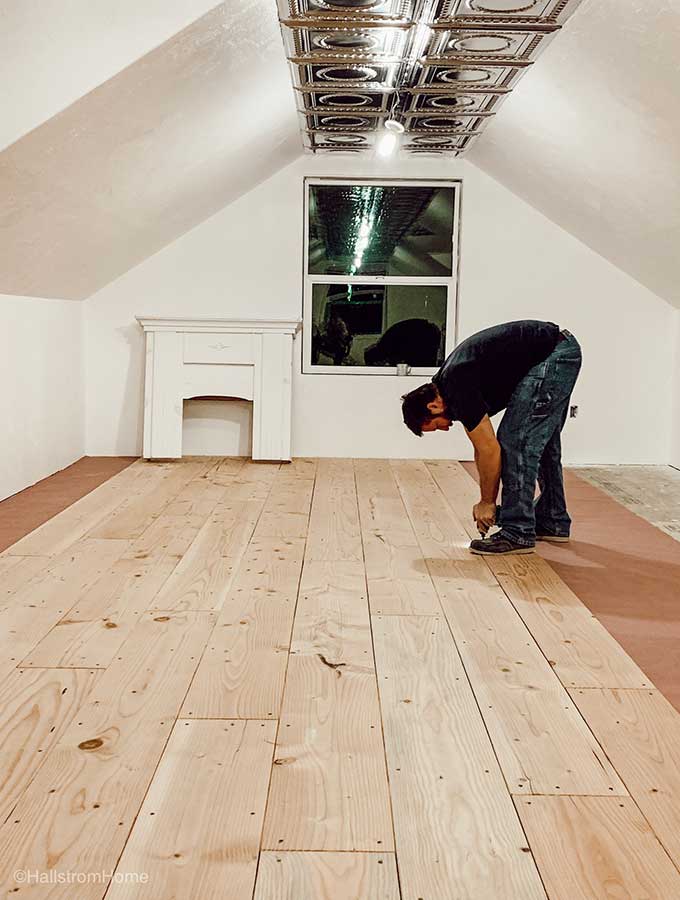
Applying The Finish
First, clean the floor with a soft cloth. Make sure no dust remains. Pour the finish into a tray. Use a brush for edges and corners. A roller works best for large areas. Apply a thin coat evenly. Let the first coat dry. Repeat with a second coat for best results.
Allow the finish to dry for at least 24 hours. Keep the room well-ventilated. This helps the finish dry faster. Do not step on the floor during this time. The finish needs time to cure fully. Curing can take up to a week. Be patient for best results.
Sometimes bubbles form in the finish. This can happen if applied too thickly. Use a brush to smooth them out. Streaks might appear if not mixed well. Stir the finish before use. Uneven color can occur if the floor is not clean. Ensure the floor is dirt-free before starting.
Maintaining Your Refinished Floor
Refinished hardwood floors need regular care to stay beautiful. Clean spills quickly to prevent stains. Use a soft broom or vacuum to remove dust and dirt gently. Protect the floor with rugs in high-traffic areas.
Regular Cleaning Tips
Keep floors clean with a soft broom. Use a vacuum with a hardwood floor setting. Wipe up spills quickly using a damp cloth. Avoid using a lot of water. Too much water harms wood. Use a gentle cleaner for hardwood floors. Dry the floor well after cleaning. This prevents spots and marks.
Preventing Future Damage
Use furniture pads under chairs and tables. This stops scratches. Keep pet nails trimmed short. Long nails can scratch floors. Avoid wearing high heels on the floor. They can leave dents. Use rugs in high traffic areas. This protects the floor from dirt.
When To Refinish Again
Check floors for deep scratches or dull spots. If wood shows through, it’s time to refinish. Refinish every 7-10 years for best results. Busy homes may need it sooner. Watch for changes in floor shine. Dullness means it’s time to refinish.

Common Mistakes To Avoid
Many people sand too much. This can damage the floor. Wood floors are not thick. Sanding removes layers of wood. Be gentle. Use the right tools. Check your progress often. This keeps the floor safe.
Safety is important. Dust masks protect your lungs. Wear them always. Ear protection is also needed. Sanding machines are loud. Gloves keep your hands safe. Use them. Safety first, always.
Take your time. Rushing can spoil the work. Let each layer dry well. This helps the finish look good. Be patient. Follow each step with care. A good job needs time.
Frequently Asked Questions
What Is The Best Method For Refinishing Hardwood Floors?
The best method involves sanding, staining, and sealing. Start by sanding the surface to remove old finish. Apply stain for desired color. Finally, seal the floor with polyurethane to protect and enhance the shine.
How Long Does Hardwood Refinishing Take?
Refinishing usually takes 3 to 5 days. This includes preparation, sanding, staining, and sealing. Drying time for each step is crucial. Ensure proper ventilation and adequate drying time for the best results.
Can I Refinish Hardwood Floors Myself?
Yes, you can refinish hardwood floors yourself. It’s a detailed process requiring patience and some equipment. Renting a floor sander and using quality products can improve results. Follow instructions carefully to achieve professional-like finishes.
What Tools Are Needed For Floor Refinishing?
You need a floor sander, edger, and buffer. Additional tools include sandpaper, stain, and polyurethane sealant. Safety gear like masks and goggles are essential. These tools help achieve a smooth and shiny finish.
Conclusion
Refinishing hardwood floors yourself can be rewarding. It saves money and adds personal touch. The process can be challenging, but the results are satisfying. You learn skills and gain confidence. Tools and patience are key to success. Mistakes happen, but they teach valuable lessons.
Enjoy your newly refreshed floors. Admire your hard work. Share your experience with friends. Inspire others to try DIY projects. Embrace the journey of home improvement. Transform your space with effort. Celebrate each step of the process. You did it!