To remove bathroom floor tiles in seven easy steps, first gather proper tools like a hammer, chisel, and safety gear. Clear and protect the work area fully. Next, remove grout carefully to loosen tile bonds without damage. Then, tap the chisel edge along grout lines and gently pry tiles up with a pry bar. Clean adhesive off the floor thoroughly and inspect for any damage or moisture issues. Following this method guarantees an efficient, controlled process. More detailed guidance will help you master each step confidently.
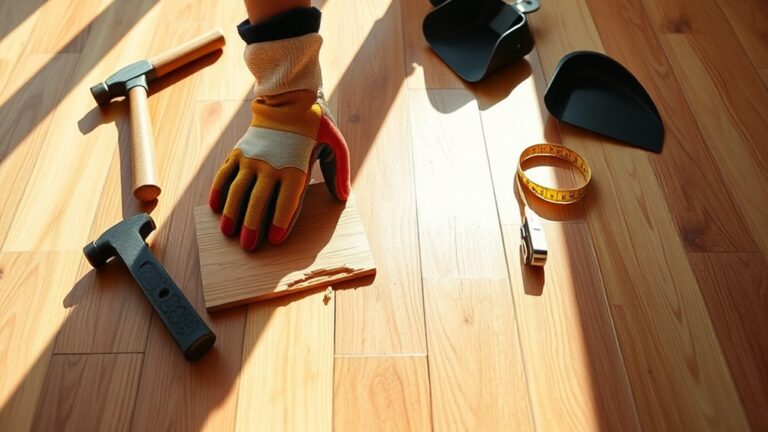
Gather the Necessary Tools and Safety Gear
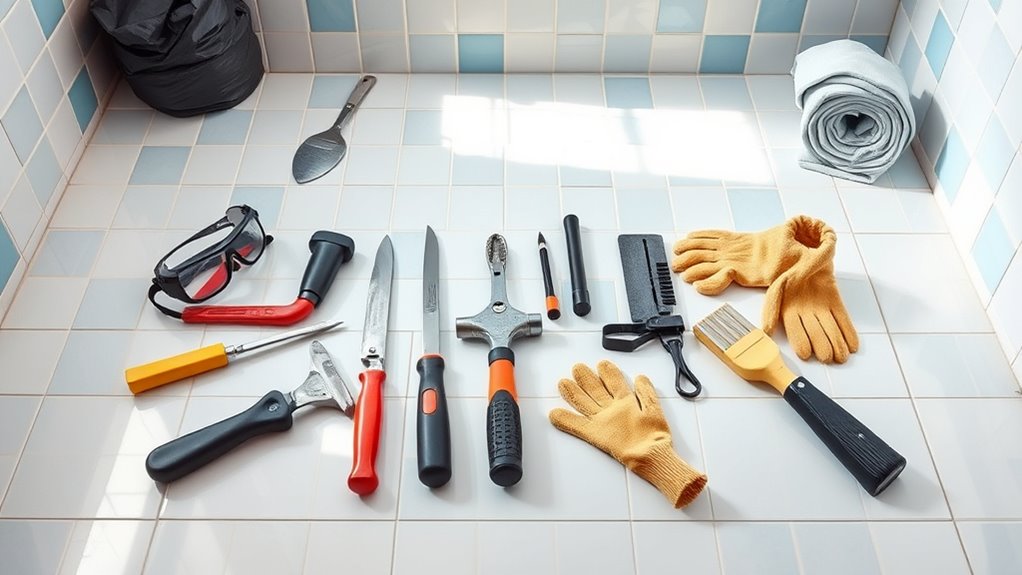
Before you begin removing bathroom floor tiles, gather the essential tools and safety gear to guarantee an efficient and safe process. Tool selection is critical: you’ll need a hammer, chisel or putty knife, pry bar, utility knife, and possibly a power scraper or rotary tool with a grout removal attachment. Safety precautions are paramount—wear safety goggles to protect your eyes from flying debris, heavy-duty gloves to safeguard your hands, and a dust mask or respirator to prevent inhaling dust particles. Knee pads are advisable for comfort during extended work periods. Ascertain your tools are in good condition and appropriate for tile material and adhesive type. By meticulously selecting tools and adhering to safety precautions, you’ll maintain control and freedom throughout the tile removal process while minimizing risks and maximizing efficiency.
Prepare the Bathroom Floor Area
Start by clearing the bathroom floor of all movable objects, including rugs, bath mats, and any furniture. This step lets you navigate the bathroom layout freely and gives you unhindered access to the tiles. Next, apply floor protection around fixed fixtures to prevent damage and contain debris.
Visualize the preparation process:
| Step | Action | Purpose |
|---|---|---|
| 1 | Remove rugs and mats | Clear workspace |
| 2 | Shift furniture | Access tiles fully |
| 3 | Cover fixtures | Protect surfaces |
| 4 | Seal doorways | Contain dust |
| 5 | Confirm floor clearance | Guarantee safety & freedom |
Remove Grout Around the Tiles

Once you’ve prepared the area, you’ll need to carefully remove the grout surrounding the tiles to loosen their hold. Start by selecting the appropriate grout removal techniques—manual tools like grout saws or rotary tools with grout removal attachments work best for precision. Work steadily along grout lines, avoiding damage to adjacent tiles. Using grout cleaning solutions beforehand can soften hardened grout, making removal easier and reducing dust. Apply the solution as directed, allow it to penetrate, then proceed with removal. Maintain consistent pressure and control to prevent chipping edges. By methodically clearing grout, you free the tiles’ bond, enabling their removal without unnecessary breakage. This step is essential for reclaiming your bathroom floor’s freedom and preparing for tile extraction efficiently and cleanly.
Loosen the Tiles Using a Chisel and Hammer
Tap the chisel gently at the edge of a loosened grout line to begin detaching the tile from the substrate. Position the chisel bevel side down, applying controlled taps with the hammer. Use precise chisel techniques by working gradually along the tile edge, avoiding excessive force that risks cracking surrounding tiles. Maintain hammer safety by wearing protective eyewear and gloves, ensuring your grip is firm yet relaxed to absorb shock. Keep the hammer strikes steady and focused, preventing slips that could damage the floor or injure you. Continue tapping until the tile slightly lifts, signaling the adhesive has weakened. This methodical approach lets you gain freedom from stubborn tiles without unnecessary damage, preparing you efficiently for the next step of tile removal.
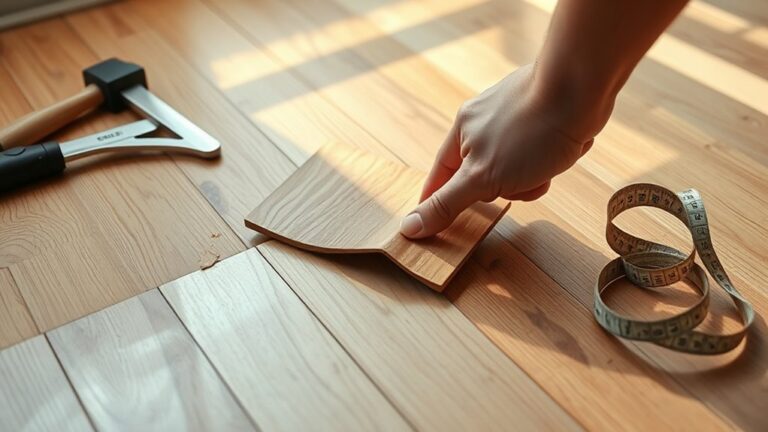
Pry Up the Tiles Carefully
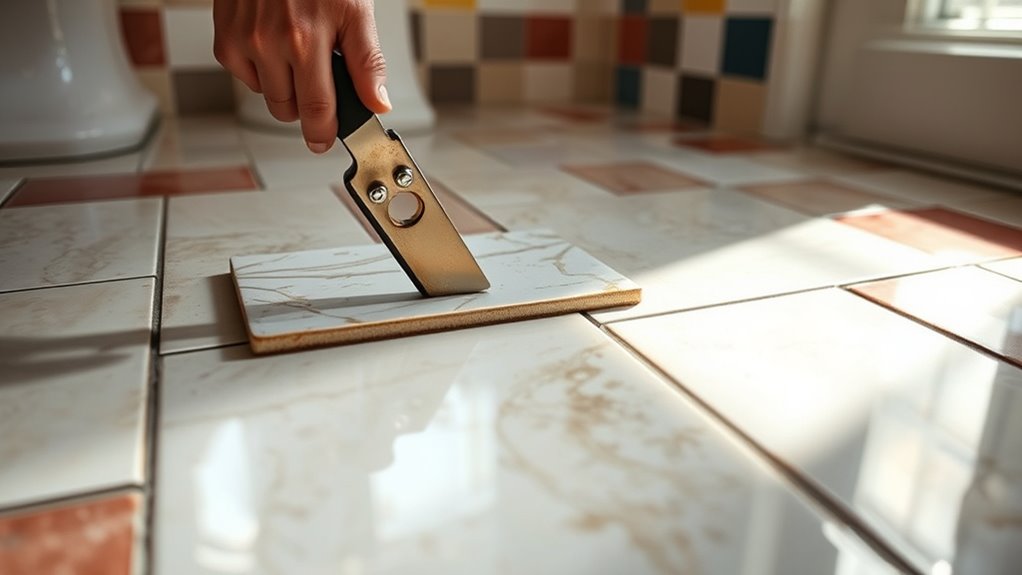
Carefully insert a flat pry bar or putty knife beneath the loosened tile edge to begin lifting it from the floor. Employ precise tile removal techniques to minimize damage and maintain safety. Follow these steps:
Use a flat pry bar carefully to lift loosened tiles, ensuring safety and minimizing damage.
- Apply gentle, steady pressure to avoid cracking surrounding tiles.
- Work incrementally along the tile’s edge, prying small sections rather than forcing the entire tile at once.
- Use protective gloves and safety glasses as tile chips can fly off unexpectedly—these tile safety tips are essential for your freedom and well-being.
Clean the Floor of Adhesive Residue
Several tools and materials are necessary to remove adhesive residue effectively from your bathroom floor. Start by selecting appropriate adhesive removal techniques that suit the type of adhesive used. Use floor cleaning solutions designed to break down residue without damaging the substrate. Apply these solutions evenly and allow them to penetrate before scraping gently with a putty knife or scraper. Follow with thorough cleaning to guarantee the surface is residue-free and ready for new tiles.
| Tool | Purpose | Recommended Use |
|---|---|---|
| Putty Knife | Scraping adhesive | After softening residue with solution |
| Adhesive Remover | Chemical breakdown | Follow manufacturer’s instructions |
| Floor Cleaner | Final cleaning | Removes leftover debris and dirt |
| Scrubbing Pad | Mechanical abrasion | For stubborn adhesive spots |
Inspect the Floor for Damage and Prepare for New Tiles
Before installing new tiles, you need to inspect the floor thoroughly for any signs of water damage, such as discoloration or soft spots. Once confirmed, clean the surface to remove dust and debris, ensuring a stable base. Finally, check that the floor is level, addressing any uneven areas to guarantee proper tile adhesion.
Check for Water Damage
One critical step in removing bathroom floor tiles is to thoroughly inspect the subfloor for water damage, as undetected moisture can compromise the integrity of your new tile installation. Begin your tile inspection by:
- Checking for visible signs of water leaks, such as discoloration or warping of the subfloor.
- Using a moisture meter to detect hidden dampness beneath the surface.
- Probing the subfloor gently with a screwdriver to identify soft spots indicating rot or decay.
Addressing any water damage early prevents costly repairs and guarantees your new tiles adhere properly, maintaining durability. Don’t rush this process—accurate detection of water leaks during your tile inspection grants you the freedom to fix issues now rather than face failures later. A solid, dry foundation is essential for a long-lasting bathroom floor.
Clean and Level Surface
Thoroughly clean the floor to remove all debris, dust, and adhesive residues that could interfere with tile adhesion. Use a scraper or floor grinder to eliminate stubborn adhesive remnants, ensuring the tile surface is smooth. Next, inspect the substrate for cracks, gouges, or uneven areas. Address any damage by applying a leveling compound, following manufacturer instructions for mixing and drying times. During floor preparation, verify the surface is flat using a straightedge or level; correct any high spots by sanding and low spots with additional leveling compound. This meticulous approach guarantees a stable, uniform tile surface, preventing future tile lifting or cracking. Proper floor preparation is essential to secure your freedom from premature repairs and maintain a durable, professional-quality installation.