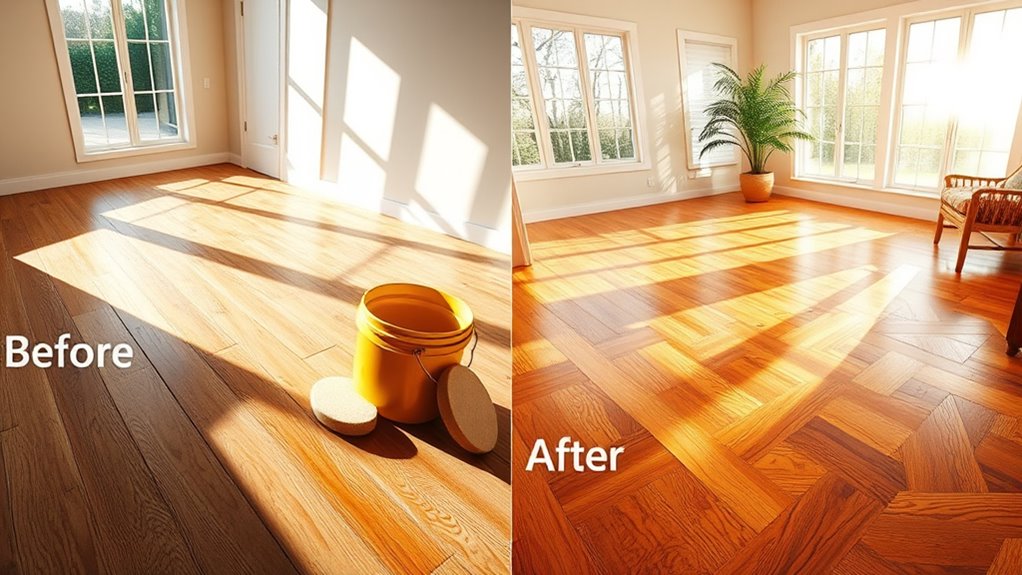
To renew your wood floors, first assess their condition for wear or damage. Clear and thoroughly clean the surface to remove dust and debris. Sand the floor progressively from coarse to fine grit to strip the old finish evenly. Repair any cracks or gaps using a suitable wood filler. Apply a stain or finish uniformly following the wood grain. Seal the floor to protect against moisture and daily wear. Maintain regularly with gentle cleaning and timely resealing. Explore these steps in detail for a flawless finish.
Assess the Condition of Your Wood Floors
How do you determine whether your wood floors need refinishing or repairs? Start with a thorough floor inspection, focusing on surface wear, scratches, and discoloration. Use proper lighting to reveal dullness or uneven finishes. Next, conduct a damage assessment by probing for deep gouges, water damage, or warping. Check for loose or squeaky boards, which indicate structural issues. Document all findings to prioritize tasks efficiently. Recognizing the extent of wear versus structural damage helps you decide between simple refinishing or more intensive repairs. Accurate floor inspection and damage assessment guarantee you address the root issues, preserving the wood’s integrity and extending its lifespan. This methodical approach lets you maintain freedom over your space by choosing appropriate restoration techniques confidently.
Clear and Clean the Floor Thoroughly
Before you start refinishing, make sure to remove all furniture to access the entire floor surface. Sweep and vacuum thoroughly to eliminate dust and debris that can interfere with the finish. Finally, wash the floor using a mild cleaner to remove any remaining residue without damaging the wood.
Remove All Furniture
Although it might seem tedious, removing all furniture from the room is essential to guarantee an unobstructed workspace for refinishing your wood floors. Clearing the area allows you to access every inch of the floor, preventing missed spots and ensuring a uniform finish. Before moving items, carefully document your furniture placement and room layout with photos or sketches. This will help you restore everything accurately once the project is complete. Use protective pads or blankets to shield furniture during relocation. Keep pathways clear to avoid damage or injury during the process. By fully clearing the room, you eliminate barriers that could interfere with sanding, staining, or sealing, giving you the freedom to work efficiently and achieve professional results in your wood floor renewal.
Sweep and Vacuum
With the room cleared of all furniture, you have unobstructed access to the entire floor surface. Begin by selecting an appropriate broom type; a soft-bristle broom is ideal for hardwood floors, preventing scratches while effectively gathering dust and debris. Use deliberate, sweeping motions along the wood grain to avoid pushing dirt into crevices. After sweeping, employ vacuum techniques designed for hardwood: use a vacuum with a hard floor setting or a brush attachment to avoid damaging the finish. Move the vacuum slowly to guarantee thorough debris removal from cracks and gaps. This meticulous sweeping and vacuuming process eliminates particles that could compromise refinishing quality, granting you a clean slate to continue with the floor renewal confidently and efficiently.
Wash With Mild Cleaner
Start by selecting a mild cleaner specifically formulated for hardwood floors to avoid damaging the finish. Mild cleaner benefits include preserving the wood’s integrity while effectively removing dirt and grime. Dilute the cleaner according to the manufacturer’s instructions to prevent residue buildup or moisture damage. Use a damp mop or microfiber cloth to apply the solution evenly, ensuring you don’t saturate the floor. Maintain an ideal cleaning frequency—typically once every one to two weeks—to keep your floors pristine without excessive wear. Avoid harsh chemicals or abrasive tools, which can strip protective coatings. By adhering to these guidelines, you’ll prolong your wood floor’s lifespan and maintain its natural beauty, granting you the freedom to enjoy a clean, polished surface without compromising its structural quality.
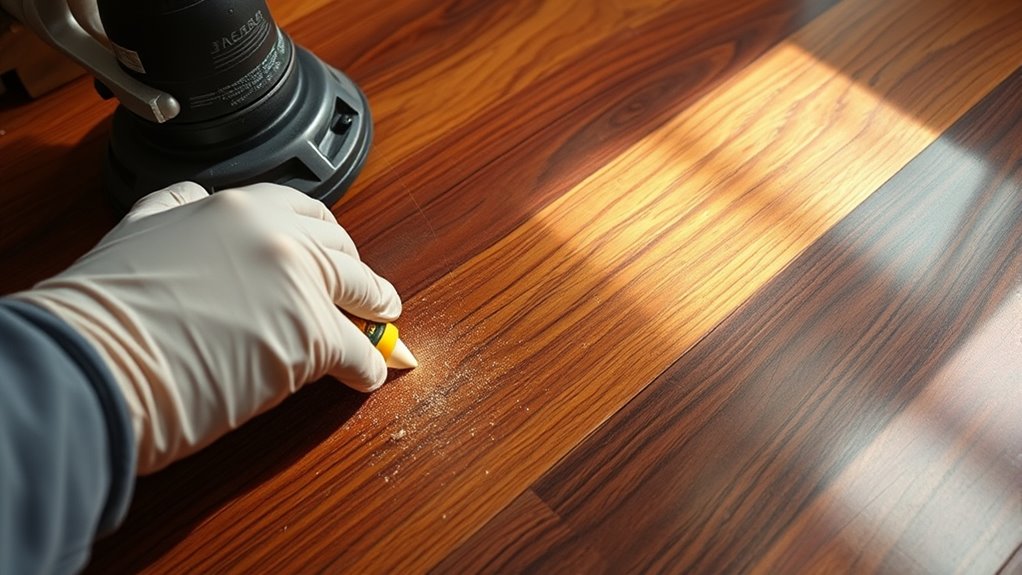
Sand the Surface to Remove Old Finish
Begin by thoroughly sanding the wood floor to strip away the old finish, exposing the bare wood beneath. Proper sanding techniques and grit selection are essential for achieving a smooth, even surface without damaging the wood. Start with a coarse grit to remove the finish, then progress to finer grits for a polished look. Use a drum sander for large areas and an edge sander for corners and edges. Keep the sander moving steadily to avoid gouges.
| Step | Recommended Grits |
|---|---|
| Initial sanding | 36-40 (coarse) |
| Intermediate | 60-80 (medium) |
| Final sanding | 100-120 (fine) |
| Edges | 80-100 (medium-fine) |
| Touch-ups | 120+ (very fine) |
This approach guarantees freedom from old finishes while preserving wood integrity.
Repair Any Damages or Gaps
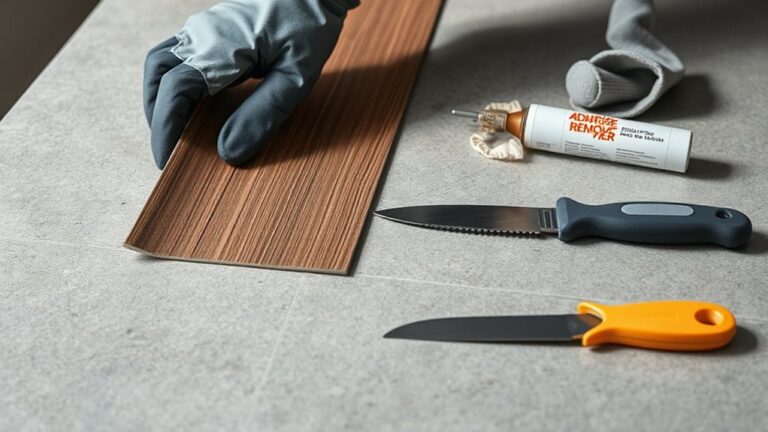
Once you’ve sanded the floor to bare wood, the next step is to address any damages or gaps that could affect the finish’s durability and appearance. Conduct a thorough damage assessment to identify cracks, dents, or loose boards. Proper gap filling is crucial to prevent moisture infiltration and maintain structural integrity. Here’s how to proceed:
After sanding to bare wood, inspect for damage and fill gaps to ensure a durable, flawless finish.
- Clean debris from gaps using a vacuum or brush for ideal adhesion.
- Select a wood filler or epoxy compatible with your floor type and color.
- Apply filler with a putty knife, pressing firmly to fill voids completely.
- Allow the filler to dry fully, then sand smooth to blend with the surrounding surface.
These precise repairs guarantee a flawless foundation before you apply your chosen finish.
Apply Wood Stain or Finish
You’ll need to select a wood stain that complements your floor’s natural tone and matches your desired finish. When applying the finish, guarantee even coverage by using consistent strokes and avoiding over-application to prevent blotches. Proper technique is essential to achieve a smooth, durable surface that enhances the wood’s appearance.
Choosing the Right Stain
Selecting the right stain is essential to achieving both the desired aesthetic and durability for your wood floors. When choosing, consider the stain types and color selection carefully, as they influence the wood’s appearance and protection level. Here’s what you need to focus on:
- Penetrating stains soak deep, highlighting natural grain and enhancing durability.
- Surface stains create a uniform color but sit atop the wood, requiring careful application.
- Water-based stains dry quickly and offer vibrant colors but may raise the wood grain.
- Oil-based stains provide richer tones and longer working time but take longer to dry.
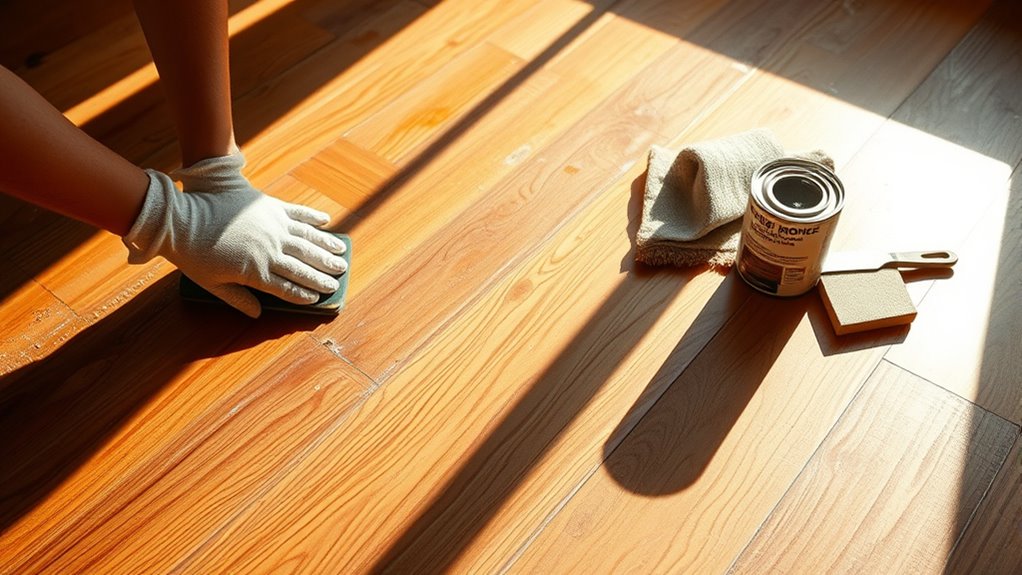
Applying Finish Evenly
After choosing the appropriate stain, the next step is to apply the finish evenly to guarantee a consistent appearance and ideal protection. Mastering the application technique is essential for maintaining color consistency and avoiding streaks or blotches. Use a high-quality applicator—brush, roller, or pad—suited to your finish type. Work in manageable sections, following the wood grain, and apply thin, even coats. Avoid over-brushing, which can cause unevenness.
| Application Technique | Purpose |
|---|---|
| Brush | Precision in edges |
| Roller | Fast coverage |
| Pad | Smooth, uniform layer |
| Cross-grain strokes | Enhance color consistency |
Seal the Floor for Protection
Before applying any sealant, make sure the floor is thoroughly clean and completely dry to assure proper adhesion. Proper floor sealing guarantees long lasting protection against moisture, scratches, and wear. You’ll want to:
- Choose a sealant compatible with your floor’s finish type.
- Apply with a high-quality brush or roller for even coverage.
- Work in thin, consistent layers to avoid puddling or streaks.
- Allow adequate drying time between coats as per manufacturer instructions.
Sealing locks in the finish, preserving your wood’s appearance and structural integrity. By following these precise steps, you maintain the floor’s freedom from damage while enhancing durability. A well-sealed wood floor stands up to daily use and environmental factors, giving you peace of mind and extending the life of your renewal efforts.
Maintain Your Renewed Wood Floors Regularly
While proper sealing provides essential protection, maintaining your renewed wood floors regularly is crucial to preserving their appearance and longevity. Establish a consistent cleaning schedule to prevent dirt and grit from damaging the surface. Use a soft broom or microfiber mop to remove debris daily, and opt for a damp mop with a pH-neutral cleaner weekly. Avoid excessive water to protect the wood fibers. Periodically inspect your floors for wear or scratches and consider reapplying protective coatings as needed to reinforce the seal and enhance durability. Protective coatings not only shield against moisture and stains but also reduce the impact of foot traffic. By adhering to these maintenance practices, you guarantee your wood floors remain resilient and visually appealing, granting you the freedom to enjoy your space without frequent, costly repairs.