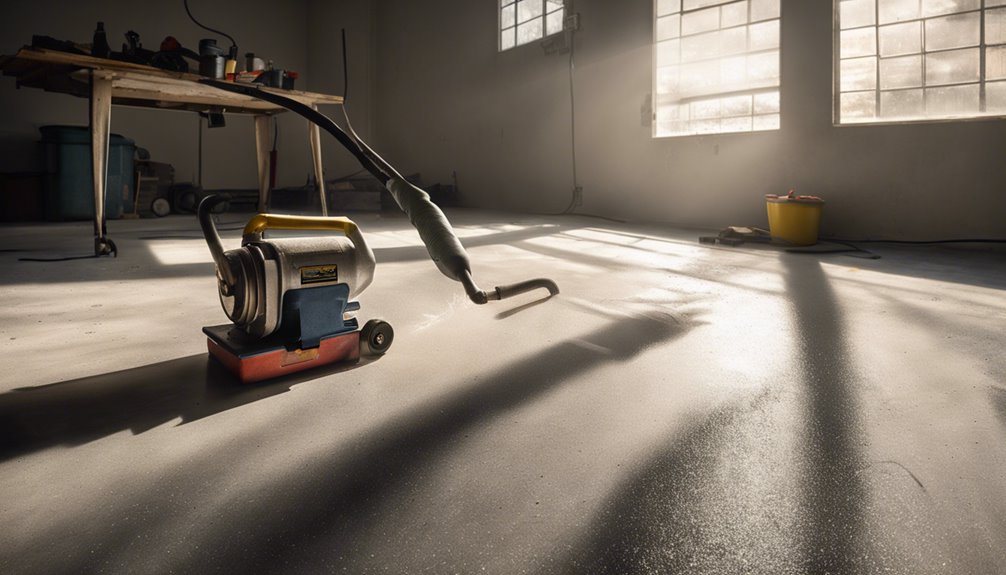
To level a concrete floor, start by evaluating its condition for cracks and uneven areas. Clean the surface thoroughly to remove debris, then patch any small cracks with epoxy or a suitable compound. Next, mix a self-leveling compound according to the manufacturer's instructions and pour it into low spots, starting from the farthest corner. Allow it to cure as specified. If needed, use a concrete grinder for additional smoothing after curing. Finally, consider installing a floor underlayment for extra support. For an extensive approach, there's more about these steps available.
Assessing the Floor Condition
Before you begin leveling your concrete floor, it's important to assess its condition thoroughly. Start with a floor inspection to identify any cracks, imperfections, or uneven areas. Pay close attention to the surface evaluation; measuring height differences with a level can reveal significant dips or rises. Document these findings to understand the extent of the leveling required. Also, check for moisture issues, as water can compromise the integrity of the concrete and affect the leveling process. Make certain the surface is clean and free of debris, as this can hinder adhesion for any leveling compounds you may use. By conducting a thorough assessment, you provide a solid foundation for your leveling project, allowing for a more efficient and effective outcome.
Tools and Materials Needed
After evaluating the floor condition, gathering the right tools and materials is essential for a successful leveling project. You'll need specific leveling equipment such as a trowel, float, and a mixing bucket. A power mixer can save time when combining your leveling compounds. Choose from various compound types, including self-leveling concrete or patching compounds, depending on the severity of the unevenness. Additionally, a level or laser level is critical for ensuring the surface is flat. Don't forget to have a utility knife on hand for trimming any excess material. Finally, safety gear like gloves and goggles is important to protect yourself during the process. With the right tools, you'll be well-prepared to achieve a smooth and even floor.
Cleaning the Concrete Surface
Before leveling your concrete floor, it's essential to clean the surface thoroughly. Start by removing any debris and dust, as these can interfere with the leveling material's adhesion. Next, check for stains that may require special treatment to guarantee a smooth and even finish.
Remove Debris and Dust
To guarantee a successful leveling process, you need to start by thoroughly cleaning the concrete surface to remove any debris and dust. Effective debris removal is essential; any remnants can interfere with the leveling compound's adherence. Begin by sweeping or vacuuming the area to eliminate larger particles. Follow this with a damp mop to control dust and make certain of a clean surface.
Here's a helpful table outlining your cleaning steps:
| Step | Action | Purpose |
|---|---|---|
| 1. Sweep | Remove large debris | Prevents interference |
| 2. Vacuum | Collect smaller dust | Guarantees thorough cleaning |
| 3. Damp Mop | Control dust | Prepares for leveling |
| 4. Inspect | Check for remaining debris | Make certain of a clean surface |
| 5. Dry | Let surface dry | Ready for leveling |
Check for Stains
Once you've confirmed the concrete surface is clean, the next step is to check for any stains that could affect the leveling process. Stains can hinder adhesion and lead to an uneven floor. Here's how to proceed:
- Identify Stains: Look for oil, grease, or rust spots.
- Test Stain Removal: Use a suitable cleaner on a small area to see if the stain lifts.
- Perform Deep Cleaning: If necessary, utilize a pressure washer or floor scrubber for tough stains.
- Implement Stain Prevention: Apply a sealant after leveling to protect against future staining.
Patch Small Cracks and Holes
Small cracks and holes in a concrete floor can compromise its integrity and appearance, so addressing these issues promptly is essential. Start by cleaning the damaged areas to remove any debris or dust. For small cracks, you can use epoxy or polyurethane repair products, which are excellent for creating a strong bond. Apply the patching material using a putty knife, ensuring it's level with the surrounding surface. For larger holes, consider a patching compound that can fill deeper gaps. Use appropriate patching techniques, such as layering, to achieve a smooth finish. Once cured, sand the patched areas lightly for an even texture. Finally, seal the surface to protect your repairs and enhance durability.
Self-Leveling Compound Application
Applying a self-leveling compound can dramatically improve the flatness and overall appearance of your concrete floor. To achieve ideal results with various compound types, follow these self-leveling techniques:
- Prepare the Surface: Verify the concrete is clean, dry, and free of debris.
- Mix the Compound: Follow manufacturer instructions for the correct water-to-compound ratio to achieve the right consistency.
- Pour and Spread: Start pouring in the farthest corner, allowing the compound to flow and fill low spots naturally.
- Allow to Cure: Let the compound cure as recommended, maintaining a consistent temperature and humidity level.
Using a Concrete Grinder
A concrete grinder is an essential tool for achieving a smooth, level surface on your concrete floor. Using a grinder offers several benefits, including the removal of surface imperfections and the ability to prepare the floor for further treatments. Familiarize yourself with different grinding techniques; for example, using a coarse diamond blade can effectively remove high spots, while finer blades polish and refine the surface. Always start with a dry run to understand the machine's handling and adjust your pressure accordingly. Safety gear, like goggles and masks, is vital to protect against dust and debris. Once you master these techniques, you'll find that a concrete grinder can give you the freedom to transform your space with precision and efficiency.
Installing a Floor Underlayment
Installing a floor underlayment is a crucial step in achieving a stable and comfortable surface for your flooring material. Choosing the right underlayment types and employing effective installation techniques can make a significant difference. Here are key considerations:
- Material Selection: Choose from foam, cork, or rubber underlayment based on sound absorption and moisture resistance.
- Moisture Barrier: Ascertain your underlayment provides a moisture barrier, especially in basements.
- Seam Sealing: Use seam tape to seal edges; this prevents moisture infiltration and enhances durability.
- Leveling: Always check for levelness before installation, as uneven surfaces can compromise the flooring above.
Finishing Touches and Maintenance
Once you've leveled your concrete floor and installed the underlayment, it's essential to focus on the finishing touches and ongoing maintenance to guarantee a durable and aesthetically pleasing surface. Proper floor maintenance assures your investment lasts. Begin with sealing the surface to protect against moisture and stains. You can then apply various finishing techniques, such as staining or polishing, to enhance the visual appeal.
Here's a quick guide to help you:
| Maintenance Task | Frequency | Purpose |
|---|---|---|
| Clean with a broom/vacuum | Weekly | Remove dirt and debris |
| Reseal surface | Every 1-3 years | Protect and maintain shine |
| Inspect for cracks | Bi-annually | Prevent further damage |
Frequently Asked Questions
How Long Does the Self-Leveling Compound Take to Dry?
The drying time for self-leveling compound typically ranges from 24 to 48 hours, depending on the thickness of the application and environmental conditions. To guarantee the best results, it's essential you follow application tips, such as mixing thoroughly and applying in suitable temperatures. Keep humidity levels in check, too, as high moisture can extend drying time. Always check the manufacturer's guidelines for specific drying times to achieve the most favorable outcome for your project.
Can I Level a Floor Without Removing the Existing Flooring?
Yes, you can level a floor without removing the existing flooring. There are various flooring options, like self-leveling compounds or floor underlayment, that allow you to smooth out uneven surfaces. Using appropriate leveling techniques, such as pouring a self-leveling compound directly over your current flooring, can effectively address dips and bumps. Just guarantee the existing floor is clean and properly prepared for the best results. This method saves time and effort while achieving your desired level.
What Is the Cost of Leveling a Concrete Floor?
When you're considering the cost of leveling a concrete floor, it varies based on the chosen floor leveling methods. For instance, self-leveling compounds can range from $1 to $5 per square foot, while traditional methods may be more labor-intensive, affecting overall expenses. A cost comparison between DIY approaches and hiring professionals is essential. You'll want to assess your budget and desired outcomes to determine the most cost-effective solution for your project.
Is It Necessary to Use a Primer Before Self-Leveling?
Imagine a canvas waiting for a masterpiece, where proper surface preparation is key. Using a primer before self-leveling isn't just recommended; it's essential. Primer benefits include enhancing adhesion, reducing air bubbles, and creating a smoother finish. By applying primer, you're ensuring that the self-leveling compound bonds effectively, leading to a durable result. So, if you want a flawless surface, don't skip this important step—it's your foundation for freedom in design.
Can I Level an Uneven Floor in a Basement?
Yes, you can level an uneven floor in a basement. First, assess the degree of unevenness and clean the surface thoroughly. For basement leveling, self-leveling compounds work effectively on uneven surfaces. Mix the compound according to the manufacturer's instructions, then pour it over the low spots, allowing it to flow and fill gaps. Guarantee proper drainage to prevent future issues. After curing, you'll have a smooth, level floor ready for finishing touches.


