To cut laminate flooring, you'll need tools like laminate shears, a circular saw, or a miter saw equipped with a fine-tooth blade. First, measure your planks accurately and mark cut lines with a straightedge for precision. When using a circular saw, cut with the finished side facing down to prevent chipping. Alternatively, score the laminate with a utility knife before snapping. Always wear safety gear, including goggles and gloves, and keep your workspace organized. Following these steps carefully will guarantee clean cuts and prevent damage to your flooring. If you're looking for more tips, there's certainly more to explore.
Required Tools for Cutting
To effectively cut laminate flooring, you'll need a few essential tools that guarantee clean and precise cuts. First, invest in laminate shears, which are designed specifically for this material. They provide a straight cut without chipping the surface. You'll also want a high-quality saw, like a miter saw or a circular saw, for larger projects. Make sure you have a fine-tooth blade to minimize splintering. A straight edge or T-square will help you make accurate measurements and guide your cuts. Don't forget safety gear, like goggles and gloves, to protect yourself while working. With these cutting tools in hand, you're set to tackle your laminate flooring project with confidence and precision.
Measuring Your Laminate Planks
With your cutting tools ready, the next step is measuring your laminate planks accurately. Begin by calculating lengths based on the area you're covering. Use a tape measure to determine the space and guarantee you account for any obstacles or irregularities in the layout. When measuring, remember to allow for expansion gaps along the walls.
Once you've got your measurements, focus on plank alignment. Lay out your planks in the intended pattern to visualize how they fit together. This will help prevent errors and guarantee a seamless look. Double-check your calculations before proceeding, as accurate measurements are essential to achieving a professional finish. Taking your time during this step will save you headaches later in the process.
Marking the Cut Lines
Before you start cutting, you need to mark your cut lines accurately. Measure the area where you'll be cutting to guarantee precision, and use a straightedge to draw a clear line for your saw. This will help you achieve clean, straight cuts and prevent any mistakes during the process.
Measuring for Accuracy
As you prepare to cut laminate flooring, accurately measuring and marking your cut lines is essential for achieving a professional finish. Using reliable measuring tools guarantees you get accurate measurements, which is vital for a seamless installation. Here's how to enhance your marking process:
- Use a tape measure for precise lengths.
- Mark cut lines with a sharp pencil for visibility.
- Double-check your measurements before cutting.
- Consider the expansion gap when marking edges.
Taking these steps will help you avoid costly mistakes and wasted materials. Remember, the key to a successful laminate flooring project lies in the accuracy of your measurements and the precision of your cut lines. So, take your time, and don't rush this critical phase.
Using a Straightedge
After ensuring your measurements are spot on, the next step is to mark your cut lines accurately. Using a straightedge alignment tool will give you the cutting precision you need for clean, straight cuts. Place the straightedge along your marked measurements and secure it to prevent movement.
Here's a quick reference table for your straightedge setup:
| Step | Action |
|---|---|
| 1. Place Straightedge | Align it with the mark |
| 2. Secure It | Use clamps if necessary |
| 3. Mark the Cut Line | Use a pencil for visibility |
Using a Circular Saw
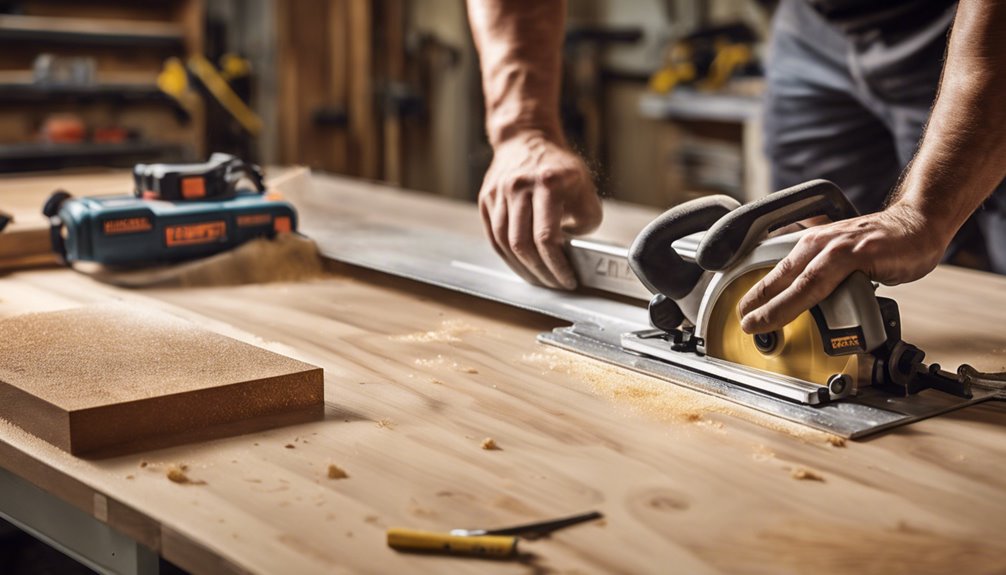
Before you start cutting laminate flooring with a circular saw, you need to prioritize safety precautions, like wearing protective eyewear and ensuring the workspace is clear. Understanding specific cutting techniques will help you achieve precise and clean cuts, while finishing edges smoothly will enhance the overall appearance of your flooring. Let's break down these essential steps for a successful project.
Safety Precautions First
When using a circular saw to cut laminate flooring, prioritizing safety is essential to prevent accidents and injuries. First, verify you're wearing proper safety gear, including goggles, gloves, and ear protection. This will protect you from flying debris and loud noise. Next, maintain a clean workspace organization to minimize hazards and distractions. Clear away any clutter that could cause tripping or obstruct your cutting line.
Here are some key safety precautions:
- Always check the saw blade for damage before use.
- Keep hands clear of the cutting path.
- Use clamps to secure the laminate firmly.
- Unplug the saw when making adjustments.
Cutting Techniques Explained
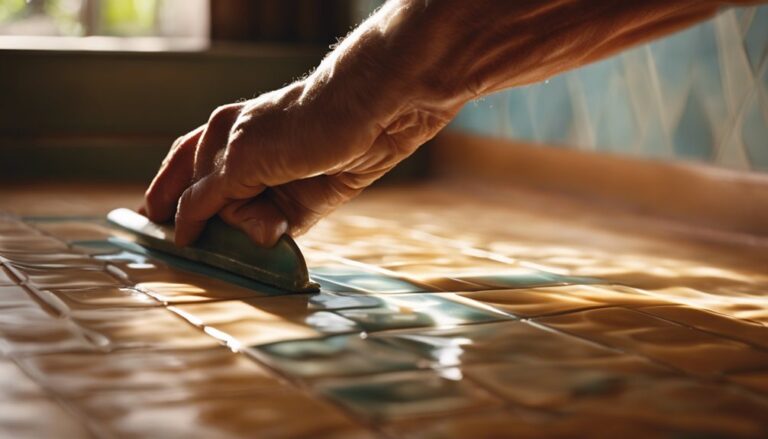
Three essential cutting techniques can help ascertain precise and clean cuts when using a circular saw on laminate flooring. First, employ the "score and snap" method for straight cuts. Lightly score the laminate materials on one side, then snap it along the line. Second, use a circular saw with a fine-tooth blade for cleaner cuts on larger pieces. Make certain to set the depth slightly deeper than the laminate thickness. Finally, consider the "reverse cut" technique—cutting with the finished side facing down to minimize chipping. Always secure your workpiece before cutting, and choose the right cutting methods to achieve a professional finish. Following these steps ascertains you'll have seamless results in your flooring project.
Finishing Edges Smoothly
Although achieving clean edges is essential for a professional-looking laminate floor, using a circular saw effectively can make all the difference. For smooth changes and precise edge finishing, follow these steps:
- Make certain your circular saw has a fine-tooth blade for clean cuts.
- Use a straightedge as a guide to maintain a steady line.
- Cut with the decorative side facing up to avoid chipping.
- Always make a test cut to adjust settings before cutting your main pieces.
Employing a Jigsaw
Using a jigsaw is an effective method for cutting laminate flooring, especially when you need to navigate around corners or make intricate cuts. To start, select a blade designed for laminate; this enhances cutting accuracy and minimizes chipping. Confirm your jigsaw features adjustable speed settings—lower speeds are ideal for more controlled cuts. Before cutting, always measure and mark your lines clearly. Secure the laminate piece to prevent movement, and keep your hands clear of the blade's path. As you cut, guide the jigsaw steadily along your marked line, applying gentle pressure. Remember to let the blade do the work; forcing it can lead to inaccuracies. With practice, you'll find your jigsaw becomes an invaluable tool for your flooring project.
Cutting With a Miter Saw
A miter saw is an excellent choice for cutting laminate flooring, particularly for straight cuts and angled edges. To guarantee you achieve clean cuts and maintain the longevity of your tool, focus on proper miter saw maintenance and blade selection.
Here are some key tips:
- Use a fine-tooth laminate blade for smooth cuts.
- Check the blade regularly for dullness and replace it as needed.
- Keep the saw clean to prevent debris buildup that can affect performance.
- Adjust the angle settings carefully for precise angled cuts.
Techniques for Straight Cuts
When cutting laminate flooring, achieving precise straight cuts is essential for a professional finish. Start by measuring the area where you'll install the planks to guarantee accurate dimensions. Use a straight edge or a square to mark your cutting line, ensuring it's perfectly aligned with your precise measurements. For the best results, utilize a table saw or a circular saw, as they provide clean cuts at the desired cutting angles. Always adjust your saw blade to the thickness of the laminate to minimize chipping. When cutting, apply steady pressure and maintain a slow, even pace to make certain the blade stays on track. This technique will help you achieve those straight cuts, making your flooring installation seamless and stunning.
Tips for Avoiding Damage
To avoid damaging your laminate flooring during installation, it's crucial to handle the planks with care from the outset. Follow these tips to guarantee a smooth process while preventing chipping and maintaining blade sharpness:
- Always lift planks, don't drag them across surfaces.
- Use a straightedge for accurate cuts and support the plank fully.
- Regularly check and maintain the sharpness of your cutting blade; dull blades increase the risk of chipping.
- Cut in a well-lit area to see lines clearly, reducing mistakes.
Safety Precautions to Follow
While cutting laminate flooring can be a straightforward task, adhering to essential safety precautions guarantees not only your well-being but also the integrity of the flooring. First, always wear proper gear, including safety goggles and ear protection, to shield yourself from debris and noise. Additionally, gloves can prevent cuts from sharp tools. Next, make certain your workspace organization is ideal; keep your cutting area clear of clutter to avoid tripping hazards. Secure your laminate pieces firmly before cutting to prevent slips, and use a stable cutting surface. If you're using power tools, follow the manufacturer's instructions carefully. By prioritizing these precautions, you'll be able to cut your laminate flooring efficiently and safely, enjoying the freedom of a well-executed project.
Frequently Asked Questions
Can I Cut Laminate Flooring With a Utility Knife?
Imagine trying to slice through a thick steak with a butter knife—frustrating, right? While you *can* use a utility knife for laminate flooring, it's not the most effective method. Utility knife techniques require precision, and laminate's dense nature often makes it challenging. For best results, consider using a saw designed for flooring. Remember these laminate flooring tips: score it first, and always apply even pressure. You'll achieve cleaner cuts and save time!
What Should I Do With Leftover Laminate Pieces?
With leftover laminate pieces, you've got plenty of options. Consider upcycling ideas like creating coasters, small shelves, or even a decorative wall panel. If you need storage solutions, those scraps can be repurposed into drawer dividers or small storage boxes. Just measure and cut carefully to maximize each piece. Embrace your creativity and freedom to design functional items that add character to your space while minimizing waste.
How Do I Dispose of Laminate Flooring Waste?
When it comes to disposing of laminate flooring waste, you've got several options. First, check for local recycling options; some facilities accept laminate materials. If recycling isn't available, consider waste management services that handle construction debris. Always guarantee any waste is properly sorted to avoid contamination. Additionally, if you have significant amounts, inquire about bulk pickup services. This way, you can responsibly dispose of your laminate while minimizing environmental impact.
Can I Use Old Laminate Flooring for Crafts?
Absolutely, you can use old laminate flooring for crafts! Consider crafting ideas like creating picture frames or coasters. For upcycling projects, you could transform pieces into small furniture, like stools or shelves. Start by cleaning the laminate thoroughly, then measure and cut it to your desired dimensions. Use wood glue or nails for assembly, ensuring durability. With a bit of creativity, you'll end up with unique, functional items while reducing waste!
Is It Necessary to Acclimate Laminate Before Cutting?
It's essential to acclimate laminate before cutting. Acclimation benefits include reducing expansion and contraction issues, ensuring a snug fit after installation. Allow the laminate to sit in the installation area for at least 48 hours. When you're ready to cut, use precise cutting techniques like a miter saw or circular saw for clean edges. This preparation helps you achieve the best results, giving you the freedom to create a professional-looking finish.