To build a shower pan on a concrete floor, start by cleaning the surface and evaluating its level. Use a self-leveling compound for any low spots. Make certain your pan slopes toward the drain at 1/4 inch per foot to avoid standing water. Install a quality drain assembly, securely sealing edges with waterproof sealant. Then, apply a waterproof membrane, overlapping edges and smoothing out air bubbles. Use thin-set mortar for tile application, and check all seams for proper sealing. Remember, routine maintenance is vital for longevity. If you want to make sure every detail is covered, there's more to explore.
Tools and Materials Needed
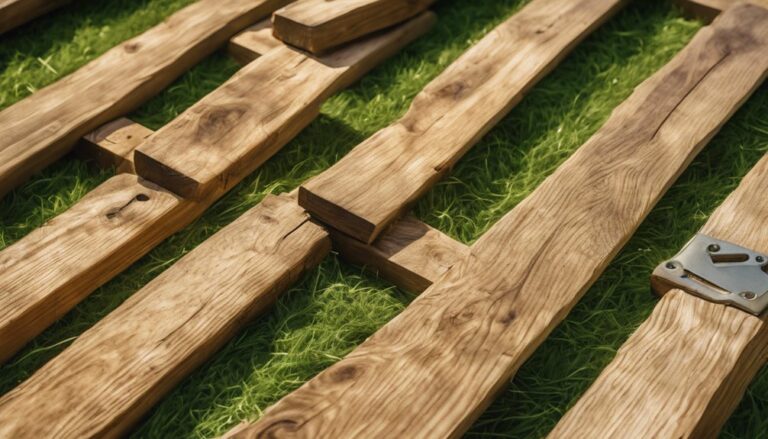
Building a shower pan requires a specific set of tools and materials to guarantee a successful installation. First, you'll need essential tools like a measuring tape, level, trowel, and utility knife. A drill and mixing paddle are also key for mixing your materials. When it comes to shower pan materials, consider using a waterproof membrane, cement backer board, and thin-set mortar. You may also need a pre-sloped shower pan kit for easier drainage. Don't forget a rubber float for smoothing the mortar and a caulk gun for sealing any edges. Gathering these essential tools and materials beforehand will streamline your process, ensuring a durable and functional shower pan that meets your needs.
Preparing the Concrete Floor
Once you've gathered the necessary tools and materials, your next step is preparing the concrete floor. Start by cleaning the surface thoroughly; use a broom and vacuum to remove dust and debris. If there are any old adhesives or coatings, consider using a concrete grinder to guarantee a smooth, clean base. Next, assess the level of the floor. If you notice any dips or uneven areas, it's crucial to level the floor before proceeding. You can use a self-leveling compound to fill in low spots, guaranteeing a solid foundation for your shower pan. Allow the leveling compound to cure completely before moving on. Proper preparation will guarantee that your shower pan is installed correctly and functions effectively.
Designing the Shower Pan Shape
When designing your shower pan shape, start by choosing a layout that fits your space and style. Consider the placement of the drain, as it plays a vital role in effective water management. Finally, make sure the pan slopes appropriately to facilitate proper water flow toward the drain, preventing any pooling.
Choosing the Layout
Choosing the right layout for your shower pan is essential, as it directly impacts both functionality and aesthetics. You'll want to evaluate various layout options that suit your shower design and personal preferences. Here's a quick overview of common layouts:
| Layout Type | Description |
|---|---|
| Rectangular | Straightforward, easy to install. |
| Curved | Softens edges, can enhance space. |
| Neo-Angle | Ideal for corner installations. |
| Square | Provides a modern look, efficient use of space. |
When selecting a layout, think about how you'll use the shower and the overall style of your bathroom. Each option offers unique benefits, so choose one that aligns with your vision and needs.
Drain Placement Considerations
How do you determine the ideal drain placement for your shower pan? Start by considering the drain types available, such as linear and center drains, as they influence the shower pan design. Position the drain where the floor slope can effectively direct water flow towards it. Typically, you'll want the drain at the low point of the pan, ensuring that water doesn't pool. Think about the layout of your shower; if you're using a curbless design, the drain should blend seamlessly with the floor. You'll also want to allow enough space for any fixtures or benches. Proper placement not only enhances functionality but also helps avoid drainage issues in the future, giving you freedom in your shower experience.
Sloping for Water Flow
To guarantee effective water drainage in your shower pan, it is crucial to create a slope that directs water toward the drain. Start by determining the height of the drain and the overall dimensions of your shower area. A gentle slope design, typically 1/4 inch per foot, secures ideal water flow without compromising comfort. Use a level to check your slope as you work; this precision helps avoid any pooling of water. When shaping the pan, consider a slight curvature toward the drain to facilitate efficient drainage. Keep in mind that the slope should be consistent, providing a seamless progression from the edges to the drain. Proper slope design not only enhances functionality but also prolongs the lifespan of your shower pan.
Installing the Drain Assembly
Installing the drain assembly is a crucial step in building a shower pan, as it guarantees proper water drainage and prevents leaks. To make certain of a successful installation, follow these techniques:
- Choose the right drain assembly for your shower size.
- Secure the assembly tightly to avoid any future leaks.
- Use waterproof sealant around the edges to enhance durability.
- Double-check alignment before finalizing the installation.
These steps not only protect your investment but also give you peace of mind. Properly installed, the drain assembly will function effectively, allowing you to enjoy your shower without worries. Remember, a solid installation is the foundation for your freedom in designing a functional and beautiful shower space.
Creating a Sloped Base
To create a sloped base for your shower pan, start by measuring the drain location accurately to guarantee proper water flow. Choose materials that can support the slope while maintaining durability. Finally, confirm the slope angle is correct, typically around 1/4 inch per foot, to prevent any standing water.
Measuring the Drain Location
Accurate measurement of the drain location is essential for creating a properly sloped shower pan base. Start by determining the type of drain you'll use, as different drain types require specific placements. Measure your floor dimensions carefully, guaranteeing you account for any irregularities.
- A precise drain location prevents pooling water.
- It guarantees a smooth, functional slope.
- You'll avoid costly adjustments later.
- It sets the stage for a successful installation.
Mark the drain position on the concrete floor, then measure from the walls to confirm accuracy. This attention to detail will provide the freedom to create an efficient and effective shower pan, allowing you to enjoy your space without concerns about leaks or drainage issues.
Choosing Proper Materials
After marking the drain position, selecting the right materials for your sloped base is fundamental to guaranteeing effective drainage. You'll want to contemplate various material types that create a durable base. Common options include sand mix, which provides solid support and good drainage, and pre-mixed shower pan mortars that simplify the process. Remember to explore waterproof options, like a liquid waterproof membrane, which can be applied over your sloped base to prevent moisture damage. This layer is vital for long-term performance. Additionally, when choosing materials, verify they're compatible with your chosen tile. By carefully selecting the right materials, you can build a reliable shower pan that meets your needs and guarantees a hassle-free showering experience.
Ensuring Correct Slope Angle
When creating a sloped base for your shower pan, it's crucial to guarantee the correct slope angle to facilitate proper drainage. A well-constructed slope guarantees your shower remains functional and free from water pooling. Here are some key considerations for achieving the right slope:
- Utilize slope measurement techniques, like a level or string line, to confirm accuracy.
- Aim for a minimum slope of 1/4 inch per foot for maximum drainage efficiency factors.
- Regularly check your progress to prevent costly mistakes.
- Remember that a properly sloped base enhances your shower experience and prolongs your installation's lifespan.
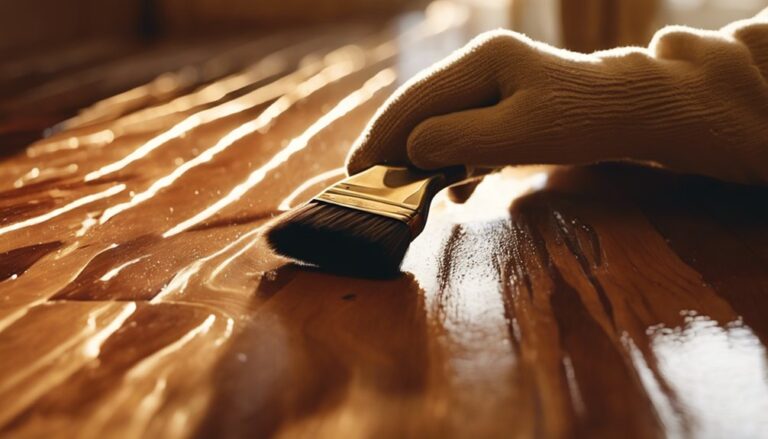
Applying Waterproof Membrane
To guarantee your shower pan remains leak-free, applying a waterproof membrane is essential. Start by selecting an appropriate waterproofing technique, such as liquid membrane or sheet membrane. For membrane installation, make certain the surface is clean and dry. If you're using a liquid membrane, apply it with a brush or roller, creating a uniform layer that overlaps edges by at least 2 inches. For sheet membranes, cut them to size and carefully place them over the pan, smoothing out any air bubbles. Pay special attention to corners and seams, reinforcing these areas for added protection. Allow the membrane to cure according to the manufacturer's instructions, making sure a solid and effective barrier against water infiltration before proceeding with further construction.
Reinforcing the Shower Pan
Reinforcing your shower pan is essential for ensuring its durability and stability. By providing adequate structural support, you can prevent cracks and leaks that might compromise your entire installation.
Consider the following elements when reinforcing your shower pan:
- Use quality shower pan materials for added strength.
- Incorporate a sturdy frame to enhance stability.
- Utilize concrete or mortar bed for a solid base.
- Install support beams if necessary for larger pans.
These steps not only enhance the longevity of your shower pan but also give you peace of mind. By prioritizing reinforcement, you can confidently enjoy your shower, knowing it's built to withstand daily use without issues. Every choice contributes to the freedom you desire in your space.
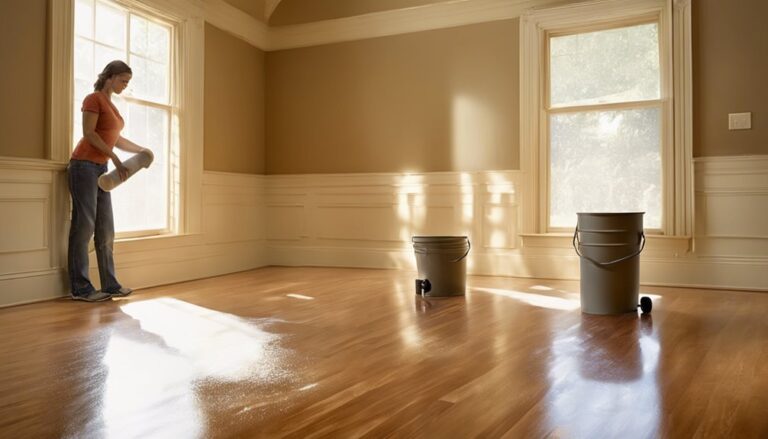
Finishing the Surface
Finishing the surface of your shower pan is an essential step that can greatly affect both aesthetics and functionality. Start by applying a suitable waterproof membrane, guaranteeing it's correctly positioned to prevent leaks. Next, choose a surface texture that enhances both grip and style; a slightly textured finish can prevent slips while looking sleek. Once the membrane is set, apply your chosen tile or surface material, making sure to use thin-set mortar for a solid bond. Don't forget the finishing touches—fill any gaps with grout and seal edges properly to enhance durability. This meticulous attention to detail not only improves the overall appearance but also guarantees long-lasting performance, giving you a beautiful and functional shower space.
Testing for Leaks
Now that your shower pan surface is complete, it's vital to test for leaks to guarantee durability. You'll need to prepare adequately for the leak test and choose an appropriate testing method. If you detect any leaks, prompt repairs will be necessary to prevent future water damage.
Preparing for Leak Test
Before you proceed with the leak test, it's essential to verify that your shower pan is properly set up to avoid any potential water damage. Making leak prevention a priority is key to maintaining your freedom from future repairs. Follow these essential testing protocols:
- Check all seams and joints for proper sealing.
- Inspect the slope of the pan to confirm effective drainage.
- Verify the drain assembly is tightly secured.
- Confirm that the surrounding area is dry and clean.
Testing Methods Explained
There are several effective methods to test your shower pan for leaks, each designed to guarantee water integrity and prevent future damage. One common technique involves filling the pan with water and observing it for 24 hours. If the water level drops, it's a clear sign of leakage. Another method is to use a pressure gauge to monitor water pressure; a significant drop indicates potential leaks. Additionally, you can apply leak detection dye to the water; if the dye seeps through any cracks, it confirms a breach. Whichever method you choose, make certain you address any issues promptly to maintain the longevity of your shower pan and avoid costly repairs down the line.
Repairing Detected Leaks
When you've identified leaks in your shower pan, addressing them promptly is crucial to prevent further damage. Effective leak detection can save you from costly repairs down the line.
Here are some effective repair techniques you can use:
- Sealant Application: Use a high-quality sealant to fill cracks or gaps.
- Reinforcement: Consider adding a waterproof membrane for added protection.
- Tile Replacement: If tiles are damaged, replace them to guarantee a tight seal.
- Professional Help: Don't hesitate to call an expert if the leaks persist.
Tips for Maintenance
Maintaining your shower pan is essential for guaranteeing its longevity and functionality. Start with regular cleaning; use a non-abrasive cleanser to prevent damage to the surface. Pay special attention to the corners and edges where grime tends to accumulate. After each use, wipe down the pan to remove excess moisture, reducing the risk of mold growth. Consider using a squeegee to keep surfaces dry. For mold prevention, inspect your caulking and grout regularly; replace any deteriorated areas promptly to prevent leaks and further damage. Additionally, guarantee proper ventilation in your bathroom to minimize humidity levels. By following these maintenance tips, you'll enjoy a durable, functional shower pan that enhances your bathing experience for years to come.
Frequently Asked Questions
How Long Does It Take to Build a Shower Pan?
When estimating the time it takes to build a shower pan, you should consider preparation steps like gathering materials, planning the layout, and ensuring proper drainage. Typically, you're looking at a time estimate of about 1 to 2 days for the entire process, depending on your skill level and the complexity of the design. If you're thorough with your preparation, it'll make the installation process smoother and quicker overall.
Can I Use a Pre-Made Pan Instead?
Yes, you can use pre-made options for your shower pan. These products simplify your installation process, saving you time and effort. Pre-made pans often come with built-in slopes and drainage systems, ensuring proper water flow and minimizing leaks. Additionally, they require less skill compared to traditional methods, making them accessible even for DIY enthusiasts. Overall, opting for a pre-made pan can enhance your project's efficiency and effectiveness, providing you with a reliable solution.
What if My Concrete Floor Is Uneven?
Did you know that nearly 30% of homes have uneven floors? If your concrete floor's uneven, you'll want to employ leveling techniques to make certain a proper shower pan installation. You can use self-leveling compounds to create a smooth surface, or consider shimming the pan if it's a slight deviation. Don't forget about drainage solutions—maintaining proper slope is essential to prevent water pooling. Addressing these issues will assure a functional and aesthetically pleasing shower.
Is It Necessary to Hire a Professional?
When deciding whether to hire a professional, consider your skill level and the complexity of the project. DIY can save you money, but if you're unsure, the cost considerations of mistakes might outweigh the savings. Professionals bring expertise that guarantees a quality finish and compliance with local codes. If you value freedom in tackling projects but lack experience, weighing your options carefully is essential to make the right choice for your needs.
How Often Should I Inspect the Shower Pan?
Inspecting your shower pan's like checking the oil in your car; it shouldn't be overlooked. You should aim for an inspection frequency of at least every six months. Regular checks can help catch small issues before they escalate into costly water damage. Look for cracks, discoloration, or mold. Keeping an eye on these details allows you to maintain your shower's integrity and enjoy your space without worry. Your freedom from repairs starts with proactive inspections!