To clean your bathroom floor effectively, start by gathering essential supplies like a broom, mop, bucket, and suitable cleaner. Clear the space of all items like towels and toiletries for better access. Sweep or vacuum the floor to remove debris, then choose a pH-neutral cleaner appropriate for your flooring. Mop with even strokes, rinsing the mop frequently. For tough stains, use a scrubbing brush with a targeted cleaner. Finally, dry the floor with a microfiber cloth for a streak-free finish. Regular maintenance guarantees your floor stays pristine. There's much more to guarantee a thorough clean that you'll find helpful.
Gather Your Cleaning Supplies
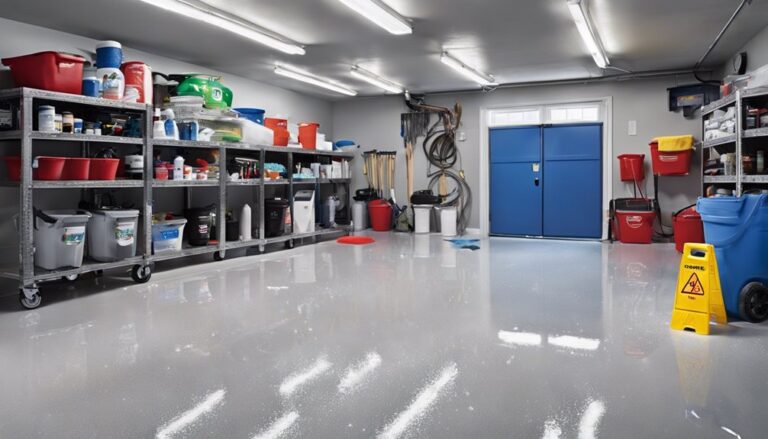
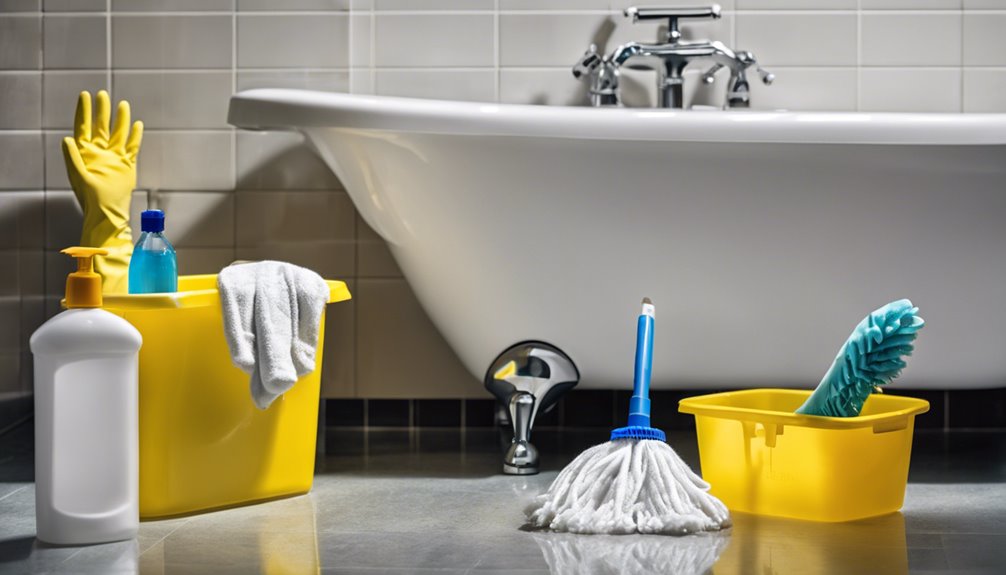
Before you plunge into cleaning your bathroom floor, it's essential to gather all the necessary supplies. Start by collecting important cleaning tools like a broom, mop, bucket, and a suitable floor cleaner. Don't forget to include gloves and a scrubbing brush for those stubborn spots. Organizing your supplies is key; arrange them in a designated area to streamline the process. Consider using caddies or bins to keep everything tidy and accessible. This way, you won't waste time searching for items when you're ready to clean. By preparing your cleaning tools and ensuring proper supply organization, you'll create an efficient environment that allows you to tackle your bathroom floor with confidence and freedom. Now, you're set for a successful cleaning session!
Clear the Area
To guarantee a thorough cleaning process, start by clearing the area of any items on the floor. Begin with bathroom decluttering; remove towels, rugs, and personal items like toiletries and cosmetics. Place these items in a designated spot, ensuring they're not scattered around. This step not only creates a clean workspace but also promotes effective space organization. Once you've cleared the area, take a moment to assess the items you've moved; consider whether they truly belong in the bathroom or if they can be relocated. This mindful approach enhances both cleanliness and functionality. By creating an open space, you're setting the stage for a more efficient cleaning experience, allowing you to focus on the task at hand with ease and freedom.
Sweep or Vacuum
When it comes to cleaning your bathroom floor, selecting the right tool is essential for effective debris removal. You'll want to take into account how often you clean; a high-traffic bathroom may require more frequent sweeping or vacuuming. Understanding these factors will help guarantee your floor remains spotless and hygienic.
Choose the Right Tool
Choosing the right tool for cleaning your bathroom floor can make a significant difference in both the effectiveness and efficiency of the task. For small debris, sweeping might be enough; however, a vacuum is often more effective in capturing dust and finer particles. Consider the type of flooring you have—some mop types, such as microfiber or sponge mops, are better suited for tiles, while others may work well on vinyl. When using mops, guarantee you pair them with appropriate cleaning materials, like disinfectants or gentle detergents, to avoid damaging surfaces. Assess your bathroom's size and your personal preferences to determine which approach saves you time and yields the best results, allowing you to enjoy a cleaner, more inviting space.
Frequency of Cleaning
Maintaining a clean bathroom floor requires a consistent cleaning schedule that fits your lifestyle and usage patterns. Ideally, you should sweep or vacuum the floor daily, especially if your household has high foot traffic. This helps remove dirt and debris that can accumulate quickly. If daily cleaning feels overwhelming, aim for at least three times a week as part of your daily habits.
In addition to regular sweeping or vacuuming, consider deep cleaning weekly or bi-weekly to tackle stubborn grime and disinfect the area effectively. By adhering to these cleaning schedules, you'll not only keep your bathroom looking pristine but also create a healthier environment. Flexibility is key—adapt your routine based on your needs and preferences for a maintenance plan that works for you.
Choose the Right Cleaner
Selecting the right cleaner for your bathroom floor is essential, as it can greatly impact both cleanliness and longevity. You'll want to evaluate surface compatibility and whether you prefer eco-friendly options. Some cleaners are harsh and can damage certain materials, while others are gentle yet effective.
Here's a quick comparison to help you decide:
| Type of Cleaner | Eco-Friendly Options |
|---|---|
| All-Purpose Cleaner | Yes |
| Bleach-Based Cleaner | No |
| Vinegar Solution | Yes |
| Stone Cleaner | Check Compatibility |
| Natural Soap | Yes |
Choosing wisely not only safeguards your floor but also contributes to a healthier environment. You deserve a clean, safe space—make that choice count!
Mop the Floor
Once you've selected the right cleaner, it's time to focus on mopping the floor. Choosing the appropriate mop is essential for achieving an effective clean, as different surfaces may require specific types. Additionally, employing the proper mopping technique guarantees that you cover all areas thoroughly, leaving your bathroom floor spotless.
Choose the Right Mop
Choosing the right mop is essential for achieving a spotless bathroom floor, as the wrong tool can leave dirt and grime behind. First, consider the mop types available: traditional string mops, sponge mops, and microfiber mops each serve different purposes. Microfiber mops are excellent for picking up fine particles and require less cleaning solution. Next, think about mop materials; cotton mops are absorbent but may fray over time, while synthetic options are durable and often machine washable. A flat mop can be more efficient for maneuvering in tight spaces. Ultimately, pick a mop that suits your cleaning style and bathroom size, ensuring you've got the best tool to maintain a fresh, clean environment.
Proper Mopping Technique
Start by preparing your mop and cleaning solution before tackling the bathroom floor. Achieving a clean surface requires a proper technique. Here's how to guarantee you do it effectively:
- Wet the Mop: Dip it into your cleaning solution, ensuring it's saturated but not dripping.
- Get a Proper Grip: Hold the mop firmly, as a stable grip helps maintain control.
- Use Even Strokes: Start at the farthest corner, moving towards the exit. This prevents you from stepping on freshly cleaned areas.
- Rinse Frequently: After a few strokes, rinse the mop to avoid spreading dirt.
Scrub Stubborn Stains
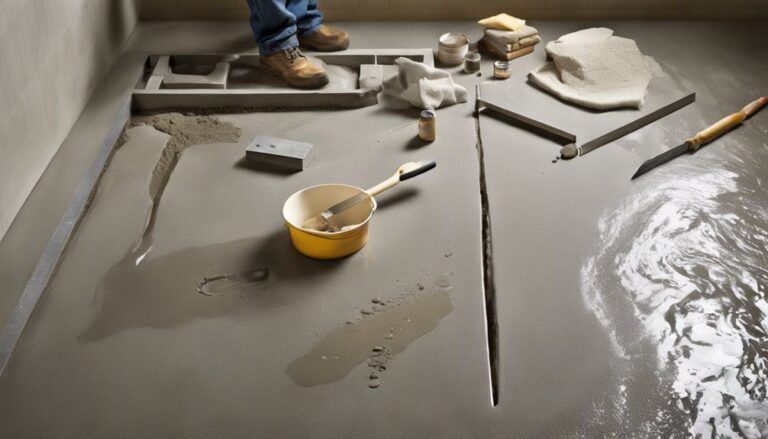
Tackle stubborn stains on your bathroom floor with a systematic approach that guarantees effective cleaning. Start by identifying the type of stain; this will help you choose the right cleaning solution. For mineral deposits, a vinegar-water mix is your best bet, while grease stains may require a commercial degreaser. Apply the chosen solution directly onto the stain, allowing it to sit for a few minutes to aid in stain removal. Use a scrub brush or an old toothbrush to gently scrub the area, applying more pressure as needed without damaging the floor surface. Rinse the area thoroughly with clean water to remove any residue from the cleaning solutions. This method ensures your bathroom floor remains pristine and inviting.
Rinse and Dry
Once you've scrubbed away the stains, rinsing and drying the bathroom floor is essential for achieving a spotless finish. Start by selecting appropriate rinse methods to remove any cleaning solution residue. You can use:
- A bucket of clean water to manually rinse the floor.
- A mop soaked in clean water for a thorough rinse.
- A handheld showerhead for targeted rinsing in tight spots.
- A wet/dry vacuum to eliminate excess water efficiently.
After rinsing, apply drying techniques like using a clean towel or microfiber cloth to absorb moisture, or simply allow air circulation by opening windows and doors. Following these steps guarantees your bathroom floor is both clean and free from lingering dampness, giving you the freedom to enjoy a pristine space.
Maintain Regular Cleaning
Maintaining a clean bathroom floor doesn't end with rinsing and drying; it requires a commitment to regular cleaning to prevent dirt and grime buildup. Establishing a cleaning schedule is essential. Aim for a weekly deep clean, along with daily spot checks to address any spills or stains promptly. Create a cleaning checklist to guarantee you cover all areas systematically, including corners and behind fixtures. Don't forget to take into account the type of flooring you have, as different materials may require specific cleaning solutions. By sticking to this routine, you not only enhance the appearance of your bathroom but also promote a healthier environment. With dedication, you'll enjoy a fresh and inviting space that reflects your commitment to cleanliness.
Additional Tips for Shine
Although regular cleaning is essential, adding a few extra steps can elevate the shine of your bathroom floor. Here are some effective tips you can incorporate:
- Vinegar Solution: Mix equal parts of water and vinegar for a natural remedy that cuts through grime and leaves a sparkling finish.
- Baking Soda Paste: Create a paste with baking soda and water for spot cleaning tough stains, enhancing shine with polishing techniques.
- Microfiber Cloth: Use a microfiber cloth for drying; it'll prevent streaks and boost luster.
- Floor Wax: Consider applying a thin layer of floor wax periodically, which not only adds shine but also protects your surface.
Frequently Asked Questions
What Type of Mop Is Best for Bathroom Floors?
When considering mop types for your bathroom, microfiber mops are often the best choice. They're highly effective at trapping dirt and germs, making your cleaning technique more efficient. Spin mops are also great, as they allow for easy wringing and less mess. If you prefer a traditional approach, a cotton string mop can do the job, but it may require more effort. Ultimately, choose a mop that fits your cleaning style and needs.
How Often Should I Clean My Bathroom Floor?
If you've ever had a friend comment on how clean your bathroom looks, you know the value of a good bathroom cleaning schedule. Ideally, you should clean your bathroom floor at least once a week to maintain hygiene. For busy households, consider setting a bi-weekly deep clean. Incorporating floor maintenance tips, like quick daily sweeps, can keep dirt at bay and guarantee your space remains inviting and fresh, creating a sense of freedom in your home.
Can I Use Vinegar on All Floor Types?
You can use vinegar on many floor types, but its effectiveness varies with floor material compatibility. For sealed hardwood, laminate, and tiles, vinegar can be a great natural cleaner. However, avoid using it on unsealed or natural stone floors, as the acidity can damage them. Always test a small area first to verify it doesn't harm your flooring. With the right approach, you can enjoy a clean, fresh floor without harsh chemicals.
What Should I Do if My Floor Is Slippery After Cleaning?
Imagine a serene lake, its surface glistening, yet treacherous beneath. If your floor's become slippery after cleaning, it's vital to restore balance. First, assess the cleaning solutions used; certain chemicals can leave a residue. Rinse the area with water, then dry it thoroughly to eliminate moisture. You might consider using a non-slip treatment or mat to reclaim stability, turning your slick haven back into a safe, welcoming space for all who tread upon it.
Are There Eco-Friendly Cleaning Options for Bathroom Floors?
Absolutely, there are plenty of eco-friendly cleaning options for your bathroom floor! You can use natural cleaners like vinegar and baking soda, which effectively cut through grime without harsh chemicals. For a more pleasant scent, consider adding essential oils. There are also green alternatives available commercially that are biodegradable and free from toxic ingredients. These choices not only keep your space clean but also contribute to a healthier environment, letting you breathe easier.