To install laminate flooring on concrete, start by preparing the surface. Check moisture levels; they should be below the manufacturer's recommendations. Level any irregularities with a compound. Choose durable laminate and a moisture barrier underlayment, rolling it out perpendicular to the planks. Allow the laminate to acclimate in the room for 48 hours. When laying the flooring, stagger joints for a natural look and leave a gap for expansion near the walls. Finally, verify tight connections as you work. For more in-depth guidance and tips, give your attention to the finer points of this process.
Preparing the Concrete Surface
Before you lay down your laminate flooring, it's crucial to prepare the concrete surface properly. Start by checking for concrete moisture; use a moisture meter to verify levels are below the manufacturer's recommendations. High moisture can cause your laminate to warp or buckle. Next, inspect the surface for any irregularities. You may need to perform surface leveling if you find bumps or dips greater than 1/8 inch over a 10-foot span. Use a leveling compound to fill in low spots and grind down high areas. This guarantees a smooth, even base for your laminate. Once you've addressed moisture and leveling, your concrete surface will be primed for a successful laminate flooring installation, providing the freedom to enjoy your space without worry.
Choosing the Right Materials
With the concrete surface prepared, the next step is choosing the right materials for your laminate flooring project. First, consider the laminate types available, such as high-density fiberboard (HDF) or medium-density fiberboard (MDF), as they offer varying durability and aesthetic options. It's crucial to select a laminate that fits your lifestyle and foot traffic needs. Additionally, don't overlook moisture barriers; these are vital for protecting your laminate from potential damage due to moisture seeping through the concrete. Choose a polyethylene or foam underlayment with a built-in moisture barrier to guarantee peak performance. By selecting the right laminate types and moisture barriers, you'll create a resilient and stylish floor that stands the test of time.
Acclimating the Laminate
Acclimating the laminate is a crucial step that shouldn't be overlooked; it typically takes about 48 hours. This process helps guarantee proper moisture control and temperature adjustment, preventing warping or buckling after installation. Here's how to do it right:
- Store the laminate: Lay the unopened boxes flat in the room where you'll install the flooring. This allows the laminate to adjust to the room's environment.
- Check the temperature: Maintain a consistent temperature between 60°F and 80°F during the acclimation period for best results.
- Monitor humidity: Aim for a humidity level between 30% and 50% to facilitate effective moisture control, safeguarding your flooring's integrity.
Taking these steps will set you up for a successful installation.
Installing Underlayment
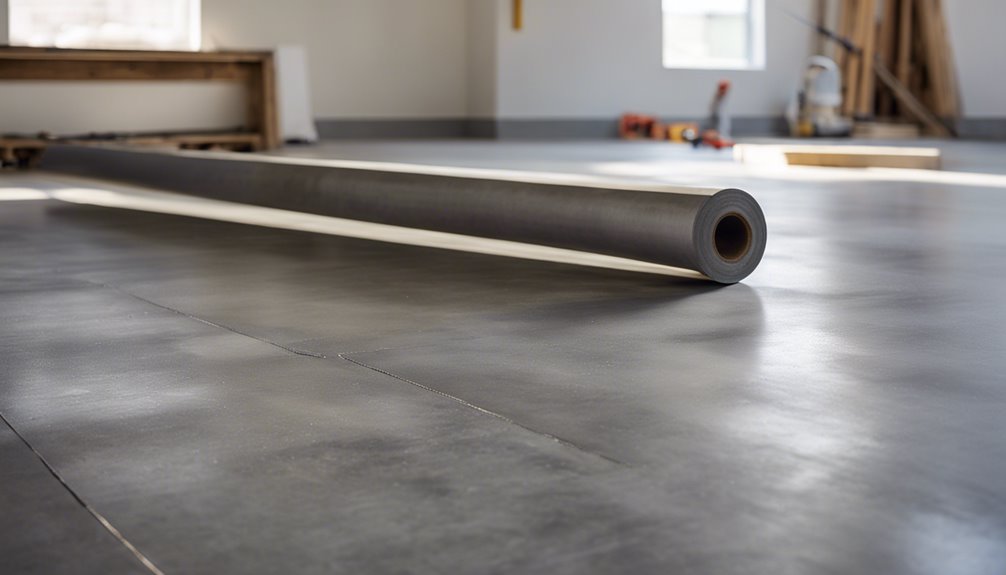
Installing underlayment is an important step in the laminate flooring process, as it provides sound insulation, moisture protection, and a smoother surface for the laminate planks. You'll find various underlayment types, including foam, cork, and polyethene, each offering unique benefits. For concrete floors, a moisture barrier is vital to prevent dampness from seeping through and damaging your laminate.
Begin by rolling out the underlayment perpendicular to the direction you'll lay the planks. Make sure the edges meet but don't overlap, and tape them together to create a seamless layer. Trim any excess material around the edges, and maintain a gap near the walls to allow for expansion. This preparation will enhance the overall performance and longevity of your laminate flooring.
Laying the Laminate Flooring
Before you start laying the laminate flooring, make sure you have all your materials ready and the underlayment properly installed. Begin by measuring your space to determine the best flooring patterns. It's crucial to stagger the joints for a natural look.
Follow these steps for effective installation:
- Cut the planks: Use appropriate cutting techniques, like a miter saw or circular saw, ensuring clean edges.
- Lay the first row: Start against the wall, leaving a gap for expansion.
- Continue laying: Work your way across the room, connecting the planks tightly without forcing them.
Keep an eye on alignment and make certain each plank is level. Enjoy the freedom of creating a beautiful, durable floor!
Frequently Asked Questions
Can I Install Laminate Flooring Over Existing Carpet on Concrete?
You can't just lay laminate over carpet like a bird landing on a cloud. Carpet removal is essential for achieving proper flooring compatibility. Carpets can trap moisture and cause issues with your laminate, leading to warping or buckling over time. For a successful installation, make sure the concrete slab is clean, dry, and leveled, allowing your new flooring to shine without any hidden obstacles. Jump in, and give your space the freedom it deserves!
How Long Does Laminate Flooring Last on Concrete?
Laminate flooring typically lasts around 15 to 25 years, depending on various factors like wear and tear, maintenance, and the quality of the material. When installed on concrete, it's essential to guarantee the concrete compatibility is ideal, as moisture can affect laminate lifespan. Using an appropriate underlayment can help mitigate moisture issues, enhancing durability. Regular cleaning and avoiding excess water will also prolong the life of your laminate flooring, letting you enjoy it longer.
Is Laminate Flooring Waterproof for Basements?
Laminate flooring isn't inherently waterproof, which makes basement considerations essential. While some products offer waterproof benefits, it's important to check the manufacturer's specifications. If you're installing in a basement, moisture barriers and proper underlayment can help protect against water damage. Remember, even with waterproof options, standing water can still harm laminate. So, make sure you maintain good drainage and humidity levels to maximize the longevity of your flooring and enjoy your space worry-free.
What Tools Are Essential for Laminate Flooring Installation?
Picture yourself gearing up for a big race; you need the right gear to succeed. For laminate flooring installation, essential tools include a miter saw, measuring tape, and a tapping block. Proper floor preparation is key, so don't forget a level and underlayment. These installation tools guarantee your project goes smoothly, just like crossing that finish line. With the right equipment, you can turn your space into a beautiful haven without the hassle.
How Do I Maintain Laminate Flooring on Concrete?
To maintain your laminate flooring on concrete, establish a regular maintenance schedule. Vacuum or sweep weekly to remove dirt and debris, and use a damp mop with a gentle cleaner bi-weekly. Avoid excessive water, as it can warp the laminate. For spills, wipe them up immediately. Consider using furniture pads to prevent scratches. These cleaning tips will help keep your flooring looking great while ensuring its longevity and preserving that freedom to enjoy your space.