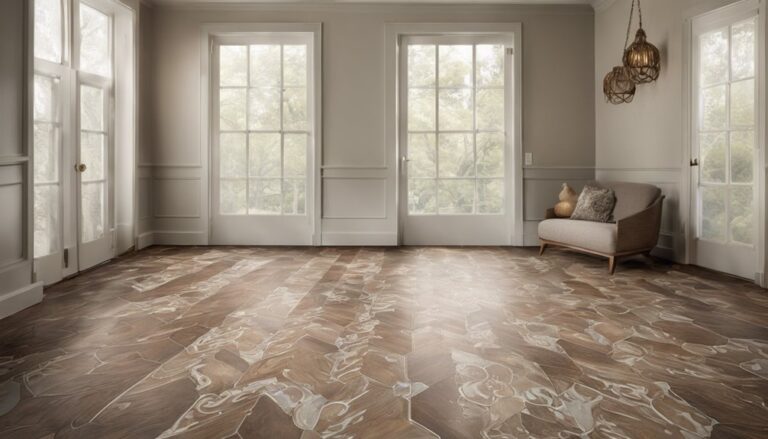
Are you dreaming of transforming your concrete floors into a warm, inviting space with beautiful wood flooring? You’re not alone.
Many homeowners are eager to add the timeless elegance of wood to their homes. But the thought of installing it over concrete can seem daunting. What if it doesn’t stick properly? Will it last? The good news is, with the right guidance, you can achieve a flawless installation that stands the test of time.
This guide will walk you through every step of the process, ensuring you avoid common pitfalls and create a stunning floor you’ll love. Ready to turn that cold concrete into a cozy haven? Let’s get started.
Preparing The Concrete Surface
Start by sweeping the concrete floor. Remove all dirt and debris. Use a vacuum for tiny particles. Clean the surface with a damp mop. Ensure there are no stains or grease spots. Next, check for uneven areas. Use a leveling compound to fix them. A smooth surface is key for wood flooring.
Moisture can damage wood floors. Place a plastic sheet on the concrete. Leave it for 24 hours. Check for water droplets. If moisture is present, it needs fixing. Use a moisture meter for accurate reading. Ensure levels are safe before proceeding.
A vapor barrier keeps moisture away. Use a polyethylene sheet or special paint. Lay the sheet across the floor. Overlap the edges by a few inches. Tape them securely. If using paint, apply with a roller. Let it dry completely. A vapor barrier protects your wood flooring.

Selecting The Right Wood Flooring
Choosing the right wood flooring is crucial. Some options include engineered wood and solid wood. Engineered wood is good for areas with moisture. Solid wood is suitable for dry places. Both types look beautiful and last long.
Engineered wood consists of layers. It resists moisture better than solid wood. Solid wood offers a classic look. It can be sanded and refinished many times. Engineered wood is often more stable.
Thickness matters for durability. Thicker wood provides better support. Common thicknesses are 3/8 inch and 3/4 inch. Thicker wood can handle more wear and tear.
Necessary Tools And Materials
Start with a measuring tape. It helps measure the floor space. Use a saw to cut wood pieces. A hammer is useful to tap pieces in place. Get a level. It checks if the floor is even. A drill makes holes for screws. Use a nail gun for quick nailing. A trowel spreads glue evenly.
Wood planks are the main material. Choose a style you like. Adhesive glue sticks the wood to concrete. Underlayment is a layer between concrete and wood. It provides comfort. Screws and nails hold everything tight.
Safety first! Wear goggles to protect your eyes. Use gloves to save hands from splinters. Earplugs help when using loud tools. Keep a mask handy to avoid dust. Knee pads protect knees when working on the floor. Always work in a well-ventilated area.
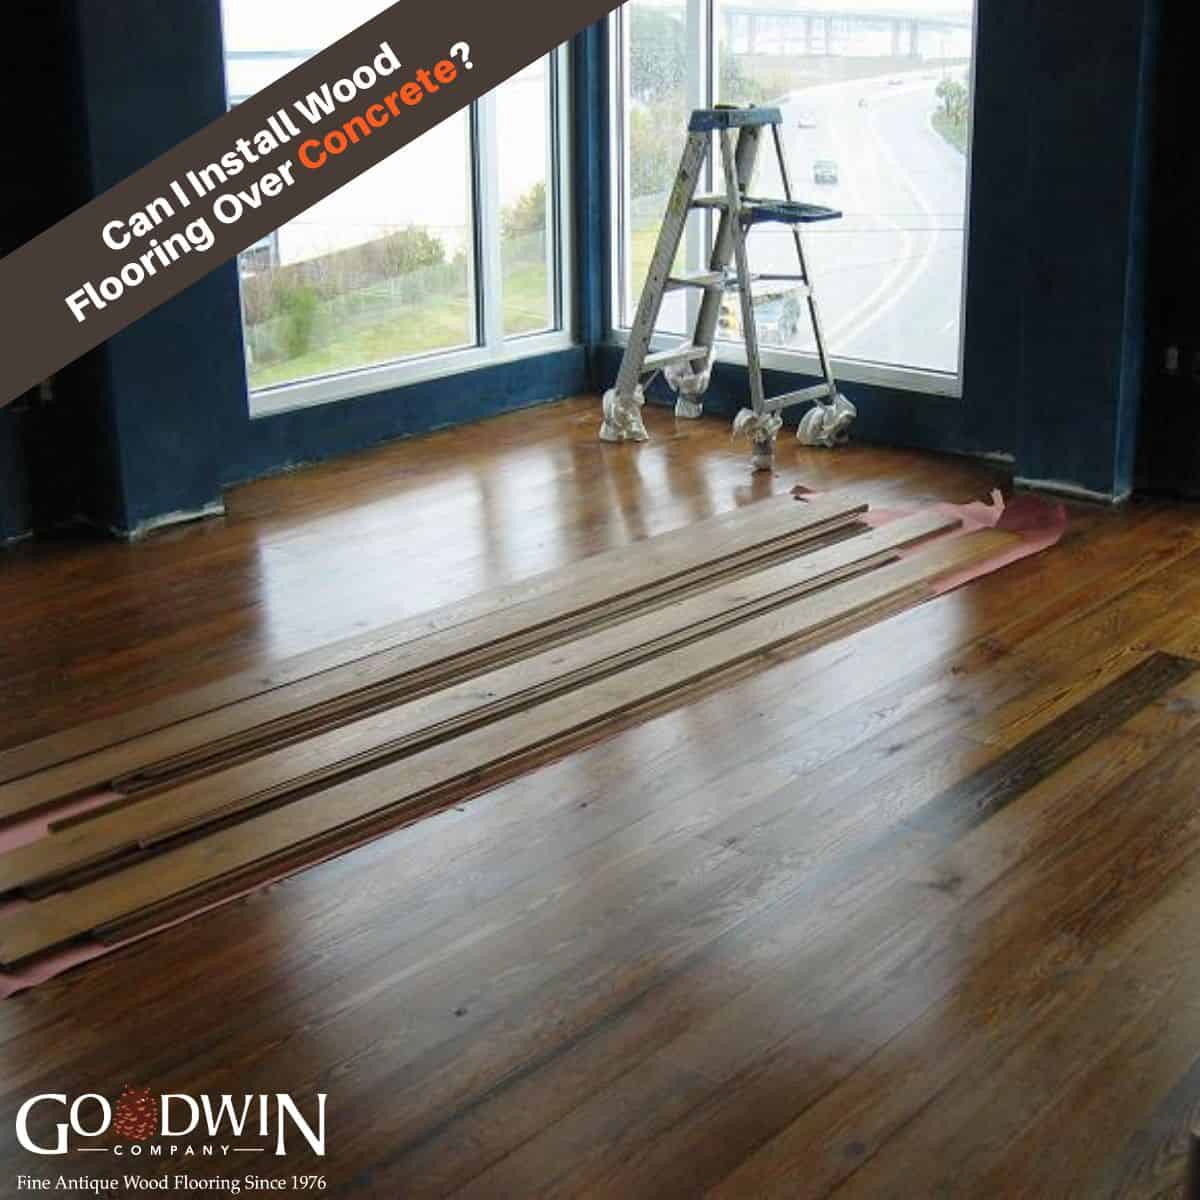
Acclimating The Wood
Acclimation is important for wood flooring. It helps wood adjust to its new home. This process prevents future problems like warping or shrinking. Wood needs to adapt to room temperature and humidity. Proper acclimation helps keep the floor stable.
Importance Of Acclimation
Skipping acclimation can cause the wood to misbehave. It might bend or twist. Such issues can ruin the look and feel of the floor. Acclimation makes the wood ready for installation. It ensures that the floor stays perfect over time.
How To Acclimate Wood Properly
Leave wood in the room for several days. This helps it adapt to the environment. Keep the wood flat on the floor. Allow air to reach all sides. Use a fan if needed. Check the wood daily. Make sure it feels dry and stable. Once acclimated, the wood is ready for installation.
Installation Methods
The floating floor technique is simple. It does not use glue or nails. Boards snap together like a puzzle. This method suits concrete well. It allows floors to expand and contract. Moisture barriers are important. They protect the wood from concrete dampness.
The glue-down method is sturdy. It uses adhesive to attach wood directly. This technique ensures stability. Proper glue selection is crucial. It should be moisture-resistant. Apply glue evenly for best results. This method offers a firm feel underfoot.
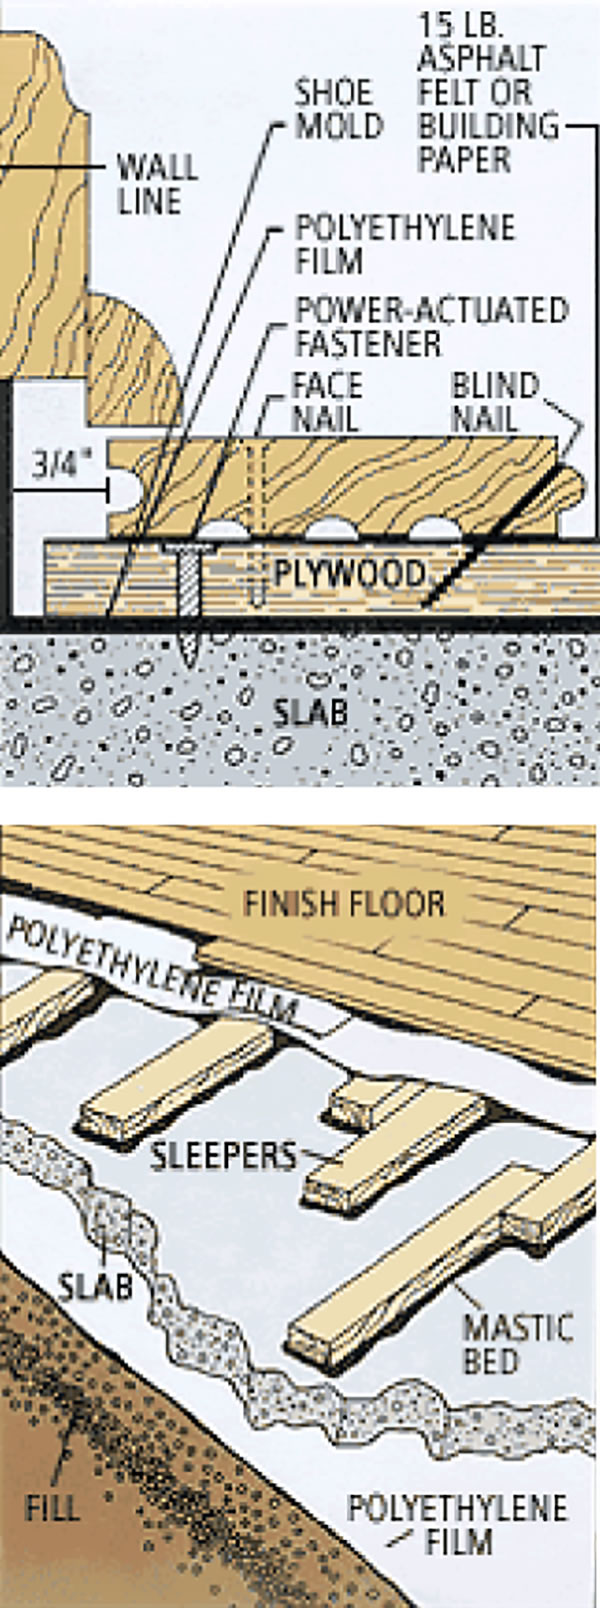
The nail-down approach is traditional. It requires a plywood subfloor. Nails secure wood firmly. This method is less common for concrete. Plywood provides a buffer. It adds height to the floor. Choose this method for a more classic look.

Step-by-step Installation Process
Start by placing a spacer against the wall. This helps with expansion. Lay the first plank next to the spacer. Align it perfectly. Use a tapping block to fit the next plank. Continue until the first row is complete. Ensure the planks are snug. Check alignment regularly. This first row sets the path.
Begin the next row with a short plank. This ensures staggered joints. Apply glue to the grooves. Press each plank into place. Use the tapping block if needed. Check each row for straightness. Repeat until the floor is covered. Take your time. Patience leads to a better finish.
Measure the last plank for fit. Cut to size if necessary. Use a saw for clean cuts. Place the plank with a spacer. Ensure it fits well. For corners, use a jigsaw. Follow the shape of the wall. Double-check the fit before securing. Complete with baseboards for a neat edge.
Post-installation Tips
Ensure a clean and dry surface before installing wood flooring on concrete. Use a moisture barrier to prevent damage. Allow the flooring to acclimate to the room’s temperature for a successful installation.
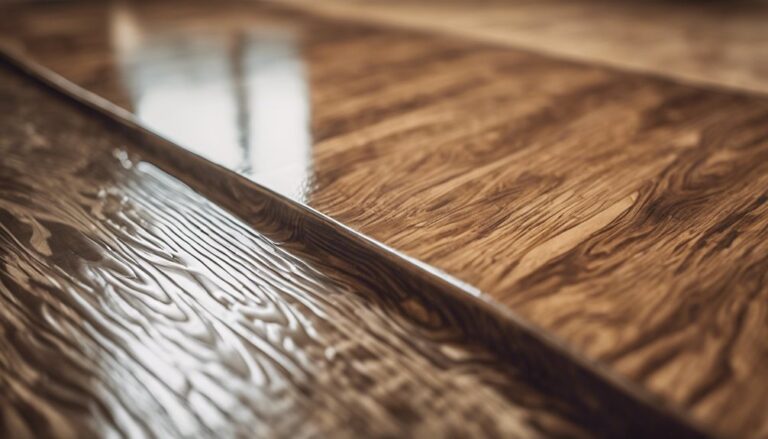
Sealing And Finishing
Seal your wood floor to protect it from moisture. Use a good quality sealer. Apply it evenly with a brush or roller. Let the sealer dry completely. This can take a few hours. After sealing, finish the floor with a coat of varnish or wax. This adds a shiny look and keeps the wood safe. Follow the instructions on the product label. This ensures the best results.
Maintaining Your Wood Floor
Clean your wood floor regularly to keep it looking new. Use a soft broom or vacuum cleaner. Avoid harsh chemicals that can harm the wood. Wipe spills quickly to prevent stains. Place mats at doorways to trap dirt. This helps protect the floor. Check for any damage or scratches. Fix them as soon as possible. Regular maintenance keeps your wood floor beautiful for years.
Frequently Asked Questions
Can Wood Flooring Be Installed Over Concrete?
Yes, wood flooring can be installed over concrete. Ensure the concrete is dry, clean, and level. Use a moisture barrier to prevent damage. Choose engineered wood for better stability. Follow manufacturer instructions for a successful installation.
What Tools Are Needed For Wood Floor Installation?
You’ll need a moisture meter, saw, hammer, nails, adhesive, and level. Safety gear like goggles and gloves are essential. A tape measure ensures accuracy. Use a rubber mallet for adjustments. Ensure you have all necessary tools before starting.
How Do You Prepare Concrete For Flooring?
First, clean the concrete thoroughly and repair any cracks or uneven areas. Test for moisture content using a moisture meter. Apply a moisture barrier if necessary. Ensure the surface is level to avoid installation issues. Proper preparation ensures longevity and quality.
Is Underlayment Necessary For Wood Flooring?
Yes, underlayment is crucial for wood flooring over concrete. It acts as a moisture barrier and provides sound insulation. It can also offer cushioning for comfort. Choose an underlayment compatible with your flooring type. Proper underlayment ensures durability and sound quality.
Conclusion
Installing wood flooring over concrete is simple with the right steps. Start by preparing the concrete surface. This ensures a smooth installation. Choose quality materials for a durable finish. Follow the process carefully for best results. Regular maintenance keeps your floor looking new.
Wood adds warmth and elegance to any room. Enjoy the beauty and comfort it brings. Whether you’re renovating or building new, wood flooring is a great choice. Your space will feel inviting and stylish. Take pride in your home improvement skills.
Ready to transform your space with beautiful wood floors? Start today!