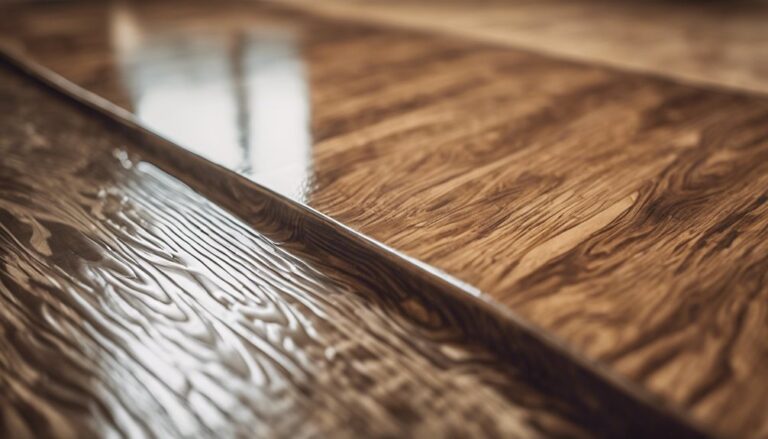
Are you ready to transform your concrete floors into something stylish and functional without breaking the bank? Laying laminate flooring might just be the solution you’ve been searching for.
Imagine walking into a room that feels warm, inviting, and modern—sounds appealing, right? With the right guidance, you can achieve that look all on your own. You’ll discover step-by-step instructions on how to lay laminate flooring on a concrete floor, ensuring a smooth and professional finish.
Whether you’re a DIY enthusiast or just looking to save some money on home improvements, this guide is tailored for you. So, let’s dive in and get your floors looking fantastic!
Preparing The Concrete Surface
First, sweep the floor to remove any dirt. Use a vacuum for fine dust. Make sure the floor is clean and free of debris. A clean surface helps the laminate stick well. Use a damp mop if needed. Avoid soaking the floor. Excess water can cause problems.
Moisture can damage the laminate. Use a moisture meter to check the levels. High moisture means you need a barrier. A plastic sheet can help. Leave it on the floor for 24 hours. Condensation under the sheet means there is moisture.
Check for any cracks or holes in the concrete. These can cause issues with the laminate. Use a concrete patch to fill holes. Smooth it out with a trowel. Let it dry completely. A smooth surface is important for a good fit.
Gathering Necessary Tools And Materials
Essential Tools are very important. You need a tape measure, saw, and hammer. A rubber mallet helps too. Use a spirit level for even floors. Don’t forget spacers. They keep gaps equal. A pencil is useful for marking cuts. You might need a pull bar. It helps with tight spaces.
Choosing the Right Laminate is crucial. Laminate comes in many styles. Pick one you like. Make sure it’s good quality. Check its thickness. Thicker ones are often better. Look at the warranty. A long warranty means better quality.
Underlayment Options are varied. Choose foam underlayment. It’s soft and easy. It reduces noise. Consider cork underlayment. It’s eco-friendly. It also insulates well. Check if underlayment is moisture-resistant. This helps keep floors dry.
Acclimating The Laminate Flooring
Keep the laminate in a dry place. Avoid direct sunlight. Ensure proper air circulation. This prevents damage. Use a flat surface for storage. Never stack too high. Laminate must stay flat. Moisture can harm it. Keep away from water. Store for two days before use. This helps it adjust. Proper storage is key.
Let the laminate rest for 48 hours. This is important. It adjusts to room conditions. Temperature and humidity matter. Change affects size. Two days is enough. Check room temperature. Keep it steady. 20°C to 25°C is ideal. Humidity should be 40% to 60%. This ensures best results.

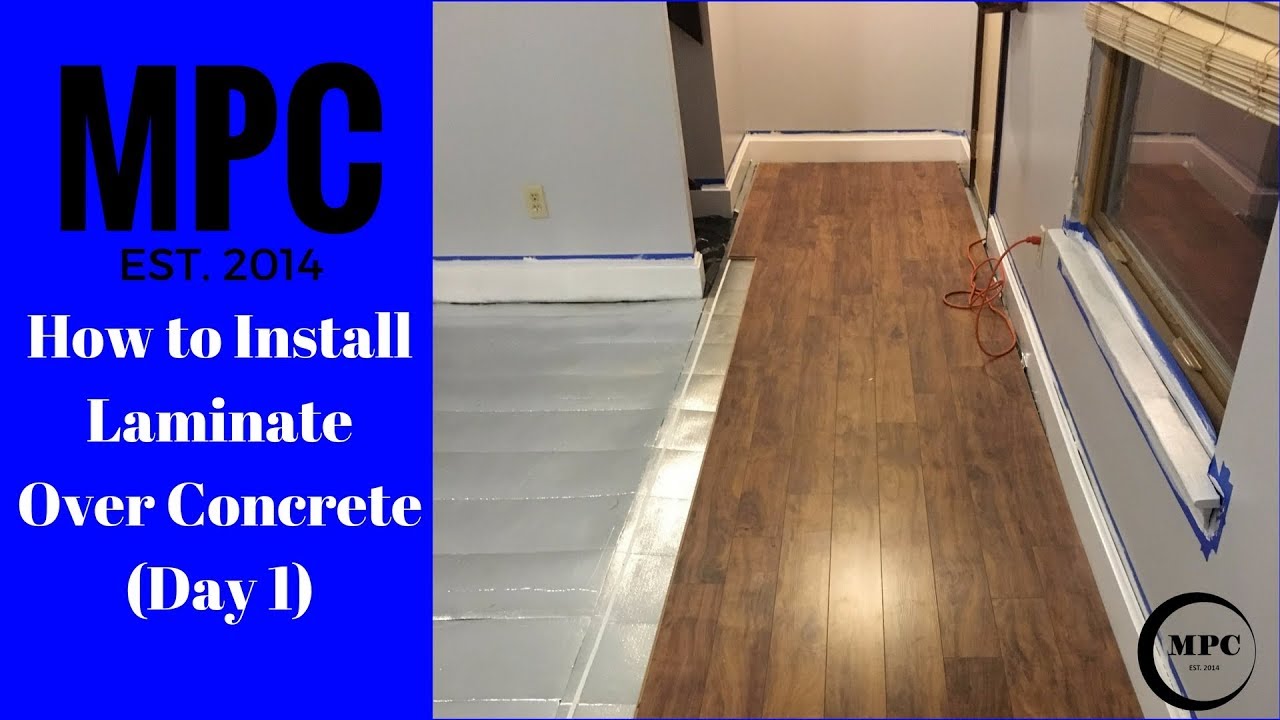
Installing The Underlayment
Prepare the concrete floor first. Clean it well. Use a broom to sweep. Remove all dust and dirt. Roll the underlayment out. Align it with the wall. Cut it if needed. Make sure it lays flat. Overlap seams by a few inches. This stops moisture. Smooth out any bumps. Check for gaps.
Tape seams together. Use strong tape. Press it down firmly. Check all edges. Make sure they stick well. Seal any open ends. Use tape here too. Avoid loose edges. These can cause problems later. Watch for wrinkles. Flatten them out. Inspect your work. Make sure it’s secure. Ready for flooring.
Starting The Laminate Installation
Measure the room size first. Use a tape measure for accuracy. Calculate how many planks you need. Leave space for gaps. These gaps help the floor breathe. Draw a plan on paper. This plan shows how planks fit. Check for doors or cabinets. Avoid cutting planks for these areas.
Start with a full plank. Place it along the longest wall. Cut the plank if it’s too long. Use a saw or a cutter. Make sure cuts are straight. A straight cut helps the planks fit snugly. Repeat for the whole row. Each plank should fit well with others. Use spacers for even gaps.
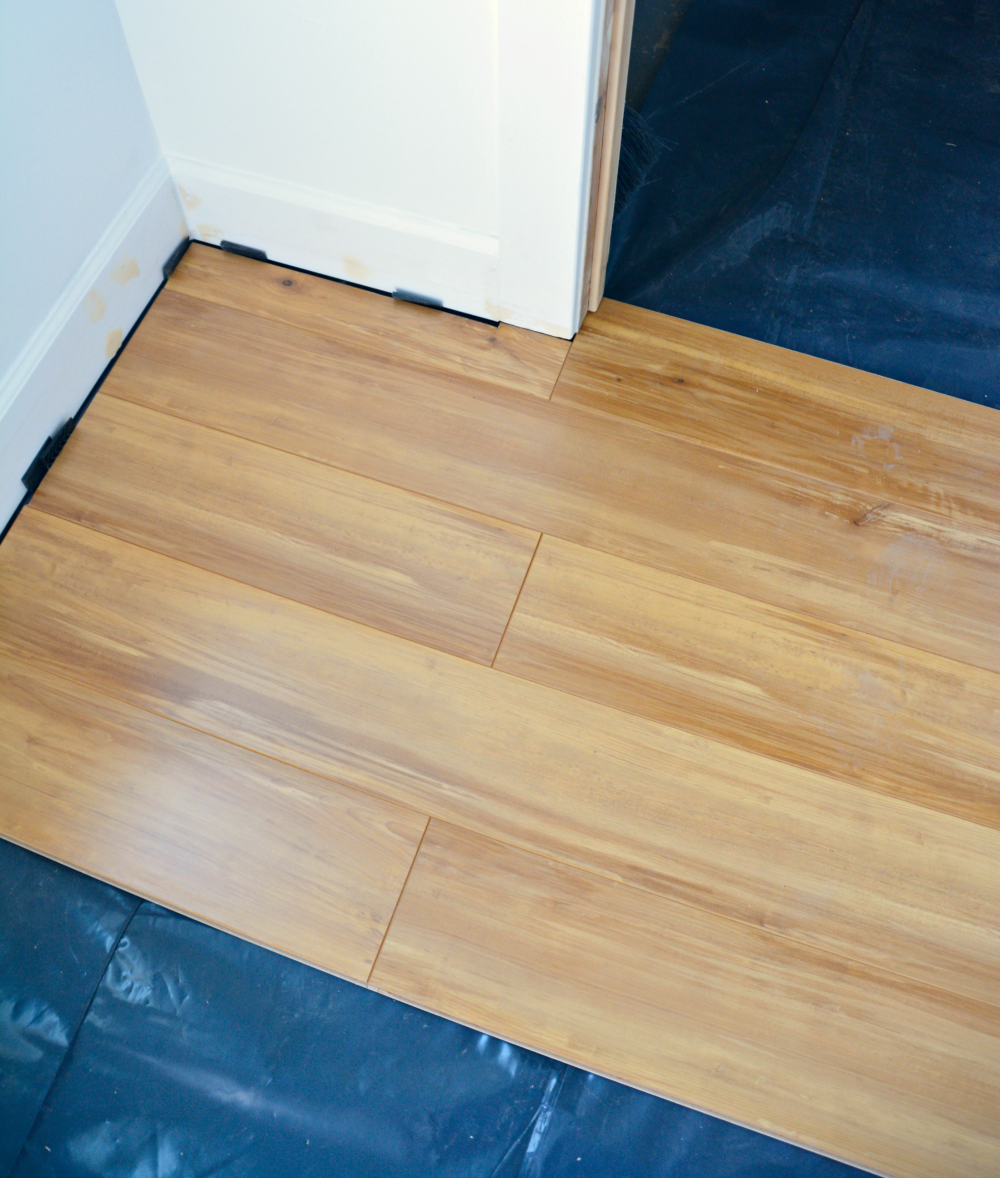
Laying The Laminate Planks
Start by laying the first plank against the wall. Ensure it’s straight. Next, connect the second plank by snapping it into place. Use a gentle tap to secure. Repeat this for the entire row. Make sure there are no gaps between planks. Tight connections keep the floor strong. Always check alignment as you go.
Avoid lining up the seams of planks. Place each plank halfway over the previous row. This creates a staggered pattern. Staggering makes the floor look natural. It also adds strength to the floor. Use the cut-off pieces from the last plank. Start the next row with these. This reduces waste and keeps the pattern.
Finishing Touches
Preparing the concrete floor properly ensures a smooth laminate installation. Clean the surface thoroughly to remove any debris. Use underlayment for moisture protection and sound absorption.
Installing Trim And Moldings
Trim and moldings make the floor look neat. Measure the wall edges. Cut the trim to fit these edges. Use a saw for cutting. Place the trim against the wall. Secure it with small nails. Moldings cover gaps between floor and wall. Choose moldings that match your floor color. This gives a clean look. Moldings also protect edges from damage. Always handle tools with care. Safety is important.
Cleaning The New Floor
Keep your new floor clean for a long life. Use a soft broom to sweep dust. A vacuum can also help. Avoid using too much water. Water can damage the laminate. Use a damp cloth for spots. Dry the floor after cleaning. This prevents water damage. Use floor mats at entrances. They trap dirt and keep the floor clean. Regular cleaning keeps the floor shiny and new.
Common Mistakes To Avoid
Avoid common mistakes when laying laminate on concrete by ensuring the floor is dry and level. Use proper underlayment to prevent moisture damage. Leave space for expansion to prevent buckling.
Ignoring Expansion Gaps
Expansion gaps are very important. These gaps let the floor breathe. Without them, the floor might buckle. Always leave a small gap by walls. This helps in temperature changes. Also, it helps with humidity shifts.
Use spacers to keep gaps equal. Don’t forget this step. It saves many future problems. Floors need space to expand. Remember to check gaps often.
Improper Plank Alignment
Straight lines make floors look nice. Crooked planks can ruin this look. Always start from a straight wall. Use a chalk line as a guide.
Ensure planks fit well. Gaps between planks should be small. This ensures a smooth surface. Check each row for alignment. Fix any misaligned planks quickly. This keeps the floor neat and tidy.
Maintenance Tips
Laying laminate flooring on a concrete floor requires careful planning. Start by ensuring the concrete surface is clean and dry. Use a moisture barrier to protect against dampness. Properly align and lock the laminate planks in place for a smooth finish.
Maintain even spacing to allow for natural expansion.
Routine Cleaning
Keep the floor clean with regular sweeping. Use a soft broom or vacuum. Avoid harsh bristles that scratch. Damp mop weekly to remove dirt. Use a mild cleaner for laminate. Stay away from soap-based detergents. They can dull the shine. Immediately clean spills to prevent stains. Water can damage the laminate. Dry the floor after mopping. This stops water spots. Keep shoes clean before entering.
Preventing Damage
Place felt pads under furniture legs. This stops scratches when moving items. Use rugs in high-traffic areas. They protect against wear. Avoid dragging heavy objects across the floor. Lift and move instead. Keep pet nails trimmed to prevent scratches. Ensure humidity levels stay balanced. Extreme dryness or moisture can harm the floor. Regularly check for leaks in nearby pipes. Water can seep under the laminate and damage it.

Frequently Asked Questions
How To Prepare Concrete For Laminate Flooring?
First, ensure the concrete is clean and dry. Remove any debris and repair any cracks or holes. Use a moisture barrier if needed. Ensure the surface is level and smooth. Proper preparation prevents future issues, ensuring a long-lasting laminate floor.
Do I Need Underlayment For Laminate On Concrete?
Yes, underlayment is essential for laminate flooring on concrete. It provides cushioning, reduces noise, and acts as a moisture barrier. Choose underlayment specifically designed for concrete surfaces. This ensures optimal performance and longevity of your laminate flooring.
Can I Install Laminate Directly On Concrete?
No, direct installation of laminate on concrete is not recommended. Concrete can retain moisture, causing damage. Use underlayment as a moisture barrier. This prevents moisture-related issues and enhances floor comfort and durability.
What Tools Are Needed For Laminate Installation?
You’ll need a tape measure, spacers, saw, tapping block, and rubber mallet. A pull bar and utility knife are also essential. These tools ensure precise cutting and fitting of laminate pieces. Having the right tools makes the installation process smooth and efficient.
Conclusion
Laying laminate flooring on concrete is straightforward. Gather the right tools first. Prepare your concrete floor properly. Ensure it’s clean and dry. Install underlayment for comfort and moisture barrier. Follow your laminate’s specific installation steps. Measure and cut accurately for a snug fit.
Use spacers for even gaps. Check for alignment regularly. Tack down any loose edges promptly. Enjoy your new, stylish floor! It’s durable and easy to maintain. With patience, anyone can do it. Transform your space with this budget-friendly option. Happy flooring!