First, thoroughly inspect your old floor for sagging, rot, or uneven spots. Next, clean the surface well and repair any cracks or holes to create a solid base. Then, pick the right leveling material—self-leveling compound is often best for ease and durability. Mix and apply the compound evenly, working quickly before it sets. Finally, check the level and smooth out any imperfections for a stable finish. Keep going to discover tips that guarantee a perfect, long-lasting floor.
Assessing the Floor’s Current Condition
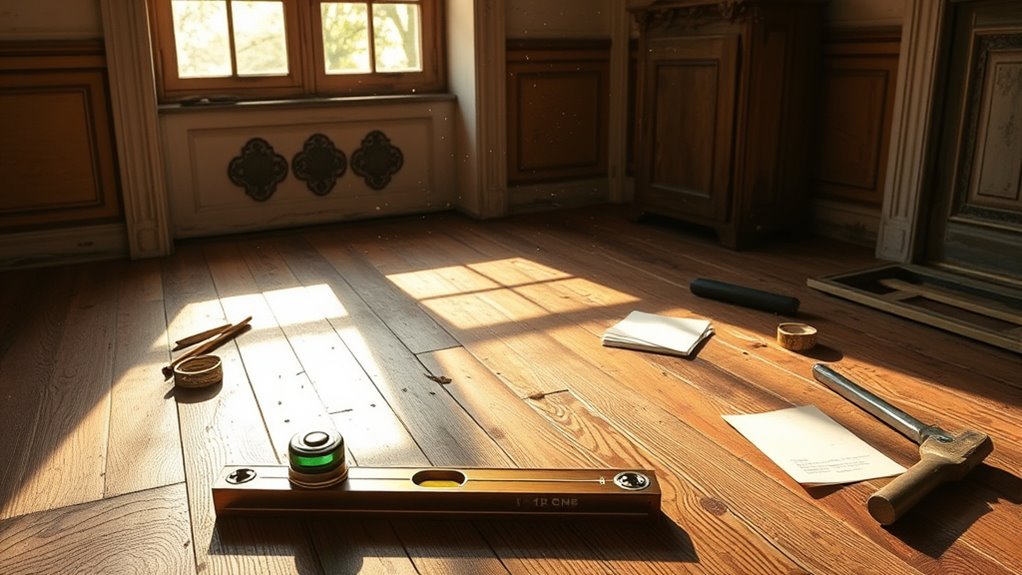
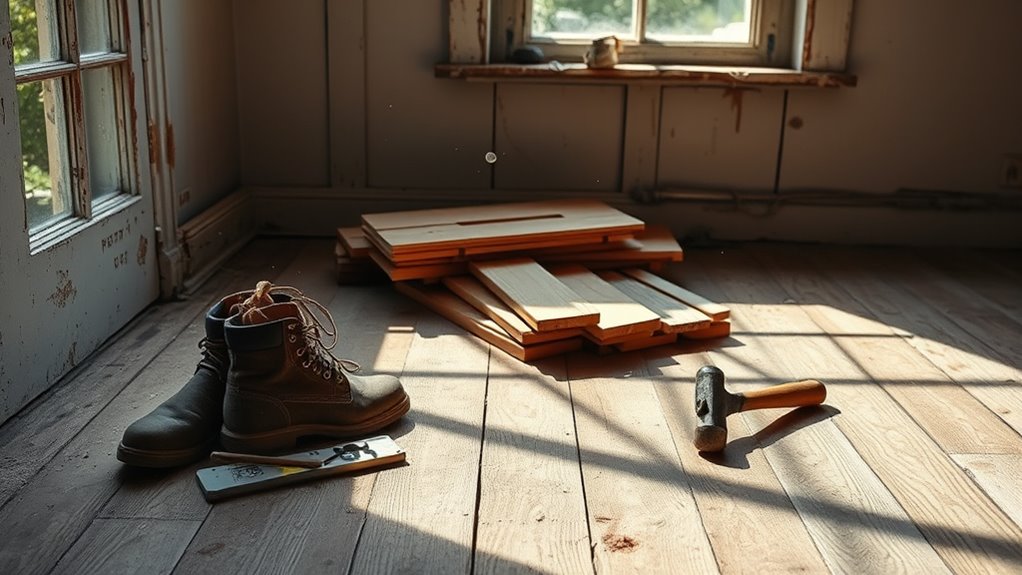
Before you begin leveling the floor, you need to thoroughly assess its current condition. Start by identifying structural issues that could compromise your work, such as damaged joists, sagging beams, or signs of rot and insect damage. Use a flashlight to inspect dark corners and crawl spaces carefully. Then, focus on measuring floor slope accurately; a long level or laser level can help you determine the extent and direction of unevenness. Document these measurements precisely, as they’ll guide your leveling strategy. Don’t overlook subtle dips or high spots—these often indicate underlying problems. Taking time now to evaluate the floor’s condition gives you the freedom to plan effectively, ensuring your repair work is both durable and safe. This methodical approach prevents surprises and lays a solid foundation for the next steps.
Preparing the Surface for Leveling
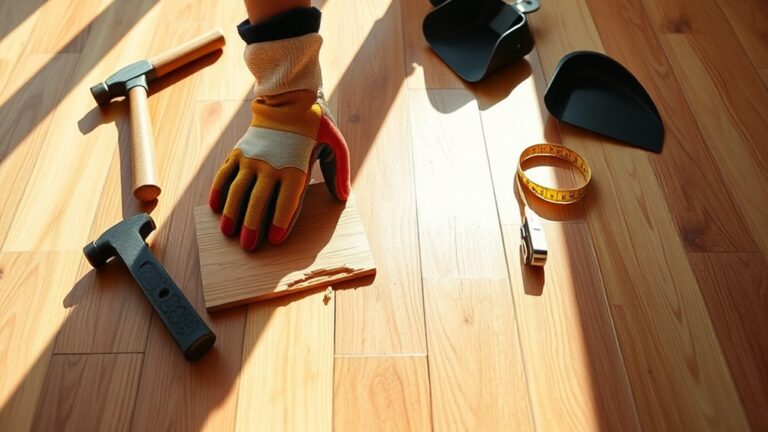
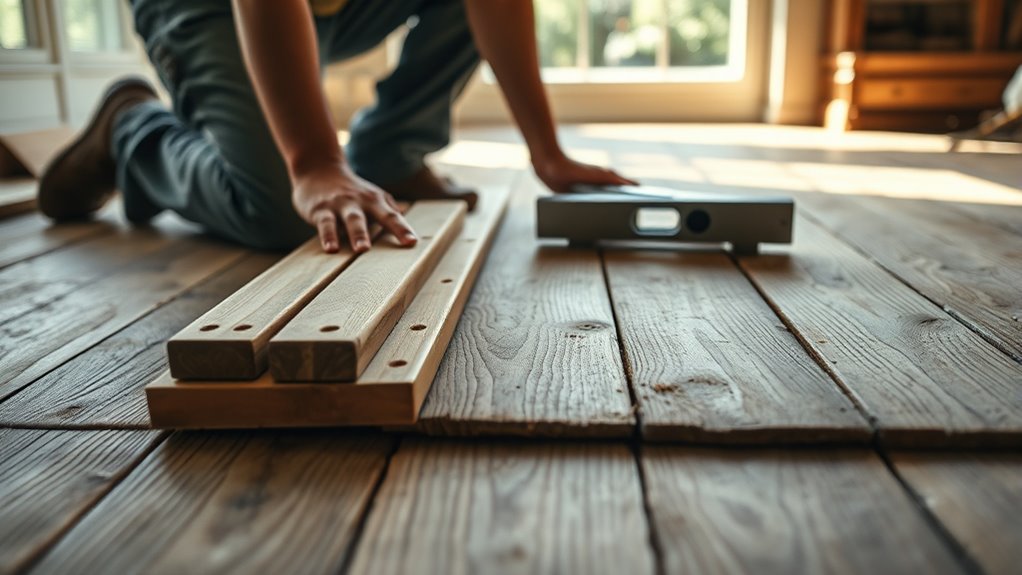
Once you’ve thoroughly assessed the floor’s condition, it’s essential to prepare the surface properly to guarantee the leveling materials adhere and perform as expected. Start with a meticulous surface cleaning—remove dust, dirt, grease, and any loose debris that could prevent proper bonding. Use a broom or vacuum, then wipe down with a damp cloth if necessary, letting it dry completely. Next, conduct a detailed damage inspection to spot cracks, holes, or weak spots. Repair these areas with appropriate fillers or patching compounds, ensuring a stable base. This step is vital; any overlooked damage can compromise the leveling process and your floor’s longevity. By preparing the surface carefully, you set the foundation for a smooth, durable finish, giving you the freedom to enjoy a flawless floor in your old house.
Choosing the Right Leveling Material
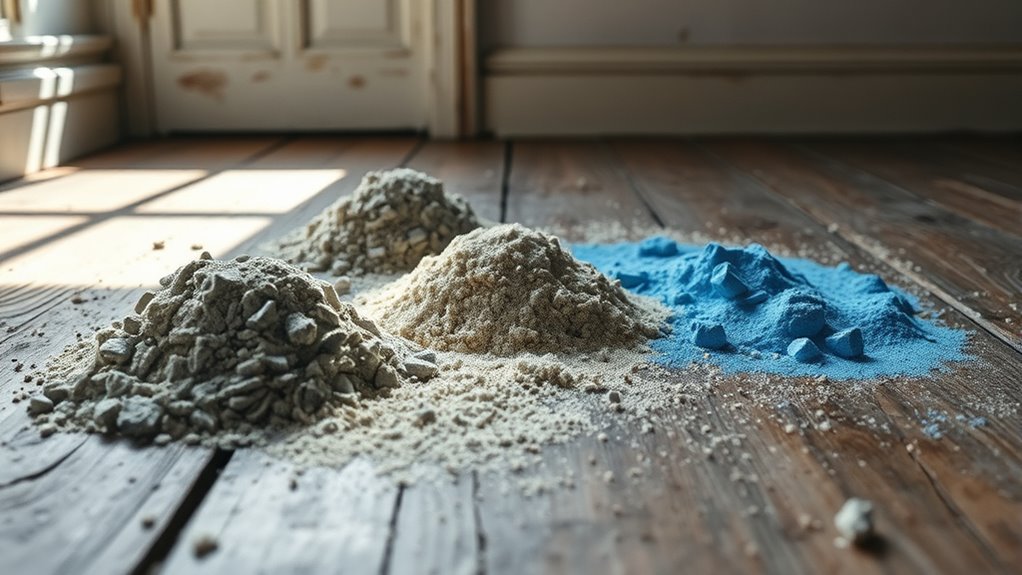
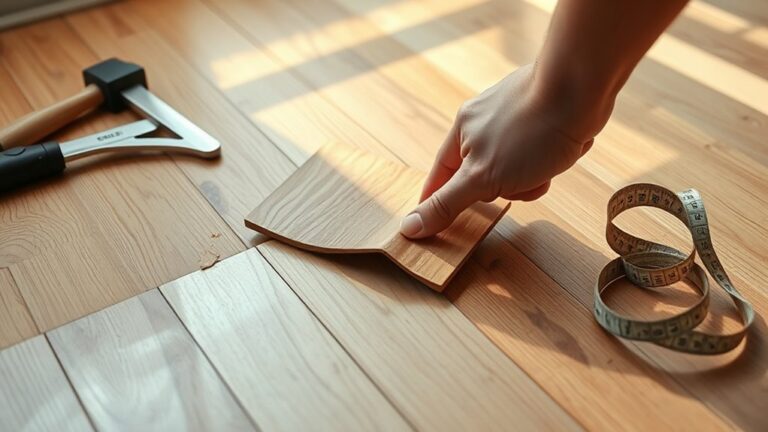
With the surface cleaned and repaired, your next step is selecting the right leveling material to suit your floor’s specific needs. If you want efficiency and ease, a self leveling compound is a smart choice—it flows smoothly, filling low spots evenly without heavy labor. This material is especially useful for minor to moderate unevenness. However, if your floor has significant dips or structural issues, traditional methods like using plywood or shims might be necessary to build up the floor before applying any compound. Consider the floor type, area size, and moisture levels when deciding. Choosing the correct material not only guarantees a level surface but also extends the life of your floor, giving you the freedom to enjoy a stable, durable foundation in your old house.
Applying the Leveling Compound
After you’ve chosen the appropriate leveling compound, you’ll need to prepare the area by guaranteeing it’s clean and slightly damp to help the material adhere properly. Start by mastering the mixing techniques: use a drill with a paddle attachment to combine the compound with water, achieving a smooth, lump-free consistency. Avoid overmixing, which can introduce air bubbles and weaken the compound. For application methods, pour the mixture onto the floor, spreading it evenly with a trowel or gauge rake. Work efficiently, as many compounds begin to set quickly. Focus on filling low spots and feathering edges to create a uniform surface. By following these steps precisely, you’ll guarantee the compound bonds well and levels effectively, giving you the freedom to proceed confidently with your flooring project.
Finishing Touches and Quality Checks
Although the leveling compound may appear dry, you’ll need to perform thorough quality checks before proceeding. Begin with a final inspection, running your hand across the surface to detect any uneven spots or cracks. Use a straightedge or level to confirm uniformity. Address minor imperfections immediately by sanding or applying a thin additional layer of compound. Once the surface is flawless, consider aesthetic enhancements like smoothing edges or adding texture to complement your home’s character. These finishing touches not only improve appearance but also prepare the floor for durable coverings. Taking the time now guarantees your floor’s stability and beauty for years to come. Don’t rush this stage—your freedom to enjoy a safe, level floor depends on the precision of these final checks and enhancements.