To level your timber floor in 10 easy steps, start by clearing the area and evaluating uneven spots with a spirit or laser level. Gather tools like a hammer, nails, filler, and sandpaper. Repair damaged boards and fill dips with wood filler or leveling compound. Let it dry completely before sanding smooth. Apply a primer or sealer, then reinstall floorboards tightly and finish with your chosen coating. Follow this approach, and you’ll have a stable, even floor ready for use—keep going to master the details.
Assess the Floor’s Condition and Identify Uneven Areas

Before you begin leveling your timber floor, you’ll need to carefully assess its current condition and pinpoint any uneven spots. Start with a thorough floor inspection by clearing the area of furniture and debris. Use a straightedge or spirit level to scan across the floor, noting any dips, bumps, or slopes. Mark these uneven areas clearly for reference. Pay close attention to joints and seams, as gaps or raised edges often indicate underlying problems. This uneven diagnosis helps you understand the extent and location of the leveling needed. Also, check for loose or squeaky boards, as these can affect the floor’s stability. By performing a detailed floor inspection and uneven diagnosis, you’ll be well-prepared to proceed confidently with the leveling process.
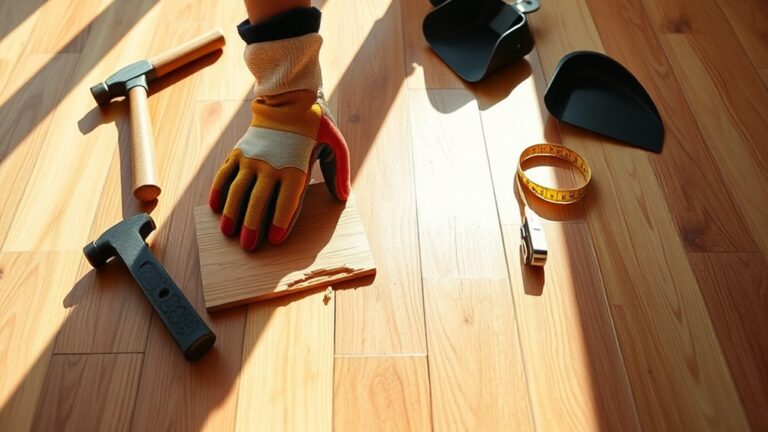
Gather the Necessary Tools and Materials
To level a timber floor effectively, you’ll need a specific set of tools and materials ready at hand. Start by gathering essential tool types: a spirit level or laser level for accuracy, a hammer and nails or a screw gun with screws for securing, a measuring tape, and a chisel or planer for minor adjustments. Material choices depend on your floor’s condition—wood shims or leveling compound can fill gaps and low spots, while plywood sheets or floorboards may be necessary for larger corrections. Select materials compatible with your timber type. Having these tools and materials ready guarantees you work efficiently and maintain control throughout the process, giving you the freedom to restore your floor’s smooth, even surface without unnecessary interruptions or delays.
Remove Furniture and Clear the Work Area
Start by removing all furniture and any obstacles from the room to give yourself a clear workspace. Make sure to protect any fixtures or built-in elements that can’t be moved with drop cloths or plastic sheeting. A clutter-free area helps you work safely and efficiently while leveling the floor.
Clear All Obstacles
Clearing all obstacles is crucial to create a safe and efficient workspace when leveling your timber floor. Start by removing all furniture, rugs, and loose items from the area. This obstacle removal step prevents tripping hazards and gives you full access to the floor surface. Next, organize your workspace by designating a specific spot for tools and materials, keeping everything within reach but out of the way. Clear pathways will allow you to move freely and focus on the task without interruptions. Avoid leaving debris or clutter behind, as these can cause mistakes or injuries. By maintaining strict workspace organization, you set yourself up for a smoother, faster leveling process. Taking these practical steps guarantees you’re working safely and efficiently toward your goal.
Protect Remaining Fixtures
Before you begin leveling, make certain you’ve removed all furniture and cleared the work area to protect remaining fixtures. Proper fixture removal prevents damage and gives you freedom to move around confidently. Use protective coverings to shield any built-in elements or delicate surfaces that can’t be moved.
Here’s how to protect your space effectively:
- Remove loose furniture and personal items from the room entirely.
- Cover immovable fixtures with sturdy protective coverings like drop cloths or plastic sheeting.
- Secure coverings with tape to guarantee no dust or debris settles on surfaces.
Taking these steps guarantees a clean, safe workspace and preserves your fixtures throughout the leveling process. This preparation lets you focus on the job without worrying about unintended damage.
Inspect and Repair Damaged Floorboards
To guarantee a level timber floor, you’ll need to carefully inspect each floorboard for damage such as cracks, warping, or rot. Start by conducting a thorough damage assessment, identifying boards that compromise the floor’s stability or appearance. Use a flashlight and run your hand over the surface to detect unevenness or soft spots. For minor issues, sanding or filling may suffice, but significant damage calls for floorboard replacement. Remove the damaged boards carefully to avoid affecting surrounding planks. When installing replacements, verify they fit snugly and match the existing floor’s thickness and grain. This step is essential for maintaining a flat, even surface. Taking the time to address damaged boards upfront guarantees your floor will be sturdy and level, giving you freedom from future repairs.
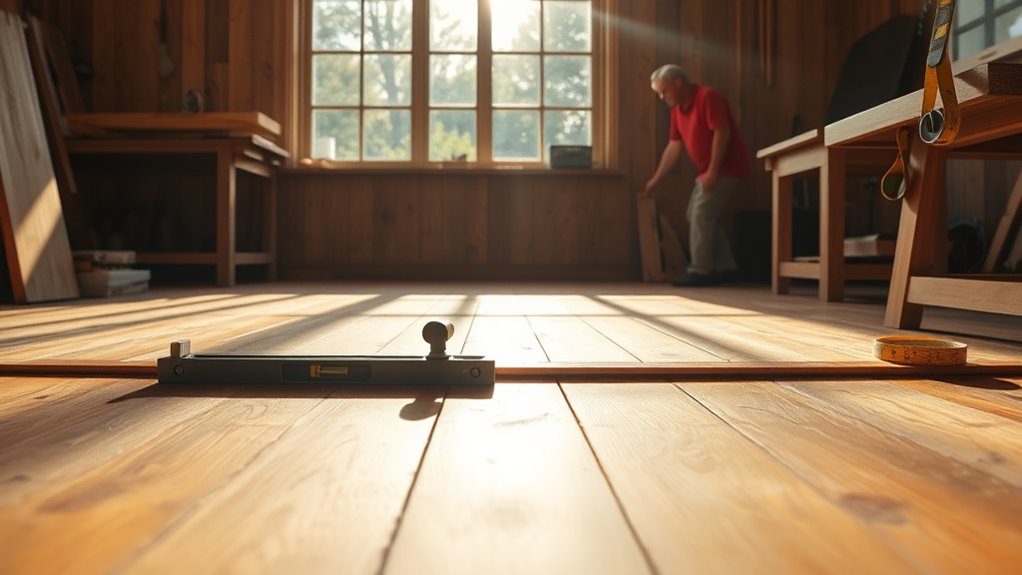
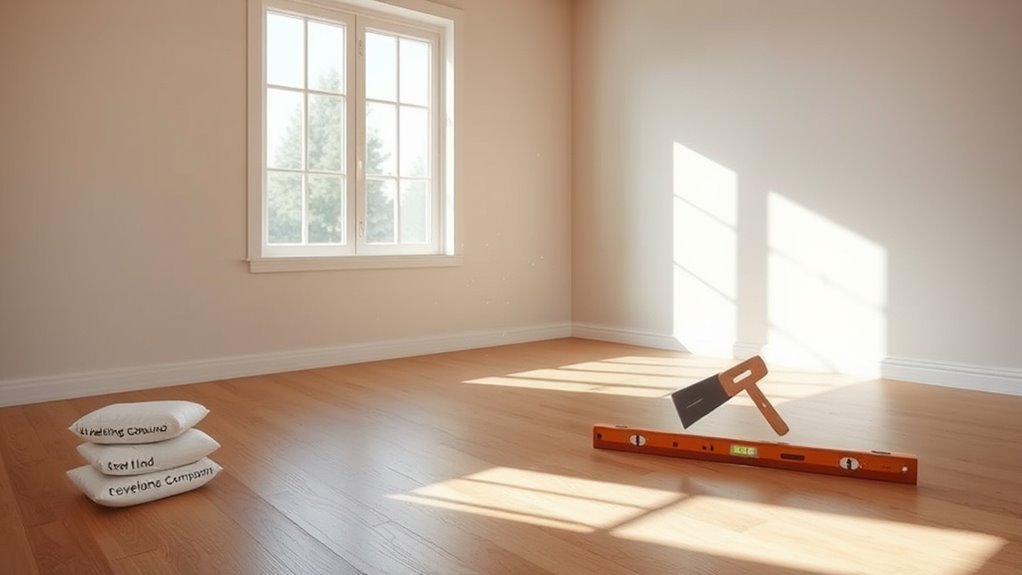
Measure Floor Levelness Using a Spirit Level or Laser Level

A few accurate measurements are essential for identifying any uneven spots on your timber floor. Start by placing a spirit level on different sections to check for dips or rises. Alternatively, a laser level can project a consistent horizontal line, making it easier to spot variations across the entire floor. Focus on measuring:
- Along the length and width of the room
- At the center and edges of the floor
- Near doorways and corners where settling is common
Make sure the spirit level bubble sits centered or the laser line stays parallel to the floor’s surface. Recording these readings helps you pinpoint problem areas precisely so you can take targeted action to level your timber floor effectively and regain your space’s freedom and comfort.
Sand Down High Spots on the Timber Floor
First, pinpoint the high spots on your timber floor using your spirit or laser level measurements. Once identified, use a floor sander or hand sanding block to carefully sand down these raised areas. Keep checking the level as you go to guarantee an even surface without over-sanding.
Identifying High Spots
Several methods can help you spot high areas on your timber floor that need sanding. Accurate high spot identification is key for an effective floor surface evaluation. To find these uneven spots, try these simple steps:
- Run a straightedge or level across the floor, noting where it rocks or leaves gaps.
- Use a flashlight at a low angle to cast shadows that highlight raised areas.
- Walk barefoot slowly over the floor, feeling for any bumps or unevenness underfoot.
These practical techniques let you pinpoint where sanding is needed, ensuring your floor becomes perfectly level. By carefully evaluating the floor surface, you gain the freedom to tackle the job confidently and efficiently without guesswork. This precise approach saves time and effort as you prepare for the next step in leveling your timber floor.
Effective Sanding Techniques
Three key sanding techniques will help you effectively lower high spots on your timber floor. First, use a drum sander with coarse-grit sanding equipment to tackle stubborn high areas quickly. Move the sander steadily across the floor, avoiding lingering in one spot to prevent gouging. Second, switch to a belt sander with medium-grit sandpaper for more controlled material removal and to smooth transitions. Finally, finish with a hand-held orbital sander using fine-grit sanding equipment to refine the surface and eliminate minor imperfections. Throughout, keep the sanding equipment moving and check progress frequently with a level. These sanding techniques guarantee you gain freedom from uneven surfaces, giving your timber floor a perfectly leveled, professional finish ready for sealing or staining.
Fill Low Spots With Wood Filler or Self-Leveling Compound
To properly level your timber floor, you’ll need to address any low spots by filling them with wood filler or a self-leveling compound. Wood filler applications are ideal for small dips and cracks, providing a quick fix that bonds well to timber. For larger depressions, self-leveling benefits come into play by smoothly spreading across the surface, creating an even base.
Fill low spots with wood filler for small cracks and self-leveling compound for larger depressions to even your timber floor.
Here’s how you can tackle the filling:
- Identify and mark low spots clearly before applying filler.
- Use a putty knife or trowel to spread wood filler or self-leveling compound evenly.
- Verify the compound fills the entire depression without overfilling to maintain a uniform floor level.
This approach helps you regain a flat, stable floor, setting the stage for the next steps in your leveling project.
Allow the Filler to Dry and Sand Smooth
You’ll need to let the filler dry completely, which usually takes several hours depending on the product and thickness. Once dry, use fine-grit sandpaper to smooth the surface evenly without damaging the surrounding timber. Proper sanding guarantees a level finish ready for the next step in your flooring project.
Drying Time Requirements
Although it can be tempting to rush, allowing the filler adequate drying time is crucial for a smooth, durable finish. You’ll want to wait until the filler is completely dry before moving on to sanding. Drying time varies depending on filler type, layer thickness, and environmental factors. To guarantee ideal conditions, keep your workspace well-ventilated and maintain moderate temperature and humidity levels. Typically, drying time ranges between a few hours to overnight.
Keep in mind:
- Thin filler layers dry faster, reducing overall waiting time
- Excess moisture or cold slows drying, risking poor adhesion
- Avoid foot traffic or pressure during drying to prevent damage
Patience here pays off, giving you a solid base for a flawless, level timber floor.
Sanding Techniques Explained
Once the filler has fully dried, it’s time to smooth out the surface with sanding. Start by choosing the right sanding types for your floor—typically, coarse grit removes excess filler quickly, while finer grits create a smooth finish. Use sanding equipment like a floor sander for large areas and a detail sander for edges and corners. Always sand in the direction of the timber grain to avoid scratches and unevenness. Begin with medium grit paper to level the surface, then progressively switch to finer grits to refine it. Keep the sander moving steadily to prevent gouges or dips. Proper sanding guarantees your floor is even and ready for finishing, giving you the freedom to enjoy a flawless timber surface.
Apply a Primer or Sealer to the Floor Surface
Before applying any leveling compound or filler, it’s essential to prepare the timber floor by applying a primer or sealer. This step guarantees better adhesion and durability. Choosing the right primer type depends on your floor’s condition and the product compatibility—water-based primers are common for timber, while epoxy primers suit more demanding areas. Sealers offer benefits like moisture resistance and preventing uneven absorption of leveling compounds.
Preparing timber floors with the right primer or sealer ensures strong adhesion and protects against moisture before leveling.
Here’s what applying a primer or sealer accomplishes:
- Creates a strong bond between the floor and leveling material
- Reduces dust and stabilizes the surface
- Protects timber from moisture and contaminants
Make certain the floor is clean and dry before application. Use a roller or brush for even coverage, and allow the primer or sealer to dry fully before proceeding.
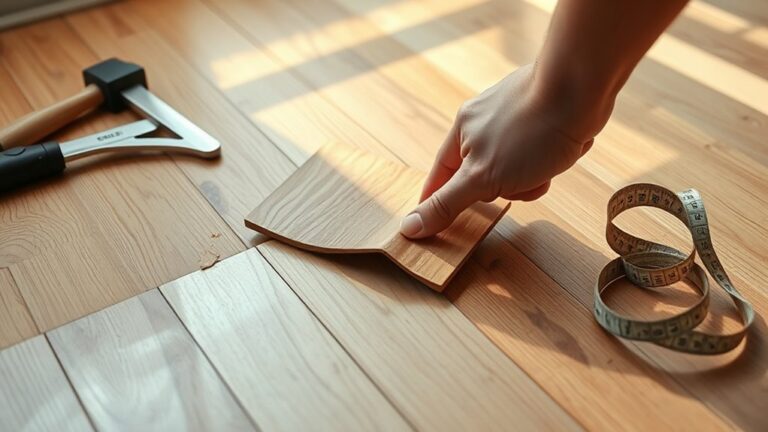
Reinstall or Replace Floorboards and Finish the Surface
Carefully reinstall or replace any floorboards to guarantee a smooth, even surface ready for finishing. Begin your floorboard installation by aligning boards tightly, securing them with appropriate nails or screws to avoid movement. Check for any gaps or unevenness, adjusting as needed to maintain a level plane. Once all boards are securely fixed, inspect the surface thoroughly, sanding down any high spots or rough edges to prepare for surface finishing. Choose a finish that suits your style and usage, such as varnish, oil, or wax, and apply it evenly to protect the timber and enhance its appearance. Allow adequate drying time between coats, sanding lightly if necessary. This precise approach guarantees your timber floor is both functional and visually appealing, giving you the freedom to enjoy a flawless, leveled space.