To level an uneven concrete floor, first assess high and low spots using a long straightedge or laser level, marking problem areas clearly. Then, clean and repair the surface, filling cracks and removing debris. Next, mix a self-leveling compound precisely as directed and pour it into low areas, spreading it evenly with a gauge rake. Smooth the surface using a trowel and spiked roller, then allow ample drying time under proper conditions. Follow these steps, and you’ll gain a thorough understanding of effective floor leveling techniques.
Assess the Floor’s Unevenness
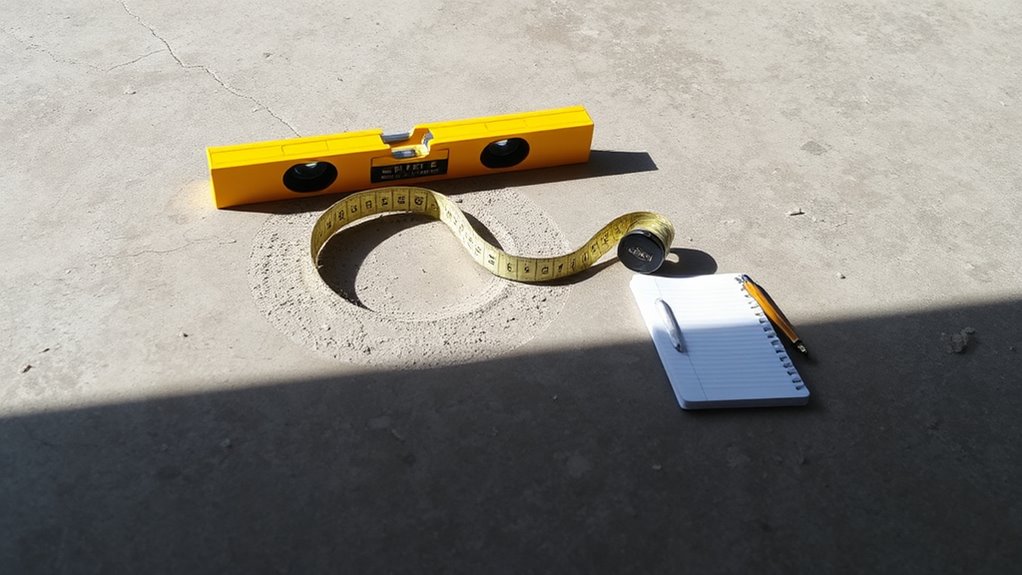
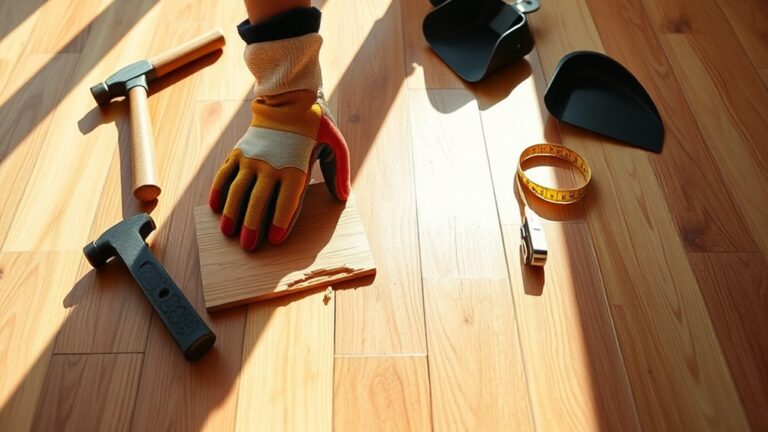
How do you accurately determine the unevenness of your concrete floor? Begin by using a long straightedge or a laser level to scan the surface. Place the straightedge firmly on the floor and check for gaps underneath; these gaps help you identify high spots where the straightedge lifts and determine low spots where it makes contact unevenly. Mark these areas clearly with chalk or a pencil. For a more precise assessment, use a level to measure the slope and note any deviations from flatness. Documenting these measurements systematically allows you to understand the floor’s contour fully. This methodical evaluation is essential before proceeding, giving you the freedom to address the unevenness effectively and ensuring a stable, level foundation for your next steps.
Prepare the Surface for Leveling
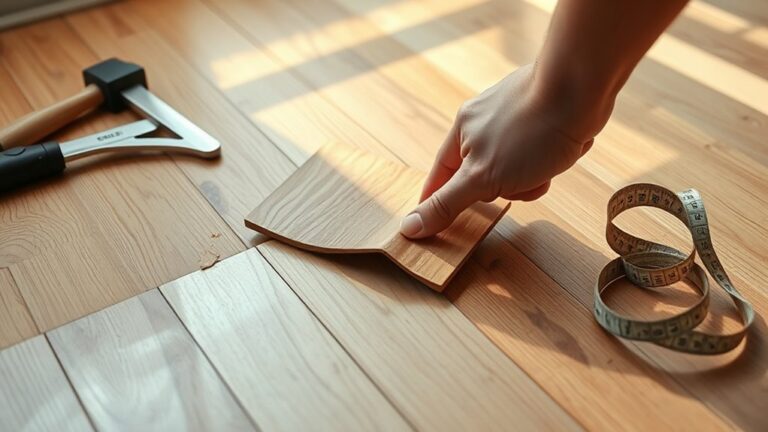
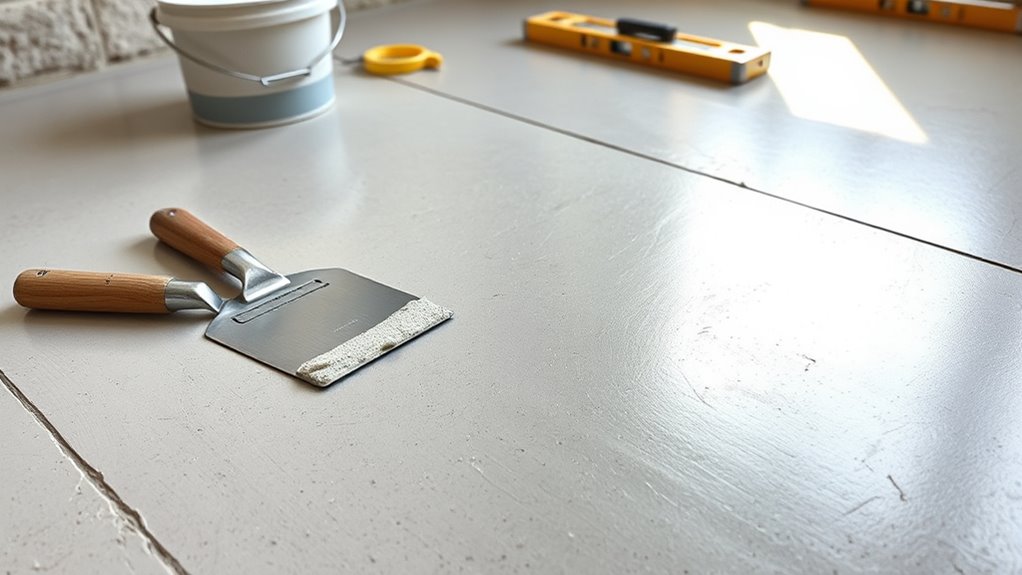
After you’ve mapped out the uneven areas and marked them clearly, the next step is to prepare the surface for leveling. Begin with thorough surface cleaning—remove all dust, dirt, grease, and loose debris using a broom, vacuum, or pressure washer if necessary. This guarantees proper adhesion of the leveling material. Next, perform a detailed crack inspection; identify any cracks or holes that might compromise the leveling process. Small cracks can be filled with a concrete patch or epoxy filler, while larger gaps may require additional repair before proceeding. Make sure the surface is dry and free of contaminants before moving on. Proper preparation is critical—it assures that your leveling compound bonds effectively, providing a smooth, durable finish that restores your floor’s freedom and functionality.
Mix and Apply Self-Leveling Compound
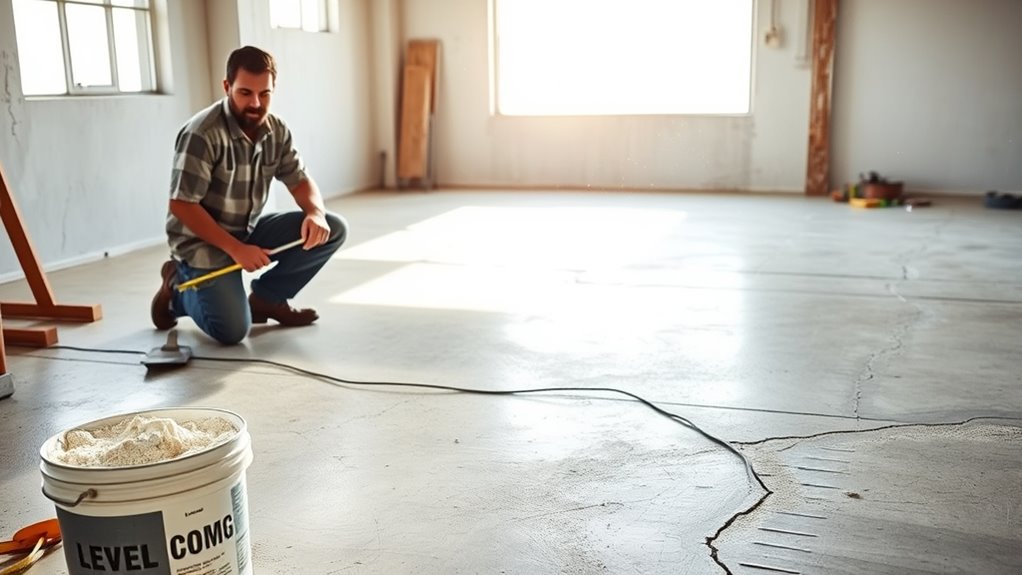
Once the surface is fully prepared and dry, you’ll need to mix the self-leveling compound according to the manufacturer’s specifications, guaranteeing the correct water-to-powder ratio for ideal consistency. Use a drill with a paddle attachment to blend thoroughly, avoiding lumps. Proper self leveling techniques require that you work quickly, as the compound begins to set rapidly. Pour the mixture onto the floor starting at the lowest point, allowing it to flow and fill depressions naturally. Use a gauge rake to spread the compound evenly, controlling thickness and preventing overapplication. Compound application demands precision; avoid excessive stirring or adding extra water, which compromises strength. Working efficiently within the working time guarantees a smooth, level base ready for finishing.
Smooth and Finish the Surface
With the self-leveling compound poured and spread evenly, your next step is to smooth and finish the surface to guarantee a flat, uniform floor. Employ effective smoothing techniques such as using a long-handled trowel or a gauge rake to level the compound. Finishing tools like a spiked roller help remove air bubbles and further even out the surface, ensuring ideal adhesion and durability.
| Step | Tool | Purpose |
|---|---|---|
| Initial Smoothing | Gauge Rake | Distribute compound evenly |
| Surface Leveling | Long-handled Trowel | Flatten high spots, fill low areas |
| Air Bubble Removal | Spiked Roller | Eliminate trapped air |
| Final Touch | Steel Trowel | Create smooth, polished finish |
Mastering these methods sets your floor free from imperfections.
Allow Proper Drying and Curing Time
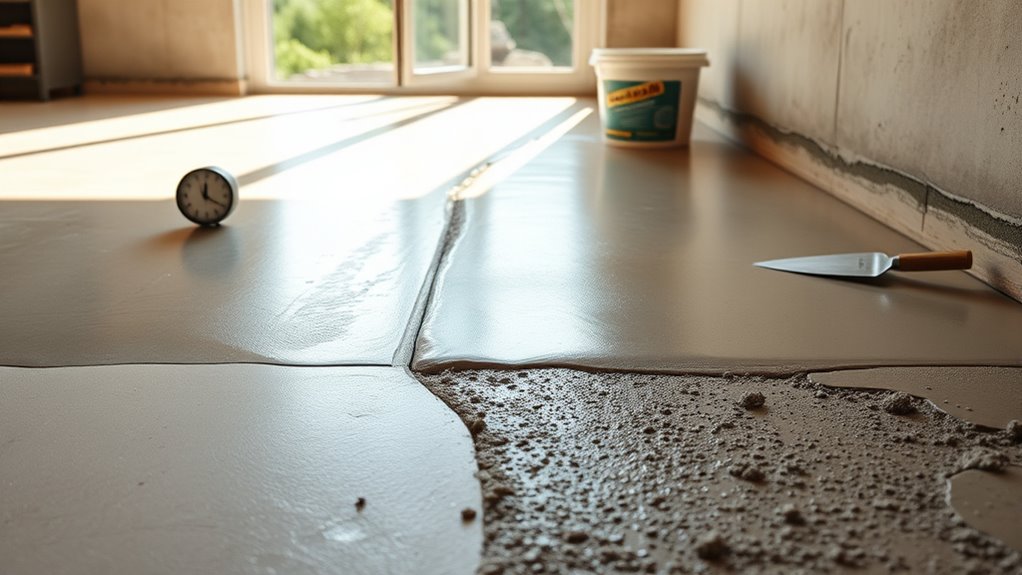
Although pouring and smoothing the self-leveling compound are critical steps, you’ll need to allow adequate drying and curing time to assure peak strength and durability. Proper drying techniques, like maintaining consistent temperature and humidity, prevent surface cracking and guarantee uniform moisture evaporation. Avoid rushing this phase; premature use can compromise the floor’s integrity. Employ curing methods such as covering the surface with plastic sheeting or applying a curing compound to retain moisture, promoting ideal chemical hydration of the compound. Depending on product specifications and environmental conditions, drying and curing can take from 24 to 72 hours or more. Follow manufacturer guidelines precisely to free yourself from future repairs. By respecting these timelines and methods, you secure a resilient, even concrete floor ready for any finish or load.