To polish a concrete floor in three simple steps, first clean and repair the surface thoroughly to guarantee it’s free of debris and cracks. Next, grind and hone the floor using progressively finer diamond grits for a smooth, even texture. Finally, apply a fine polish followed by a penetrating sealant to protect the surface and enhance its shine. If you want to master the technique for a flawless, durable finish, keep exploring the detailed process.
Preparing the Concrete Surface

Before you begin polishing, you need to thoroughly prepare the concrete surface to guarantee ideal results. Start by performing extensive surface cleaning to remove dirt, grease, and any contaminants that can impede adhesion or finish quality. Use a degreaser and scrub with a stiff brush or a mechanical cleaner for larger areas. Next, inspect the floor for cracks or imperfections. Address crack repair promptly using an epoxy or polyurethane filler designed for concrete, ensuring the patch is flush with the surface. Allow sufficient curing time before proceeding. This preparation step secures a uniform base, preventing future damage and enhancing the floor’s durability. Proper surface cleaning and crack repair are critical to achieving a smooth, polished finish that not only looks professional but lasts longer, giving you the freedom to enjoy your space without worry.
Grinding and Honing the Floor
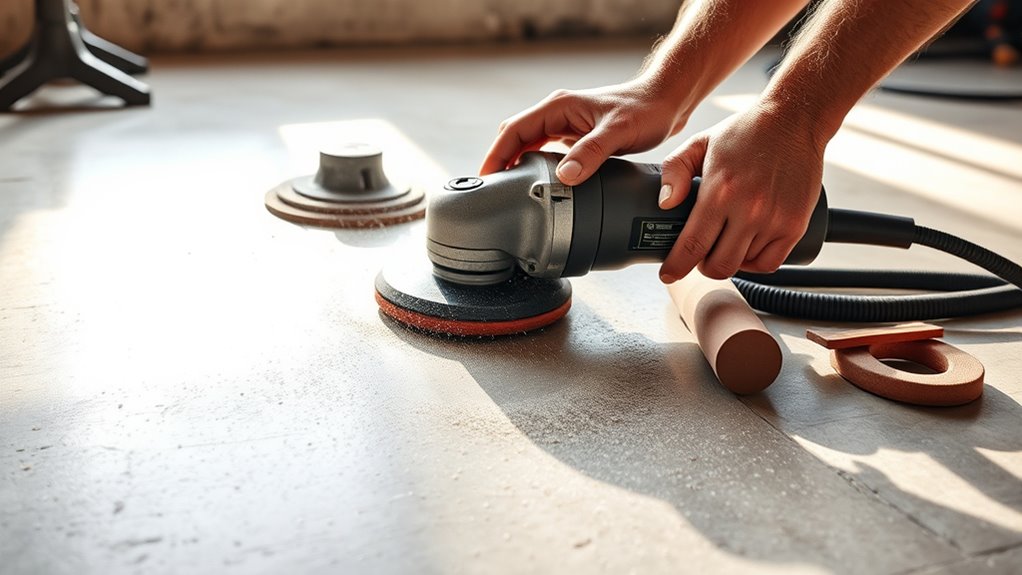
Once the surface is properly prepared, you’ll move on to grinding and honing the floor, a critical phase that shapes the concrete’s texture and smoothness. Start with diamond grinding using coarse grit to remove imperfections and level the surface. Then, progress through finer grits to refine the texture. Honing techniques come next, smoothing the concrete further without producing a high shine yet.
Grinding and honing refine concrete’s texture and smoothness, preparing it perfectly for the final polish.
To execute this effectively:
- Use progressively finer diamond grinding pads, moving from 30 to 150 grit.
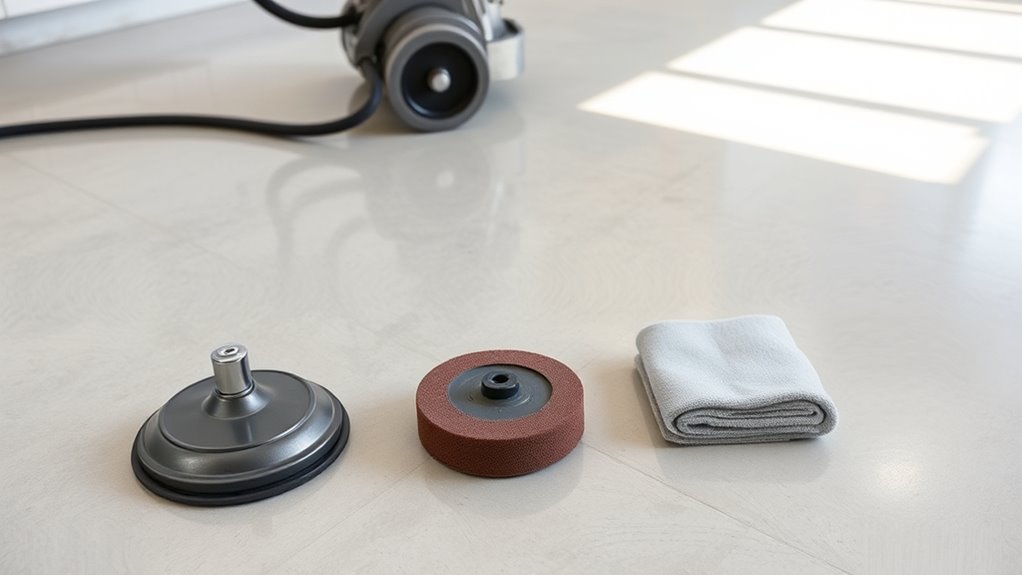
- Apply honing techniques with specialized pads to reduce scratches and enhance smoothness.
- Maintain consistent machine speed and pressure for even results.
This method frees you to achieve a flawless base, essential for the final polish and sealant application.
Applying the Final Polish and Sealant

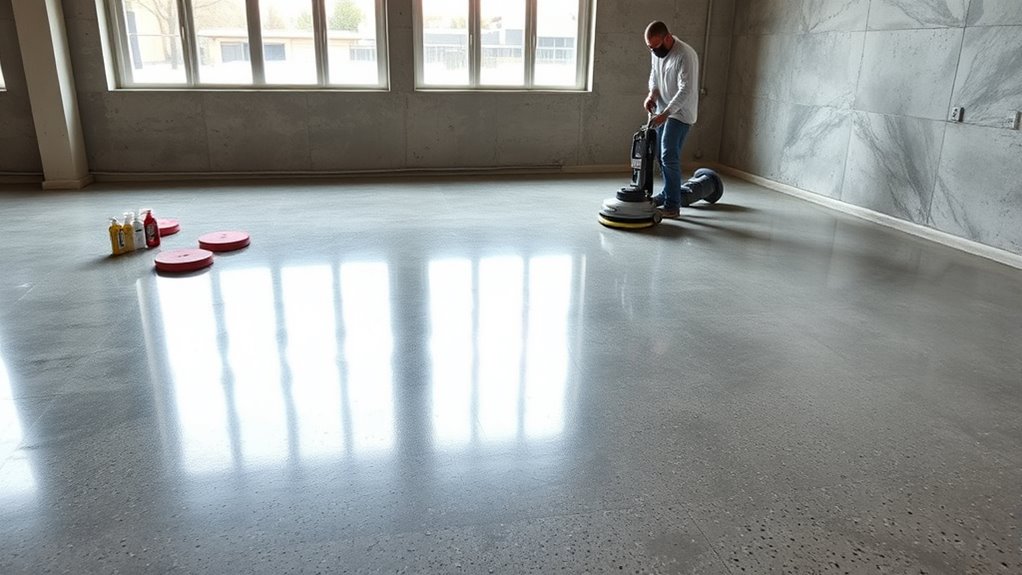
After achieving a smooth and even surface through grinding and honing, the next step is to apply the final polish and sealant. Begin by selecting a fine-grit polishing pad to bring out the concrete’s natural sheen, moving systematically across the floor for uniformity. Confirm your equipment runs at the recommended speed to avoid uneven gloss. Once polished, prepare for sealant application by thoroughly cleaning the surface to remove dust and debris. Use a high-quality penetrating sealant designed for concrete floors, applying it evenly with a low-pressure sprayer or roller. Allow the sealant to cure fully according to manufacturer instructions, confirming maximum protection against stains and wear. This final polish and sealant application will enhance durability while preserving the floor’s aesthetics, giving you the freedom to enjoy a resilient, low-maintenance surface.


