To put wood flooring on concrete, start by thoroughly cleaning the concrete surface and sealing any cracks to guarantee smoothness. Next, install a heavy-duty moisture barrier with taped seams, then add an appropriate underlayment to protect against dampness and provide cushioning. Finally, lay your wood planks with proper spacing and secure them using nails or adhesive, maintaining alignment and leaving expansion gaps. Following these key steps ensures a long-lasting, comfortable floor. Keep going to discover expert tips for flawless installation.
Prepare the Concrete Surface

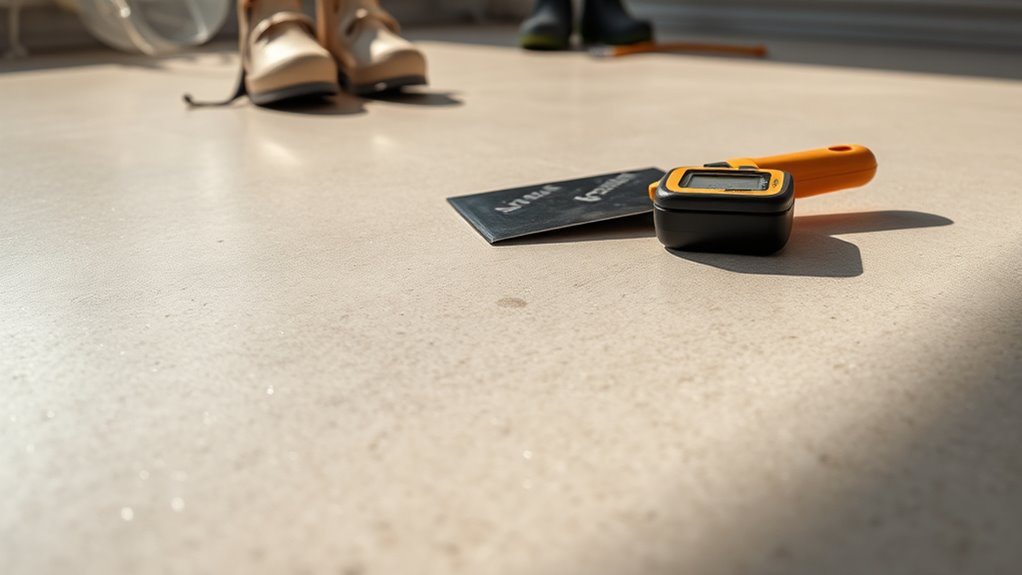
Before laying wood flooring on concrete, you’ll need to thoroughly prepare the surface to assure proper adhesion and durability. Start by performing a detailed surface cleaning to remove dust, dirt, grease, and any loose particles that could compromise the flooring’s stability. Use a stiff broom and a vacuum, followed by a damp mop with a mild detergent. Next, inspect the concrete for cracks or imperfections. You must address these by crack sealing with a high-quality epoxy or polyurethane filler to prevent moisture intrusion and structural movement. Confirm the sealed areas are smooth and flush with the concrete surface. By meticulously preparing the concrete in this way, you create a solid, clean, and stable foundation that allows your wood flooring to perform effectively and last for years without issues.
Install a Moisture Barrier and Underlayment
Once the concrete surface is clean and any cracks are sealed, the next step is to install a moisture barrier and underlayment. Moisture control is critical to prevent damage to your wood flooring, so you must choose an effective moisture barrier, typically a heavy-duty polyethylene sheet. Lay it flat across the entire floor, overlapping seams by at least 8 inches, and tape them securely to create a continuous shield against dampness. Next, select the appropriate underlayment type based on your wood flooring and subfloor conditions—options include foam, cork, or rubber. The underlayment provides cushioning, soundproofing, and additional moisture protection, ensuring your floor lasts longer and feels comfortable underfoot. By carefully installing these layers, you’ll protect your investment while maintaining the freedom to enjoy a durable, beautiful wood floor.
Lay and Secure the Wood Flooring

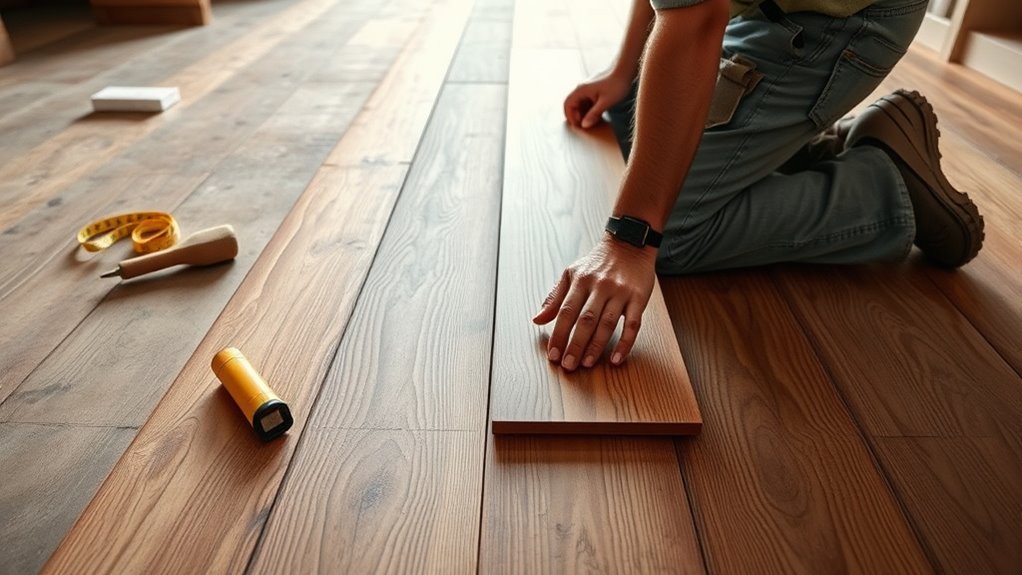
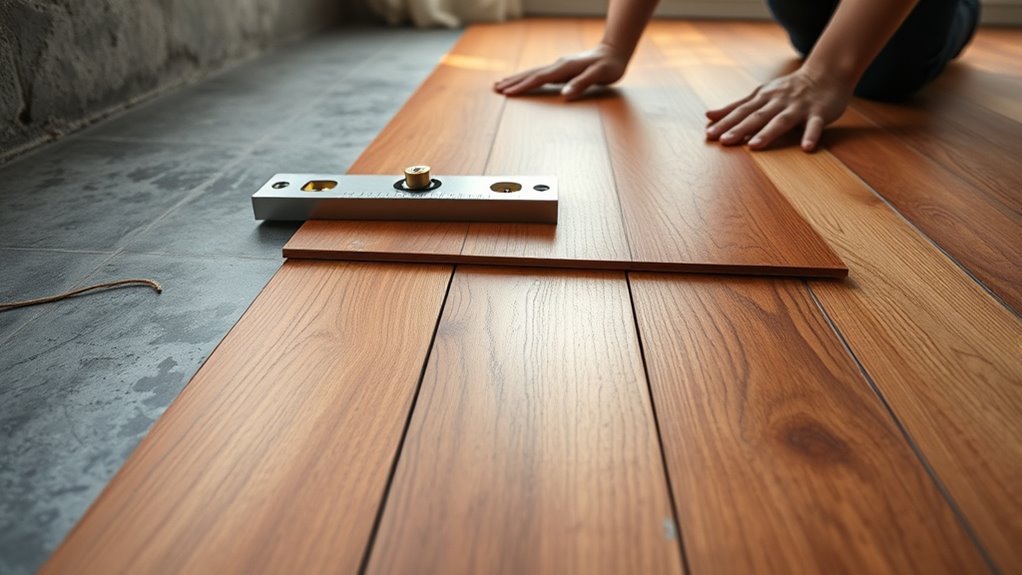
Begin by carefully aligning the first row of wood planks along the longest, straightest wall, leaving a small expansion gap between the flooring and the wall to allow for natural wood movement. To secure the flooring, you’ll choose between nailing techniques or adhesive options based on your subfloor and plank type. Nailing offers a strong mechanical hold, while adhesives provide a seamless bond ideal for concrete. Maintain consistent spacing and stagger the joints for stability and aesthetic appeal. Remember to:
- Use a flooring nailer for precise nailing angles
- Apply adhesive evenly with a notched trowel
- Check plank alignment regularly
- Leave expansion gaps on all sides
- Clean excess adhesive immediately
Following these steps guarantees your wood flooring will stay firmly in place and last beautifully.


