To put wood flooring in 10 easy steps, first gather all your tools and materials, then prep the subfloor by cleaning and leveling it. Acclimate your wood planks in the installation room for a few days. Plan your layout carefully, then install a proper underlayment. Secure the flooring using nails or adhesive, ensuring straight rows and staggered joints. Cut around obstacles and install final rows with precision. Finish by sanding edges and adding a protective seal. Follow these guidelines to master each phase smoothly.
Gather Your Tools and Materials
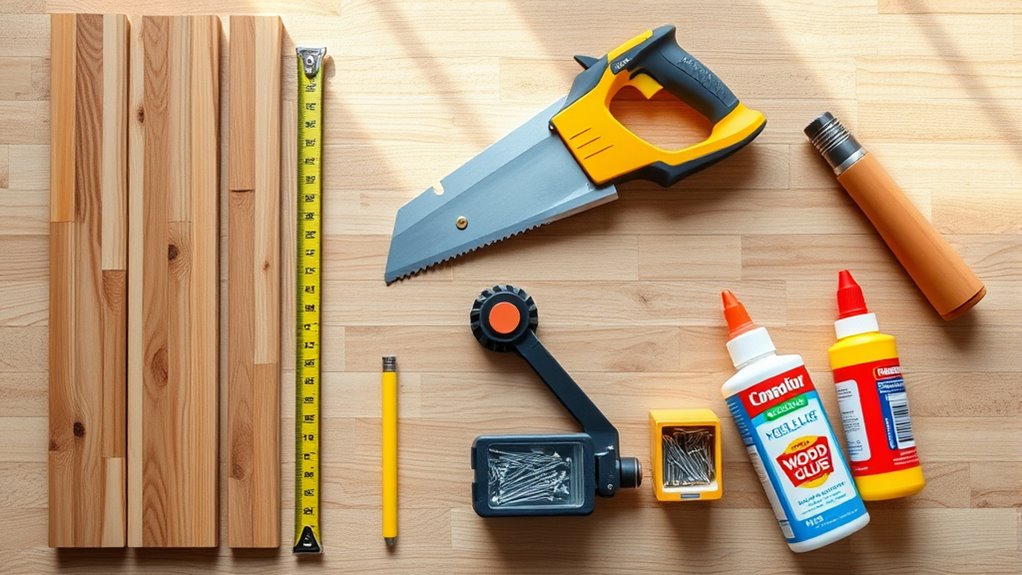
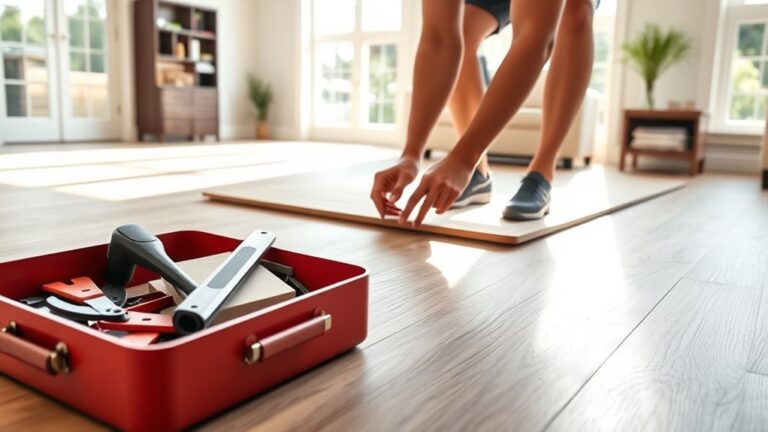
Before you begin installing wood flooring, you’ll need to gather all necessary tools and materials to guarantee a smooth process. Start by selecting the appropriate wood types that suit your space and lifestyle—consider durability, hardness, and aesthetics. Oak, maple, and hickory are popular for their resilience, while softer woods offer easier handling. Next, focus on tool selection. Essential tools include a tape measure, chalk line, saw (miter or circular), tapping block, pry bar, rubber mallet, spacers, and a flooring nailer or stapler. Having a quality underlayment and moisture barrier is also critical. Organize everything before starting to avoid delays. Proper preparation with the right wood types and tools guarantees your flooring installation proceeds efficiently and aligns with your goal of achieving freedom through reliable craftsmanship.
Prepare the Subfloor
With your tools and materials ready, the next step is to guarantee the subfloor is properly prepared. Start by inspecting for uneven spots, debris, or damage. Use a leveling compound to smooth out dips or high points, ensuring a flat surface. Employ subfloor preparation techniques like sanding and vacuuming to remove dust and contaminants. Prioritize subfloor moisture control by measuring moisture levels with a meter; excessive moisture can compromise wood flooring integrity. Address moisture issues by installing a vapor barrier or improving ventilation if readings are high. Secure loose panels with screws to eliminate squeaks and movement. Proper subfloor preparation techniques combined with effective subfloor moisture control set a solid foundation, giving your wood floor the freedom to perform flawlessly and last long.
Acclimate the Wood Flooring

Although preparing the subfloor is essential, you’ll need to acclimate the wood flooring to the room’s temperature and humidity before installation. This step guarantees the wood moisture content stabilizes, preventing expansion or contraction post-installation. Start by placing the wood planks flat in the room where they’ll be installed, ideally for 72 hours. Maintain consistent temperature regulation between 60-80°F and relative humidity around 40-60%. Use a moisture meter to verify wood moisture matches the subfloor’s moisture level within 2%. Avoid stacking wood too tightly; allow air circulation between boards to promote even acclimation. Neglecting this process risks gaps, buckling, or warping. Taking this time gives you freedom from future flooring issues and guarantees a durable, stable wood floor that performs effectively in your environment.
Plan the Layout
Start by measuring the room’s dimensions accurately to determine how many planks you’ll need. Choose a starting point that aligns with the longest wall or main entrance for a balanced appearance. Then, visualize the wood pattern to guarantee a consistent and aesthetically pleasing layout before installation.
Measure Room Dimensions
Accurately measuring your room’s dimensions is essential before laying any wood flooring to guarantee a precise fit and minimize waste. Start by measuring the length and width of the room at multiple points, noting any irregularities or alcoves. Use a steel tape measure for accuracy, and record all dimensions clearly. Don’t forget to include doorways, closets, and any built-in features in your room measurement. Once you have these figures, draft a scaled floor plan reflecting the room’s exact shape. This floor planning step helps you visualize plank layout and calculate the number of boards needed, reducing material waste. Precise room measurement combined with detailed floor planning sets the foundation for a smooth installation, giving you freedom to execute the project efficiently and confidently.
Choose Starting Point
With your room measurements and floor plan in hand, you can determine the ideal starting point for laying your wood flooring. Choosing the correct starting location is essential because it influences the installation direction and overall aesthetic. Here’s how to pinpoint your starting point:
- Begin along the longest, straightest wall to guarantee alignment.
- Consider natural light sources; planks should run parallel to windows for a balanced look.
- Avoid starting in doorways or high-traffic areas to minimize uneven cuts.
- Plan to work from the most visible part of the room outward, enhancing visual appeal.
- Confirm the starting location allows expansion gaps on all sides for wood movement.
Visualize Wood Pattern
How should you arrange your wood planks to achieve a visually appealing and structurally sound floor? Start by visualizing the wood pattern before installation. Lay out several planks on the floor, paying close attention to wood grain direction and color variations. This lets you plan a natural flow that highlights the wood’s character while avoiding repetitive patterns. Alternate planks with contrasting grains and shades to maintain visual interest. Guarantee end joints stagger at least 6 inches apart to enhance structural stability. Use a chalk line as a guide for straight rows, aligning with your starting point. By carefully planning the wood pattern, you’ll create a floor that’s both aesthetically pleasing and durable, giving you freedom to express style without compromising on integrity.
Install the Underlayment
You’ll need to select an underlayment material that suits your wood floor type and subfloor conditions. Make certain to lay it flat, overlapping edges as recommended, and secure it properly to prevent shifting. Following precise installation techniques guarantees moisture protection and sound insulation for a durable floor.
Choosing the Right Material
Selecting the appropriate underlayment is essential for a successful wood floor installation, as it provides moisture protection, sound insulation, and a smooth surface for the flooring. When choosing material for engineered hardwood or laminate options, consider these factors:
- Moisture barrier compatibility to prevent subfloor damage
- Thickness and density for sound absorption and stability
- Compatibility with radiant heating systems if applicable
- Ease of installation and durability over time
- Manufacturer recommendations specific to your flooring type
Selecting the right underlayment not only protects your flooring investment but also enhances comfort and longevity. Pay close attention to product specifications to guarantee ideal performance tailored to your subfloor conditions and chosen wood floor style. This precision lets you confidently move forward with installation.
Proper Installation Techniques
Once you’ve chosen the right underlayment material, the next step is to prepare your subfloor and install the underlayment correctly. Begin by cleaning the subfloor thoroughly, removing debris and guaranteeing it’s level to prevent installation mistakes. Roll out the underlayment parallel to the direction you’ll lay the wood flooring, cutting it to fit precisely without overlapping seams. Secure it with staples or adhesive as recommended by the manufacturer, avoiding wrinkles or gaps that compromise stability. Throughout this process, maintain your tools—keep blades sharp and adhesives fresh—to guarantee clean cuts and reliable adhesion. Proper installation of underlayment not only cushions the wood floor but also acts as a moisture barrier, essential for long-term durability. Attention to detail here grants you the freedom of a flawless, lasting wood floor.
Begin Laying the Wood Planks
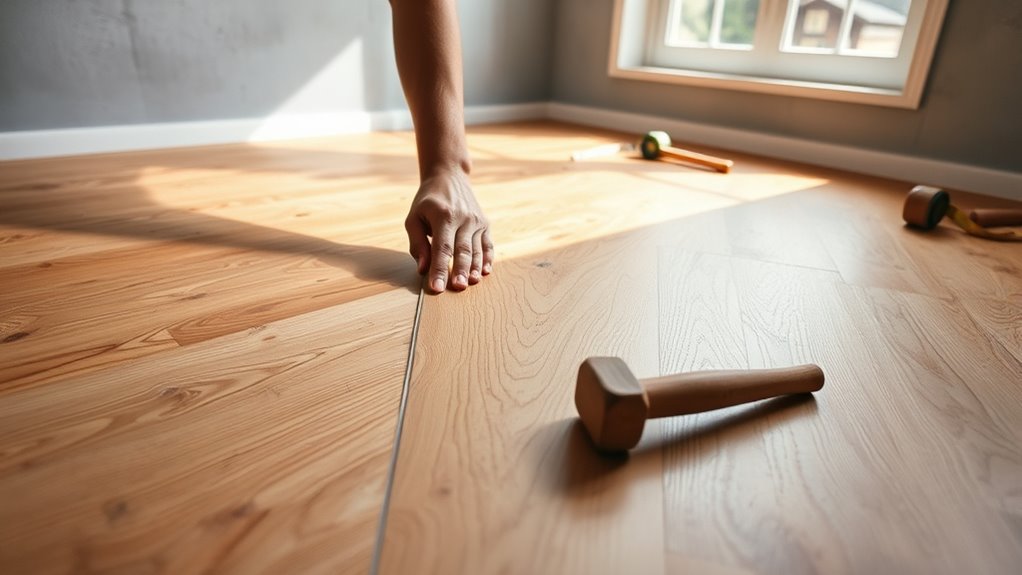
Start by positioning the first row of wood planks along the longest, straightest wall, guaranteeing the tongue side faces the wall. This establishes proper wood plank orientation, vital for a seamless floor. Maintain consistent plank spacing using spacers to allow for natural expansion. Pay attention to these steps:
- Align planks tightly, avoiding gaps.
- Use a chalk line for straight guidance.
- Stagger end joints by at least 6 inches to enhance stability.
- Check plank spacing regularly to confirm uniform expansion gaps.
- Trim the last plank in the row to fit precisely without forcing.
Secure the Flooring
To secure the flooring properly, you’ll need to focus on precise nail placement, ensuring nails go through the tongue at a 45-degree angle without splitting the wood. Use adhesive sparingly and evenly to enhance stability without causing gaps or buckling. Following these steps will lock the planks firmly in place for a durable finish.
Proper Nail Placement
Three essential factors determine proper nail placement when securing wood flooring: nail type, spacing, and angle. To guarantee a secure, lasting floor that allows you freedom from future repairs, pay attention to these details. Choose the correct nail type—usually 2-inch cleats or staples—to match your wood. Maintain consistent nail spacing, typically every 6 to 8 inches along each plank. Drive nails at a 45-degree angle into the tongue to avoid splitting and provide maximum holding power.
- Use a nail gauge or spacing tool for accuracy
- Start nailing 1 inch from the plank’s ends
- Avoid nails too close to the edges to prevent splitting
- Countersink nails slightly below the surface
- Check each nail’s depth to keep the surface smooth
Proper nail placement secures your floor firmly while preserving its integrity.
Use Adhesive Correctly
One key step in securing your wood flooring is applying adhesive correctly to guarantee a strong bond and prevent future movement. First, choose the appropriate adhesive type based on your subfloor material—urethane-based adhesives work well for concrete, while water-based adhesives suit plywood. Before application, verify the subfloor is clean and dry. Use a notched trowel to spread the adhesive evenly, maintaining consistent thickness for ideal grip. Apply adhesive in manageable sections to avoid premature drying. Once spread, lay the wood planks firmly into the adhesive, pressing down to expel air bubbles and verify full contact. Follow manufacturer-recommended open times to maximize bond strength. By mastering these application techniques, you’ll secure your flooring effectively, giving you the freedom to enjoy a durable, stable wood surface without worry.
Cut and Fit Around Obstacles
Although cutting and fitting around obstacles can be challenging, precise measurements and careful use of tools will assure a clean, professional fit. Mastering cutting techniques for obstacle navigation guarantees your floor fits seamlessly around vents, door frames, or pipes. To achieve this:
- Measure the obstacle’s dimensions accurately with a tape measure.
- Transfer measurements onto the wood plank using a pencil and square.
- Use a jigsaw or coping saw for curved or irregular cuts.
- Cut slightly oversized, then trim incrementally for a snug fit.
- Test fit each piece before final installation to confirm precision.
Install the Final Rows
When you reach the final rows, you’ll need to carefully measure and cut each plank to fit the remaining space. Start by measuring the gap between the last installed row and the wall, accounting for the expansion gap required by the flooring manufacturer. Use a saw to trim the planks accurately. Before securing, double-check spacing considerations to maintain uniform expansion gaps along the perimeter. Lay each cut plank in place without forcing it, ensuring a snug fit that doesn’t compress the spacing. Make any final adjustments by tapping planks gently with a tapping block to align edges precisely. This step guarantees a seamless changeover and preserves the floor’s integrity. Taking your time here grants freedom from future issues caused by improper fitting or insufficient spacing.
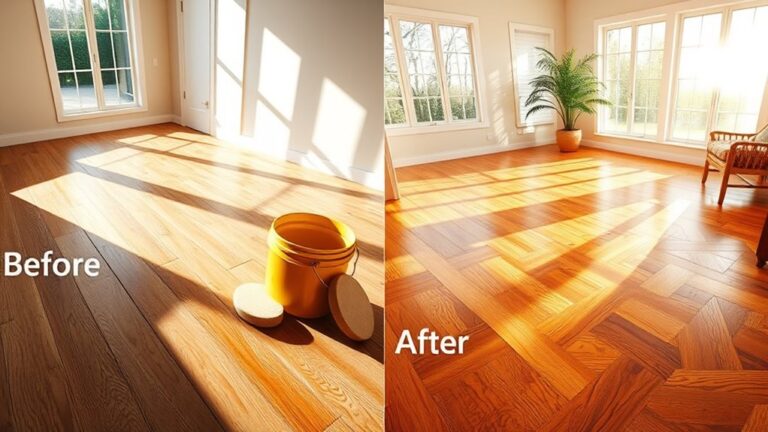
Apply Finishing Touches
After installing all the planks, you’ll need to focus on applying the finishing touches to guarantee durability and a professional appearance. These final touches are essential finishing techniques that protect your floor and enhance its look. Here’s what you should do:
- Sand the floor edges lightly to remove any rough spots.
- Clean the surface thoroughly to eliminate dust and debris.
- Apply a high-quality wood floor sealer or finish evenly.
- Install baseboards or quarter rounds to cover expansion gaps.
- Allow adequate drying time before moving furniture back.
Following these precise finishing techniques guarantees your wood floor withstands wear and tear while showcasing its natural beauty. Taking these final touches seriously gives you the freedom to enjoy a flawless, long-lasting floor that complements your space perfectly.