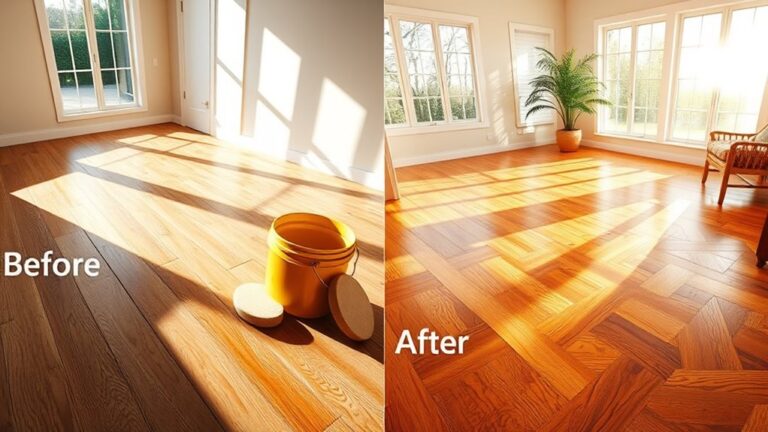
To refinish your concrete floors in 10 easy steps, start by evaluating the floor’s condition and gathering all necessary tools. Clear debris and clean thoroughly, then repair cracks and holes with appropriate fillers. Next, grind the surface smooth using the right grinder, followed by applying a concrete etcher or degreaser. Choose and apply stain or dye evenly, then seal the floor with protective coatings. Maintain regularly to preserve durability. Explore more to master each step for a flawless finish.
Assess the Condition of Your Concrete Floor
Before you begin refinishing, you’ll need to thoroughly assess the condition of your concrete floor to identify any cracks, stains, or surface damages that could affect the refinishing process. Start with a detailed floor inspection, examining the entire surface under adequate lighting. Look for hairline cracks, spalling, or uneven areas that may require repair. Conduct a damage evaluation by tapping or pressing on suspect spots to detect hollow or weak sections. Note any oil stains or discolorations, as these will need special treatment before refinishing. Document all findings to plan appropriate repairs and surface preparation. This precise assessment guarantees your refinishing work adheres to structural integrity standards and results in a durable, free, and smooth finish that meets your expectations for lasting freedom in design and function.
Gather Necessary Tools and Materials
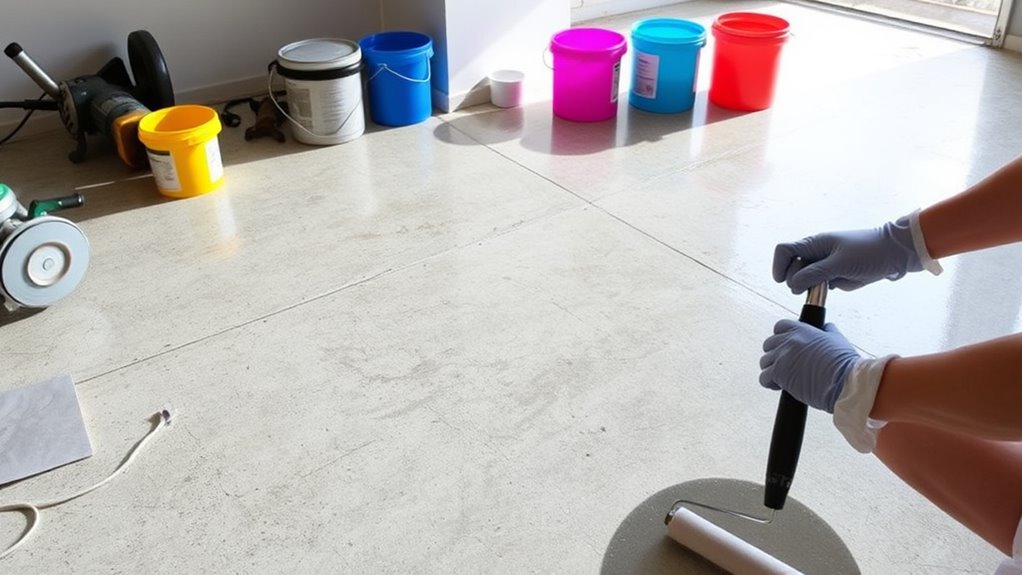
Before you begin refinishing, make certain you have all essential tools like grinders, diamond pads, and protective gear. You’ll also need key materials such as concrete sealer, patching compounds, and stains or coatings. Gathering these items upfront guarantees a smooth and efficient refinishing process.
Essential Tools Checklist
Having the right tools is essential for achieving a smooth, durable finish on your concrete floors. Start with a high-quality concrete grinder or floor sander equipped with diamond abrasives to remove old coatings and smooth imperfections. You’ll need a reliable vacuum system to manage dust—crucial for safety precautions and maintaining a clean workspace. A sturdy mixing drill with paddle attachment guarantees thorough blending of any sealers or overlays. Don’t forget hand tools like scrapers and wire brushes for detailed prep work. For applying coatings, use rollers with extension poles and brushes designed for concrete surfaces. These tools enable you to explore various decorative options, from stains to overlays, confidently and efficiently. Preparing with this essential toolkit grants you the freedom to refinish your floors professionally and safely.
Required Materials Overview
To refinish concrete floors effectively, you’ll need a carefully selected set of materials that complement your tools and guarantee a durable finish. These materials influence the quality of concrete finishes and the consistency of floor textures, ensuring long-lasting results.
Gather the following essentials before starting:
- Concrete grinder discs suited for surface preparation and smoothing.
- High-quality concrete patching compound to repair cracks or pits.
- Concrete sealer or epoxy coating for protection and enhanced durability.
- Floor finish additives designed to improve texture and slip resistance.
Each item plays a critical role in refining the surface, controlling moisture, and achieving the desired aesthetic and functional characteristics. By assembling these materials, you maintain control over the refinishing process and the freedom to create professional-grade concrete finishes.
Clear and Clean the Floor Surface
Before refinishing, you need to remove all debris from the concrete surface to prevent imperfections. Use appropriate cleaning agents designed for concrete to eliminate stains and contaminants effectively. Finally, verify the floor is completely dry to allow proper adhesion of any coatings.
Remove Debris Thoroughly
Start by thoroughly removing all debris from the concrete floor using a broom or vacuum designed for fine particles. Effective debris removal is critical to guarantee your concrete cleaning process achieves a smooth, even surface for refinishing. Follow these steps:
- Sweep the entire floor, focusing on corners and edges where dirt accumulates.
- Use a vacuum with a HEPA filter to pick up fine dust and residual particles.
- Inspect the floor for stubborn debris and remove it manually or with a scraper.
- Repeat vacuuming to confirm no loose particles remain.
Use Appropriate Cleaning Agents
Although thorough debris removal sets the stage, using appropriate cleaning agents is essential for eliminating stains, oils, and residues that can interfere with adhesion and finish quality. Select cleaning agents specifically designed for concrete; these effectively break down contaminants without damaging the surface. If you prefer, opt for eco friendly options—biodegradable detergents or natural solvents—that reduce environmental impact while maintaining cleaning efficiency. Apply the agent evenly with a mop or scrub brush, focusing on stubborn spots. Allow the solution to dwell briefly to loosen grime, then rinse thoroughly with clean water to remove all residues. Avoid harsh chemicals that leave films or degrade the concrete’s integrity. Proper cleaning guarantees your refinishing materials bond securely, giving you freedom to achieve a durable, flawless finish.
Ensure Floor Is Dry
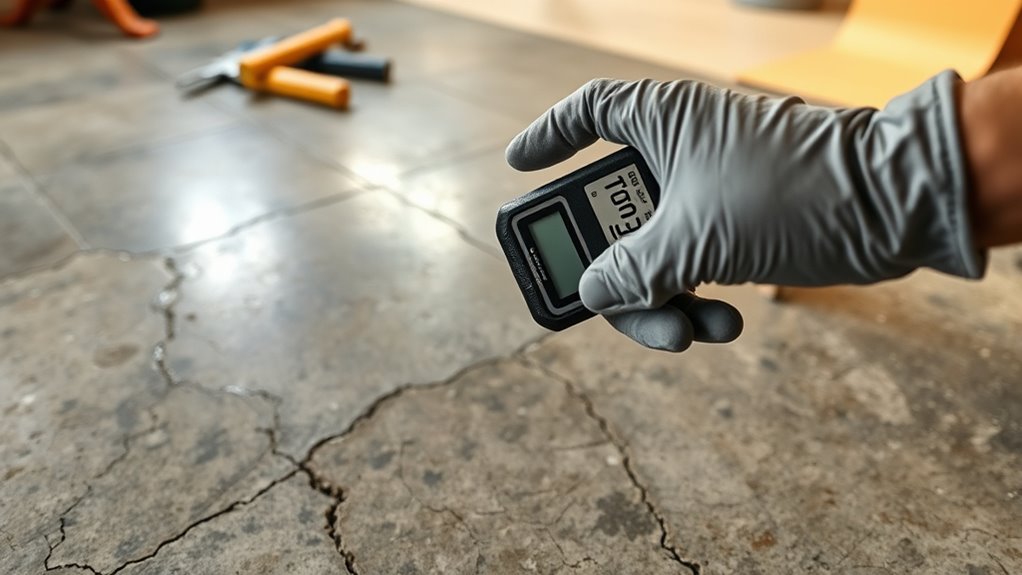
Once you’ve thoroughly cleaned the concrete floor and removed all residues, it’s important to guarantee the surface is completely dry before proceeding. Floor moisture can compromise adhesion and finish quality, so you must apply effective drying techniques. Follow these steps to secure ideal dryness:
- Ventilate the area by opening windows and using fans to circulate air.
- Use a moisture meter to measure the concrete’s internal moisture content accurately.
- Employ dehumidifiers in enclosed spaces to reduce ambient humidity.
- Allow adequate drying time—typically 24 to 48 hours—depending on environmental conditions and floor thickness.
Repair Cracks and Holes
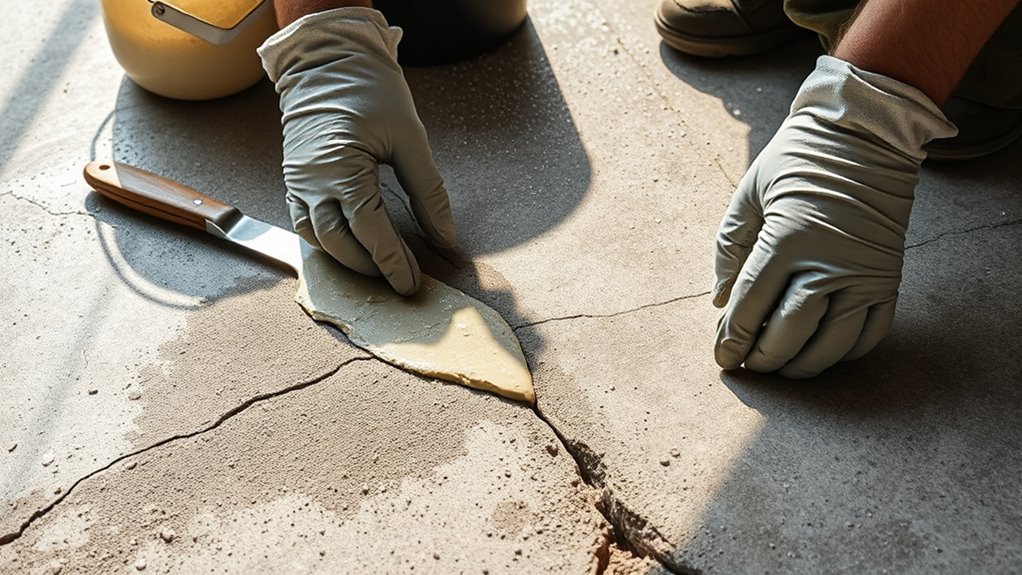
Before applying any refinishing materials, you’ll need to thoroughly clean and prepare the cracks and holes in your concrete floor to confirm proper adhesion. Start by removing any loose debris, dust, or dirt from the damaged areas using a wire brush and vacuum. For crack repair, widen narrow cracks slightly with a chisel to create a clean edge, which improves bonding. Next, mix a high-quality concrete patch or epoxy filler according to manufacturer instructions. Apply the filler to the cracks and holes using a putty knife or trowel, pressing firmly to eliminate air pockets. Smooth the surface flush with the surrounding floor. Allow the repair materials to cure fully before proceeding. Proper crack repair and hole filling confirm a stable, uniform surface ready for refinishing and lasting freedom from future damage.
Grind the Floor for a Smooth Finish
You’ll need to select the appropriate grinder based on your floor size and condition to guarantee efficient material removal. Use consistent, overlapping passes with controlled pressure to achieve a uniform, smooth surface. Proper technique minimizes uneven spots and prepares the floor for finishing treatments.
Choosing the Right Grinder
Selecting the right grinder is crucial for achieving a smooth, even finish on your concrete floor. Different grinder types serve distinct purposes, so choose wisely to maintain control and efficiency. Here’s what you need to take into account:
- Handheld Grinders: Ideal for edges and tight spots; offers maneuverability but less power.
- Walk-Behind Grinders: Best for large areas; provides consistent pressure and speed.
- Planetary Grinders: Delivers uniform grinding through multiple heads; suited for professional refinishing.
- Single-Disc Grinders: Useful for initial grinding; simpler but may require more passes.
Selecting the appropriate grinder sets the foundation for effective grinding techniques. Matching your tool to the floor’s condition and your project scope guarantees you maintain freedom in execution and achieve a flawless surface.
Proper Grinding Techniques
Although choosing the right grinder is essential, mastering proper grinding techniques is what ultimately guarantees a smooth, even concrete floor. Start by attaching high-quality diamond blades designed for the specific concrete hardness. Begin grinding along the perimeter, moving the grinder steadily in overlapping passes to avoid gouges. Maintain consistent pressure and speed; too much force can damage the surface, while too little slows progress. Gradually progress to coarser grits, then finer ones, refining the floor’s texture at each stage. Always keep the diamond blades cool by using water or dust extraction to prolong their lifespan and maintain cleaner results. By following these precise grinding techniques, you’ll achieve a flawless finish that enhances durability and aesthetics—giving you the freedom to enjoy your renewed concrete space.
Remove Dust and Debris Thoroughly
Before applying any refinishing products, make certain to remove all dust and debris from the concrete surface. Effective dust removal techniques and debris disposal methods are essential to guarantee proper adhesion and a flawless finish. Follow these steps:
- Use a high-powered vacuum with a HEPA filter to capture fine dust particles.
- Sweep the floor with a stiff-bristle broom to gather larger debris.
- Wipe the surface with a damp microfiber cloth to pick up residual dust.
- Dispose of collected dust and debris in sealed bags to prevent recontamination.
Thorough cleaning frees you from imperfections caused by trapped particles, allowing you to move on with confidence and maintain control over your refinishing project’s success.
Apply a Concrete Etcher or Degreaser
Once the surface is completely clean, you’ll need to apply a concrete etcher or degreaser to prepare the floor for refinishing. Begin by selecting the appropriate product based on your floor’s condition: use a degreaser application if oil or grease stains persist, or an etcher for surface roughening. Follow etching techniques precisely—dilute the etcher as directed, then evenly apply it with a mop or sprayer, ensuring full coverage. Allow it to react for the recommended time without letting it dry out. For degreasers, scrub stubborn stains with a stiff brush after application. Rinse thoroughly with clean water and remove all residues to avoid interference with subsequent coatings. Proper etching techniques and degreaser application guarantee ideal adhesion and a durable, free surface ready for staining or sealing.
Choose and Apply a Concrete Stain or Dye
When selecting a concrete stain or dye, consider the desired finish and the floor’s porosity to secure maximum penetration and color retention. Different stain types—acid-based and water-based—offer varied effects. Acid stains create a mottled, variegated look, while water-based dyes provide vibrant, uniform color.
Choose concrete stains by finish and porosity; acid stains offer mottled tones, water-based dyes deliver vibrant uniform color.
Follow these steps for effective dye application:
- Clean and dry the floor thoroughly to avoid uneven absorption.
- Test stain types on a small, inconspicuous area to confirm color and finish.
- Apply evenly using a sprayer or roller, maintaining consistent pressure and coverage.
- Allow the stain or dye to penetrate fully, then let it dry according to manufacturer instructions.
Proper selection and application secure a durable, attractive floor that reflects your style and freedom.
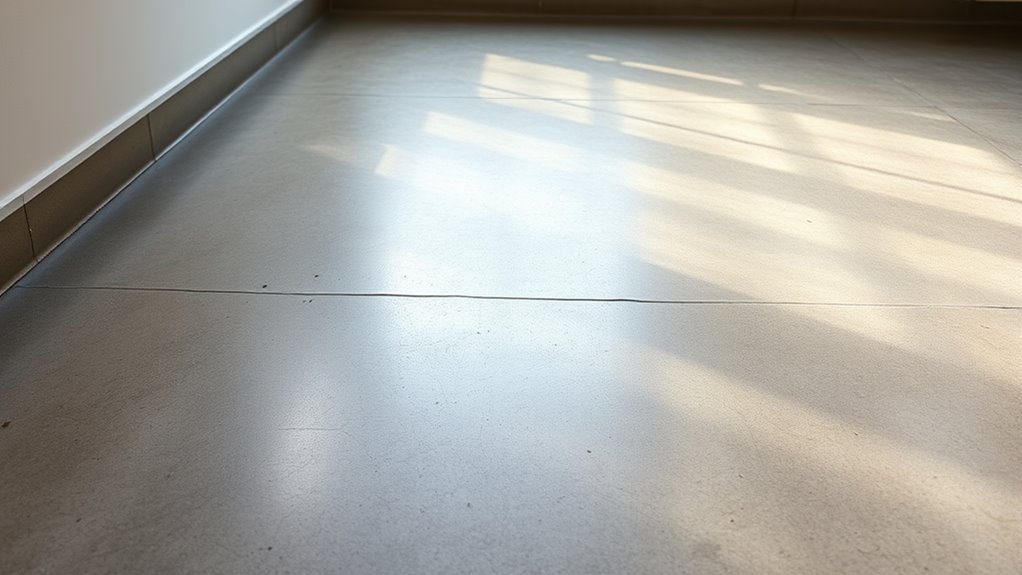
Seal the Concrete Floor for Protection
Although staining enhances your concrete floor’s appearance, sealing it is essential to protect against wear, stains, and moisture. Begin by selecting the appropriate sealing technique based on your floor’s use and environment. Apply protective coatings evenly with a roller or sprayer, ensuring full coverage without pooling. For high-traffic areas, consider two coats for added durability. Allow the first coat to dry fully before applying the second. Use sealers designed specifically for concrete, such as acrylic, epoxy, or polyurethane, each offering varying levels of protection and finish. Proper sealing techniques not only safeguard your floor but also enhance its longevity and ease of cleaning. Follow manufacturer instructions closely for drying times and ventilation requirements to achieve a resilient, beautifully protected concrete surface.
Maintain Your Newly Refurbished Floor
To preserve the durability and appearance of your newly refinished concrete floor, you’ll need to establish a consistent maintenance routine. This guarantees long-term protection and keeps your floor looking pristine.
Establishing a consistent maintenance routine ensures your refinished concrete floor remains durable and visually stunning.
- Develop a daily cleaning routine using a microfiber mop and pH-neutral cleaner to remove dust and debris without damaging the sealant.
- Immediately wipe spills to prevent stains; prompt stain prevention reduces surface damage.
- Place protective pads under furniture legs to avoid scratches and abrasion.
- Reapply the concrete sealer every 2-3 years or as recommended to maintain the protective barrier.