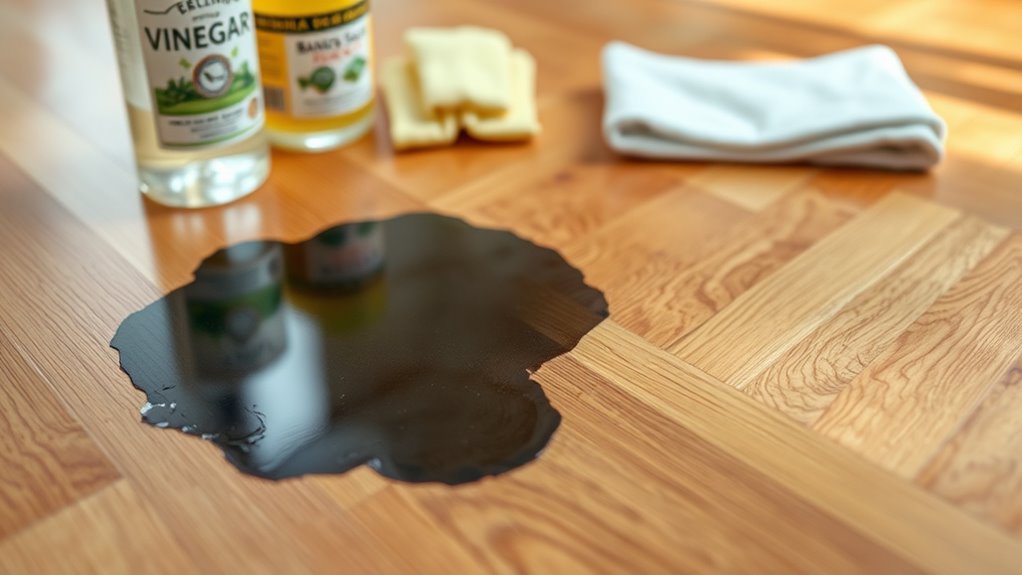
To remove black urine stains from hardwood floors, first clear debris and test a cleaning solution on a hidden spot. Use a vinegar-water mix to gently break down the stain, then apply a baking soda paste to absorb odors and lift discoloration. If needed, carefully sand the area along the grain and treat with wood bleach. Finally, refinish and seal the floor to protect it. Keeping your floor stain-free involves timely cleaning and proper sealing—there’s more to guarantee lasting results.
Identifying the Type of Stain
Before you can effectively remove black urine stains from hardwood floors, you need to identify the type of stain you’re dealing with. Understanding stain characteristics is essential because different stain types react differently to cleaning methods. Black urine stains often result from prolonged exposure, causing deep discoloration or chemical reactions with the wood finish. You might notice variations in darkness, texture, or spread, which indicate whether the stain is surface-level or has penetrated the wood fibers. By examining these stain characteristics carefully, you can determine if a simple cleaner will suffice or if sanding and refinishing are necessary. Identifying the stain type first gives you the freedom to choose the most efficient, least invasive approach, saving time and protecting your hardwood floors from unnecessary damage.
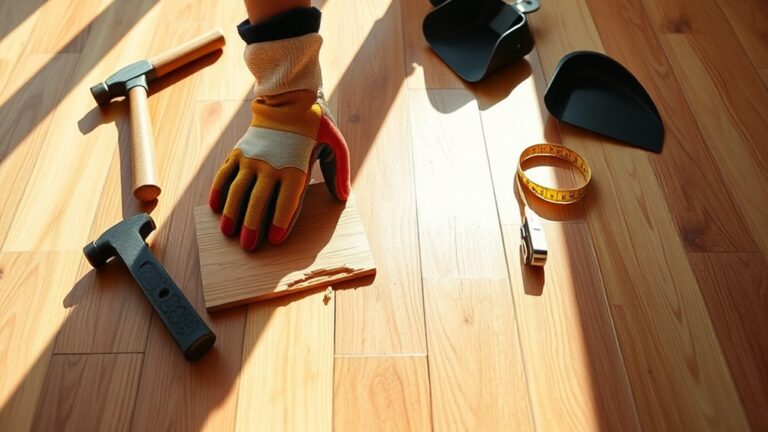
Gathering Necessary Cleaning Supplies
Once you’ve determined the nature of the black urine stain, you can gather the right tools and cleaning agents to tackle it. Start with essential cleaning supplies like gloves to protect your hands, a soft-bristle brush, and clean microfiber cloths for gentle wiping. For stain removal, prepare a mild detergent solution or a hardwood-safe enzymatic cleaner specifically designed to break down urine compounds. You might also need white vinegar or baking soda for odor neutralization. Avoid harsh chemicals that can damage the wood finish. Have a bucket for mixing solutions and a spray bottle for even application. By assembling these carefully selected cleaning supplies, you’ll guarantee an effective, safe approach to removing the stain while preserving your hardwood floor’s integrity and your freedom to maintain your space independently.
Preparing the Hardwood Floor for Cleaning
Before you start cleaning, make certain to remove any loose debris from the affected area to prevent scratching the floor. Next, test your cleaning solution on a small, hidden spot to ascertain it won’t damage the finish. Taking these steps will prepare your hardwood floor for effective and safe stain removal.
Clear Loose Debris
Start by removing any loose debris from the hardwood floor to guarantee an effective cleaning process. Use a soft-bristle broom or a vacuum with a hardwood floor attachment to sweep away dirt, dust, and pet hair. This debris removal step is vital because particles left on the surface can scratch the wood during cleaning or trap moisture, worsening stains. Avoid using a vacuum with a beater bar, as it may damage the floor’s finish. After sweeping, wipe the area with a dry microfiber cloth to verify no remaining particles. Proper debris removal not only prepares the surface for stain treatment but also supports ongoing hardwood maintenance, keeping your floors free of buildup and preserving their natural beauty and durability over time.
Test Cleaning Solution
With the floor cleared of debris, you can now focus on testing a cleaning solution to confirm it won’t damage your hardwood. Before applying any urine stain removers broadly, you need to test cleaning solutions in a discreet spot. This confirms your floor’s finish stays intact while effectively tackling the stain.
Here’s how to test cleaning solutions properly:
- Choose an inconspicuous area near the stain
- Apply a small amount of the urine stain remover
- Wait 10-15 minutes to observe any discoloration or damage
- Wipe the test spot with a clean cloth to check for residue
- If no adverse effects appear, proceed with cleaning the stain
Testing cleaning solutions first protects your hardwood floor while giving you confidence in your stain removal process.
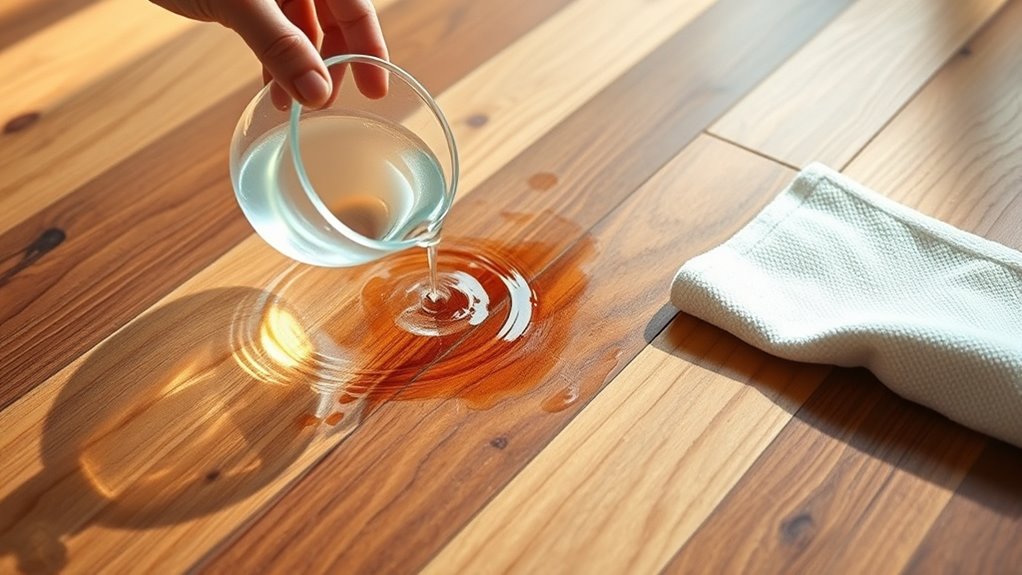
Using a Vinegar and Water Solution
You’ll want to mix one part white vinegar with two parts water to create an effective cleaning solution. Apply it gently to the stained area using a soft cloth or sponge, avoiding excess moisture. This method helps break down the stain without damaging your hardwood floor.
Mixing Ratios Guide
A proper vinegar-to-water ratio is essential for effectively removing black urine stains without damaging your hardwood floors. When mixing ratios for this cleaning solution, balance is key. Too strong, and you risk harming the wood finish; too weak, and the stain may persist. Here’s a reliable guide to get you started:
- Mix 1 part white vinegar with 3 parts water for general stain removal.
- Use a 1:1 ratio for tougher stains but test on a small area first.
- Avoid using undiluted vinegar, as it’s too acidic.
- Prepare fresh solutions each time; vinegar loses potency over time.
- Store your solution in a spray bottle for easy application.
Stick to these mixing ratios to maintain your floor’s integrity while tackling stubborn stains efficiently.
Application Techniques Explained
Start by lightly spraying the vinegar and water solution onto the black urine stain, ensuring you don’t oversaturate the wood. Too much moisture can damage your floor, so apply just enough to dampen the affected area. Next, let the solution sit for about 5 to 10 minutes to break down the stain. Then, gently scrub the spot using a soft-bristled brush or cloth, working in the direction of the wood grain. This careful technique promotes effective stain removal while protecting your hardwood care routine. After scrubbing, wipe away excess moisture with a clean, dry cloth. Finally, allow the floor to air dry completely. Following these steps will help you confidently tackle black urine stains without compromising your hardwood floors’ finish or durability.
Applying Baking Soda Paste to the Stain
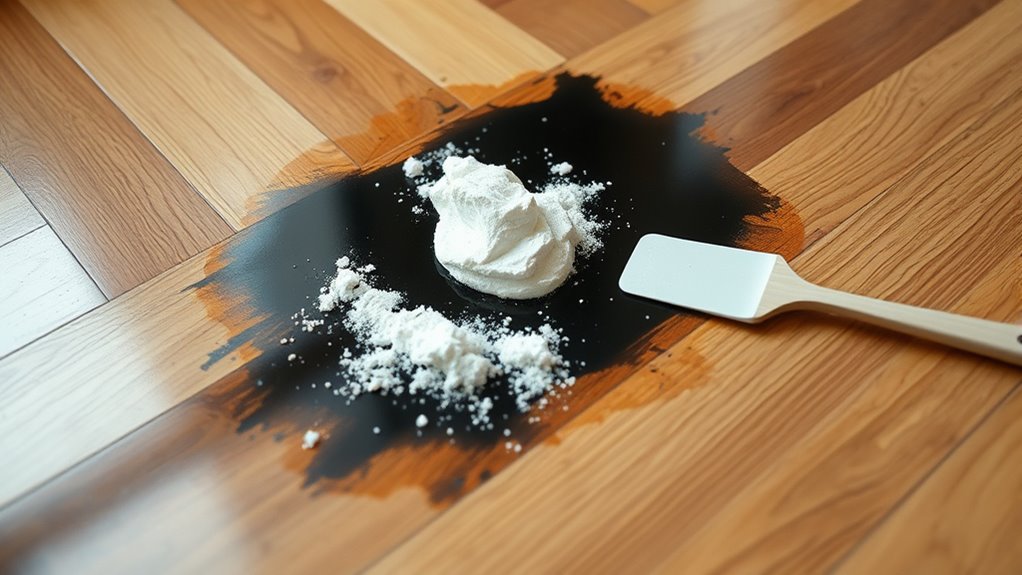
Mix baking soda with a small amount of water to create a thick paste. This simple mixture leverages baking soda benefits for effective stain removal without harsh chemicals. Apply the paste directly onto the black urine stain, covering it completely.
When applying baking soda paste:
- Use a soft cloth or sponge to spread evenly
- Avoid scrubbing aggressively to protect the wood
- Let the paste sit for 10-15 minutes to absorb odors and loosen stains
- Reapply if the stain appears stubborn or deep
- Wipe off gently with a damp cloth, then dry thoroughly
This method offers a natural, accessible way to tackle stains while preserving your hardwood floors’ integrity. It’s a practical step toward reclaiming your space freely and effectively.
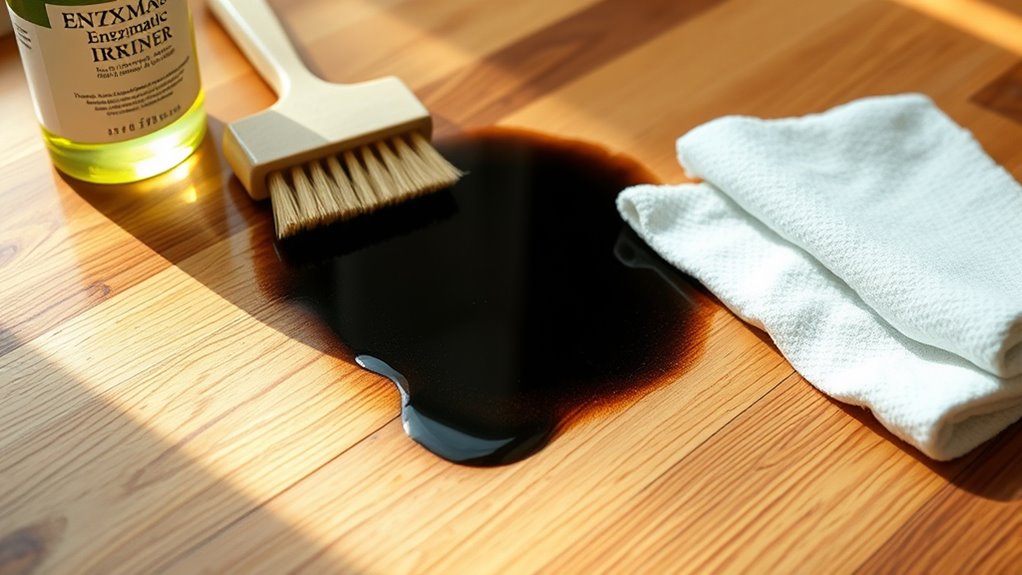
Using Hydrogen Peroxide for Deep Stains
When tackling deep black urine stains, you’ll want to use hydrogen peroxide with the right concentration—typically 3% works best for hardwood floors. Apply it carefully to the affected area, letting it sit for a few minutes before wiping it off. Remember to wear gloves and guarantee good ventilation to stay safe during the process.
Choosing the Right Concentration
Selecting the proper hydrogen peroxide concentration is essential for effectively removing black urine stains without damaging your hardwood floors. The concentration ratios directly influence cleaning effectiveness and wood safety. Typically, 3% hydrogen peroxide is safe for surface stains, while tougher stains may require a slightly higher concentration, but never exceed 6% to prevent wood damage. Here’s what to take into account:
- Lower concentrations reduce risk of discoloration.
- Higher concentrations boost stain removal power.
- Test small areas before full application.
- Dilute stronger solutions with water to control potency.
- Use concentration ratios that balance effectiveness with floor preservation.
Application and Safety Tips
Although hydrogen peroxide is effective for deep urine stains, you’ll need to apply it carefully to avoid damaging your hardwood floors. Start by wearing gloves and guaranteeing proper ventilation—these safety precautions protect you from irritation and fumes. Use clean cleaning equipment, such as a soft cloth or sponge, to apply the solution gently. Avoid pouring hydrogen peroxide directly onto the wood; instead, dampen the cloth and blot the stained area. Let it sit for 5-10 minutes, then wipe it off with a damp cloth. Never oversaturate the floor to prevent warping or discoloration. After treatment, dry the area thoroughly with a dry cloth. Following these steps guarantees you remove stains effectively while maintaining your floor’s integrity and your personal safety.
Sanding the Affected Area Carefully
Before you begin sanding, make certain the floor is completely dry to prevent further damage. Proper sanding techniques and grit selection are key to effectively removing black urine stains without harming your hardwood. Start with a coarse grit to remove the top layer, then gradually move to a finer grit to smooth the surface. Focus only on the stained area to preserve the rest of your floor.
Keep these tips in mind:
- Use a sanding block or orbital sander for control.
- Start with 60-80 grit sandpaper for deep stains.
- Progress to 120-150 grit for finishing.
- Sand along the wood grain to avoid scratches.
- Wear a mask to avoid inhaling dust.
This careful approach guarantees you remove stains while maintaining your floor’s natural beauty.
Applying Wood Bleach if Needed
If sanding doesn’t fully eliminate the black urine stains, applying wood bleach can help restore your hardwood’s natural color. Start by choosing the right wood bleach type—oxalic acid is great for lightening dark stains, while a two-part bleach works well for deeper discoloration. Always test on a hidden spot first. For application techniques, use a clean brush or sponge to apply the bleach evenly, following the grain of the wood. Allow it to sit for the recommended time, usually 10-15 minutes, to let the chemical penetrate and break down the stain. Rinse thoroughly with water and dry completely. If the stain persists, you can repeat the process carefully, but avoid over-bleaching, which can weaken the wood.
Refinishing and Sealing the Hardwood Floor
Start by sanding the floor smoothly to remove any remaining residue and prepare the surface for refinishing. Hardwood refinishing restores the wood’s natural beauty and guarantees an even finish. Once sanded, clean the dust thoroughly before moving on to floor sealing, which protects the wood from future damage.
Begin with smooth sanding to remove residue and prep for a protective, beautiful finish.
When refinishing and sealing your hardwood floor, remember to:
- Choose the right grit sandpaper for an even surface
- Apply stain evenly if you want to enhance color
- Use a high-quality polyurethane or oil-based sealant
- Allow adequate drying time between coats
- Work in a well-ventilated area to avoid fumes
Following these steps will give your floor a fresh, durable finish that safeguards against wear and stains.
Preventing Future Urine Stains on Hardwood Floors
Although refinishing can restore your hardwood floors, preventing future urine stains is crucial to maintain their appearance. Start by applying a high-quality sealant designed for hardwood floors; this creates a protective barrier against moisture and stains. Incorporate urine prevention tips such as promptly cleaning any spills and training pets to use designated areas. Use absorbent mats near entryways or pet zones to catch accidents early. Regular flooring maintenance, including sweeping and using gentle cleaners, helps preserve the finish and prevents buildup that can trap odors or stains. Also, consider placing rugs in high-traffic or vulnerable spots to add an extra layer of protection. Taking these proactive steps guarantees your hardwood floors stay beautiful and stain-free, giving you the freedom to enjoy your space without worry.