To remove candle wax from your wood floor easily, first identify the wax type. Use a hairdryer or warm cloth to soften the wax gently—don’t overheat. Then, carefully lift it with a plastic scraper or old credit card at a low angle to avoid scratching. Wipe residual wax with a cloth dampened in mild soapy water, dry thoroughly, and consider mineral spirits for stubborn spots. Proper tools and technique protect your floor; learn how to handle each step for flawless results.
Identifying the Type of Candle Wax on Your Floor
Before you start removing candle wax from your wood floors, you need to identify the type of wax you’re dealing with, as different waxes require different cleaning methods. Start by observing the candle wax characteristics: paraffin wax is common, smooth, and slightly glossy, while beeswax is harder, yellowish, and has a natural scent. Soy wax tends to be softer and may appear more matte. Identifying wax types helps you choose the right removal approach without damaging your floor. Check how the wax reacts to touch—does it crumble, smear, or stay firm? This tells you about its composition. Properly recognizing the wax guarantees you apply the correct temperature and technique, preserving your wood floor’s finish and maintaining your freedom to enjoy a clean, undamaged surface.
Tools and Materials Needed for Wax Removal
Removing candle wax from wood floors requires a few essential tools and materials to guarantee the job is done effectively without damaging your flooring. Having the right items on hand sets the foundation for successful wax removal techniques and proper wood floor care.
Proper tools are key to safely removing candle wax and protecting your wood floors.
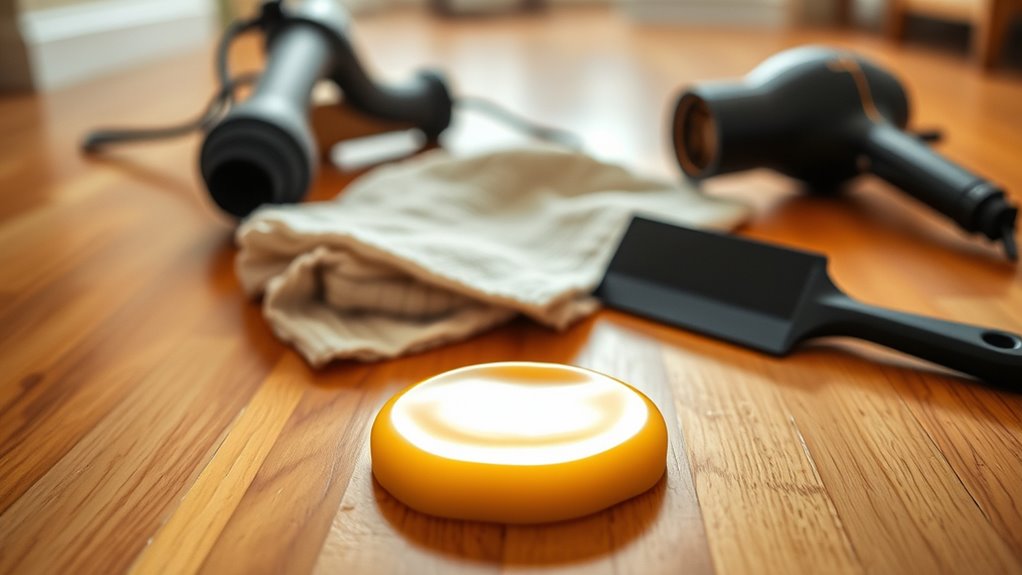
Here’s what you’ll need:
- A plastic scraper or credit card to gently lift hardened wax without scratching
- Absorbent paper towels or a clean cloth for blotting softened wax
- An iron or hairdryer to apply controlled heat and soften wax safely
- A mild wood floor cleaner to remove any residue after wax removal
With these tools ready, you’re equipped to tackle wax spots carefully, preserving your floor’s finish and enjoying freedom from stubborn stains.
Softening the Wax for Easy Removal
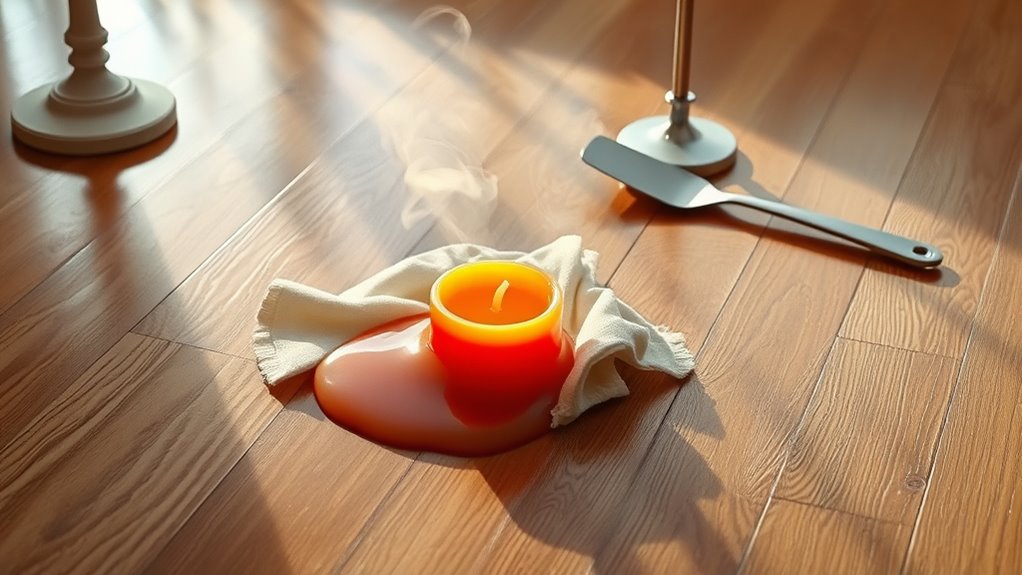
To soften candle wax on your wood floor, apply gentle heat using a hairdryer or warm cloth. This will make the wax pliable and easier to lift without damaging the wood. Be careful to keep the heat moderate to avoid warping or discoloring the floor.
Heat Application Methods
One effective way to loosen candle wax from wood floors is by applying gentle heat, which softens the wax without damaging the finish. Different wax types respond best to specific heat sources, so choosing the right method matters. Here are some reliable heat sources to try:
- A hairdryer on low or medium heat, keeping it moving to avoid overheating
- An iron set to a low temperature, used with a thin cloth as a buffer
- Warm towels pressed gently over the wax to gradually soften it
- A heat gun on a low setting, carefully controlled to prevent scorching
Wax Softening Techniques
After warming the wax using heat application methods, you’ll want to focus on softening it further to make removal easier. Start by applying a softening agent like mineral oil or a commercial wax remover directly onto the affected area. These agents break down the wax’s structure, reducing its grip on the wood. Allow the softening agent to sit for 5 to 10 minutes to penetrate effectively. Avoid harsh chemicals that can damage your floor’s finish. Next, gently scrape the softened wax with a plastic scraper or credit card, working carefully to avoid scratches. Reapply the softening agent if needed to tackle stubborn spots. This approach guarantees a smooth wax removal process, preserving your wood floor’s integrity and giving you the freedom to clean efficiently without worry.
Scraping Off Hardened Wax Safely
You’ll want to use a plastic scraper or a credit card to gently lift the hardened wax without scratching the wood. Be careful to hold the tool at a low angle and apply steady, light pressure to avoid damaging the floor’s finish. Taking your time with controlled movements guarantees the wax comes off cleanly and safely.
Tools for Gentle Scraping
A plastic scraper or a credit card works best for gently removing hardened candle wax without damaging your wood floors. Choosing the right scraper type is essential for effective scraping techniques that preserve your floor’s finish. Avoid metal tools which might scratch or gouge the surface. Instead, opt for tools that offer flexibility and control. Here are some ideal options:
- Plastic putty knife with a thin edge
- Old credit or gift cards
- Nylon spatulas designed for delicate surfaces
- Soft plastic paint scrapers
These tools let you carefully lift wax by sliding under the edges without applying excessive force. Using the right scraper type combined with gentle scraping techniques guarantees you remove wax efficiently while keeping your wood floors intact and beautiful.
Preventing Surface Damage
Two key precautions help prevent surface damage when scraping off hardened wax from wood floors. First, always use a plastic scraper or a credit card to avoid scratching the wood. Second, warm the wax slightly with a hairdryer to soften it, making removal easier and less abrasive. These steps preserve your floor’s wax protection and surface treatment, maintaining its natural finish.
| Precaution | Reason | Benefit |
|---|---|---|
| Use plastic tools | Avoids scratching wood | Maintains surface integrity |
| Warm wax gently | Softens wax for easier removal | Reduces scraping force |
| Test small area | Prevents unexpected damage | Guarantees safe treatment |
Follow these tips to keep your wood floor free from scratches while preserving its protective finish.
Effective Wax Removal Tips
Removing hardened candle wax from wood floors requires careful technique to avoid damage. To scrape off wax safely, follow these best cleaning methods that preserve your floor’s finish. First, gently soften the wax with a hairdryer on low heat—not too hot to avoid warping. Then, use a plastic scraper or an old credit card to lift the softened wax without scratching. Avoid metal tools, which can gouge the wood. After scraping, apply a wax removal product designed for wood floors to remove residue. Finally, wipe the area clean with a soft cloth and mild cleaner.
- Warm wax softens for easier removal
- Use plastic tools for safe scraping
- Choose appropriate wax removal products
- Clean residue thoroughly to prevent buildup
This approach keeps your wood floor safe while freeing it from stubborn wax.
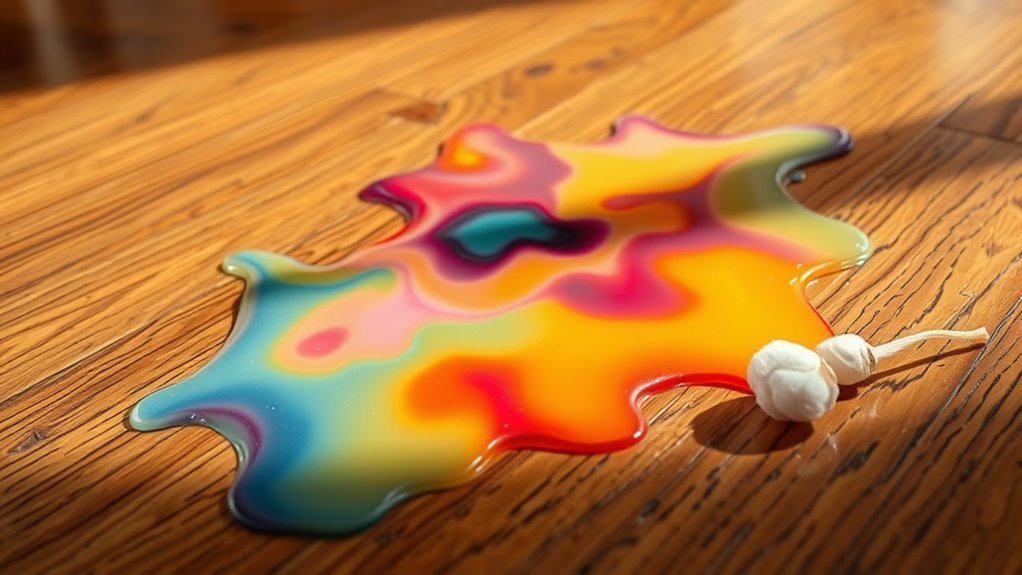
Cleaning Residual Wax and Stains
Once the bulk of the wax is lifted, you’ll need to tackle any leftover residue and stains to restore your wood floors. Start by gently rubbing the area with a soft cloth dampened in a mixture of warm water and mild dish soap. This cleaning technique helps break down residual stains without damaging the wood finish. For stubborn wax spots, apply a small amount of mineral spirits on a cloth, testing it first in an inconspicuous spot. Always work in the direction of the wood grain and avoid excessive moisture. After cleaning, dry the area thoroughly to prevent warping. These precise cleaning techniques guarantee your wood floors regain their natural shine and stay free from residual stains, giving you the freedom to enjoy a spotless, beautiful surface.
Preventing Future Wax Damage on Wood Floors
Although accidents happen, you can minimize future wax damage on your wood floors by taking simple preventative steps. Using effective wax protection methods and consistent floor maintenance tips will keep your floors looking great and free from stubborn wax stains. Start by:
- Placing sturdy candle holders or trays beneath candles to catch drips.
- Using flameless LED candles as a wax-free alternative.
- Wiping up spills immediately with a soft cloth to prevent wax from hardening.
- Applying a high-quality floor sealant to create a protective barrier.