To remove glued-down wood flooring in five easy steps, first gather safety gear like goggles and gloves, plus tools such as a pry bar and heat gun. Then, prepare the room by moving furniture and protecting surfaces. Next, soften the adhesive using heat or a suitable solvent. Carefully pry up each plank with steady pressure, protecting the subfloor. Finally, scrape off adhesive residue and clean the area thoroughly. Following these steps will guarantee a smooth removal process and set you up for what’s next.
Gather the Necessary Tools and Safety Equipment
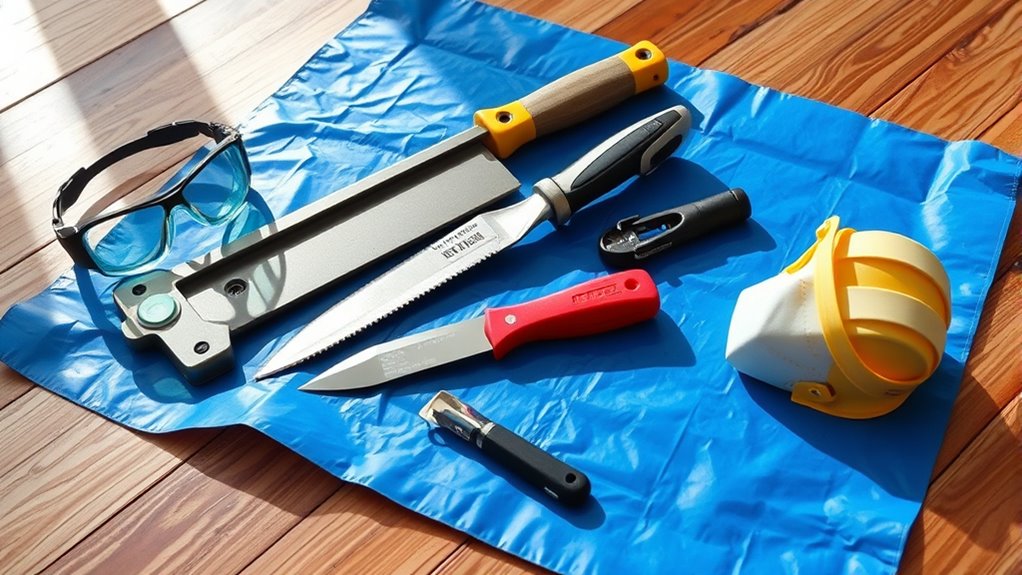
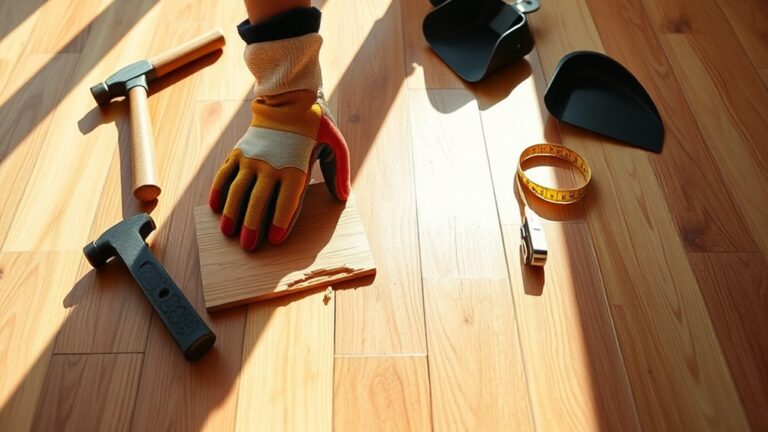
Before you begin removing glued down wood flooring, it’s crucial to gather all the necessary tools and safety equipment to guarantee an efficient and safe process. Start with protective gear: safety goggles to shield your eyes from debris and work gloves to protect your hands from sharp edges and splinters. Next, acquire a pry bar or floor scraper for prying up the wood, a heavy-duty utility knife for cutting through adhesive layers, and a hammer for leverage. Consider an oscillating multi-tool with a scraper attachment for precision. A heat gun may help soften glue, making removal easier. Finally, verify you have a sturdy dust mask to avoid inhaling dust and adhesive particles. Proper preparation with the right tools and safety gear empowers you to tackle the project confidently and efficiently.
Prepare the Room and Protect Surrounding Areas
Since removing glued down wood flooring can create dust and debris, you’ll want to prepare the room thoroughly and protect surrounding areas. Begin by evaluating the room layout to identify furniture and fixtures that need moving or covering. Use protective coverings to shield walls, doorways, and vents, preventing dust infiltration and damage. Seal off adjoining rooms with plastic sheeting and painter’s tape to maintain clean boundaries. Guarantee adequate ventilation while minimizing airflow that spreads dust.
- Remove all movable items and furniture from the room
- Cover immovable objects with thick plastic or drop cloths
- Seal doorways and vents with protective coverings
- Clear pathways for tool and debris removal
Proper preparation grants you freedom to work efficiently and minimizes cleanup after flooring removal.
Loosen the Flooring With Heat or Solvent
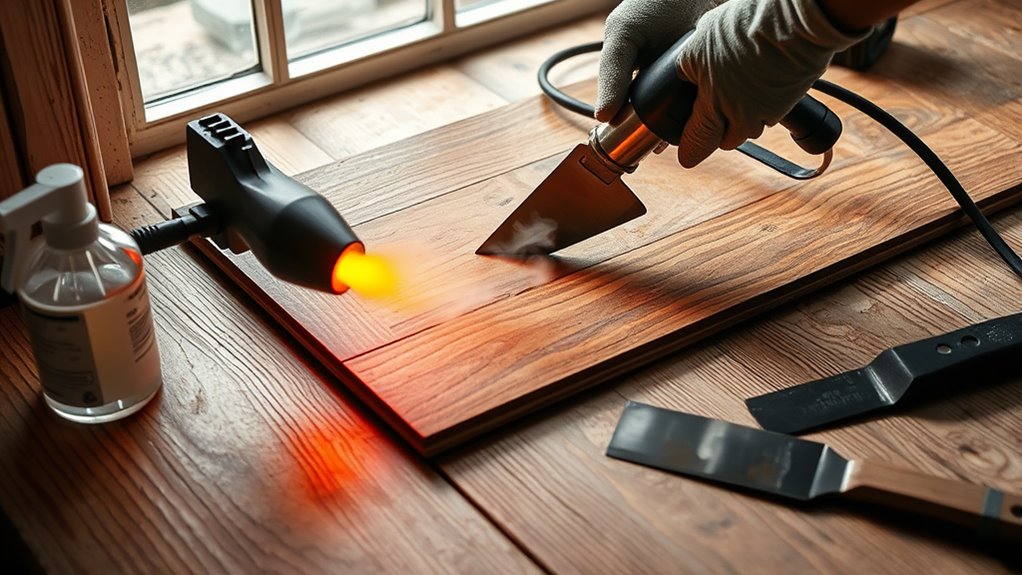
Although glued down wood flooring is firmly attached, you can effectively loosen the adhesive by applying heat or using a solvent designed to break down the glue. For heat application, use a heat gun set to a moderate temperature to soften the adhesive without damaging the wood. Move the heat gun evenly over a small section to prevent scorching. Alternatively, select appropriate solvent types such as adhesive removers specifically formulated for wood flooring glue. Apply the solvent sparingly with a brush or cloth, allowing it to penetrate and weaken the bond. Always test solvents on a small, inconspicuous area first to verify they won’t harm the wood. Both methods require patience and controlled application to loosen the flooring efficiently, granting you the freedom to remove the planks without excessive force or damage.
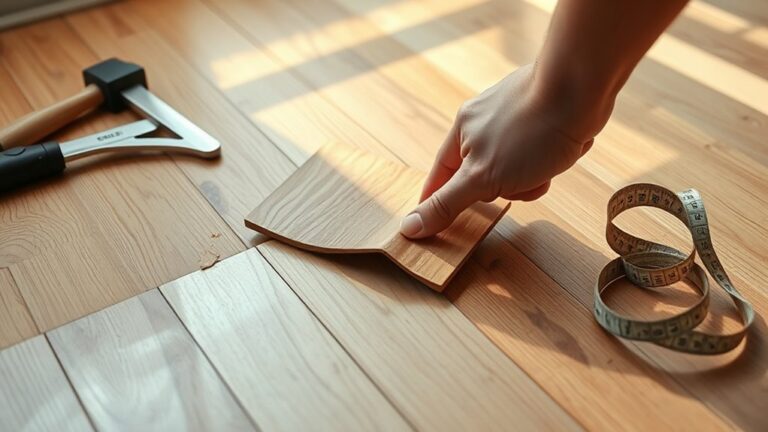
Pry Up the Wood Flooring Carefully
Start by locating a loose edge or seam in the wood flooring to insert a pry bar or flat tool. Using proper pry bar techniques is essential to avoid damaging the wood or subfloor. Slide the pry bar gently under the plank and apply steady pressure to lift it without snapping. Always prioritize flooring safety by wearing gloves and eye protection. Work slowly, prying a few inches at a time.
- Use a block of wood as a fulcrum to protect the floor underneath.
- Alternate prying points to evenly distribute force.
- Avoid levering against nails or screws to prevent tool slippage.
- Keep your body balanced to reduce strain and maintain control.
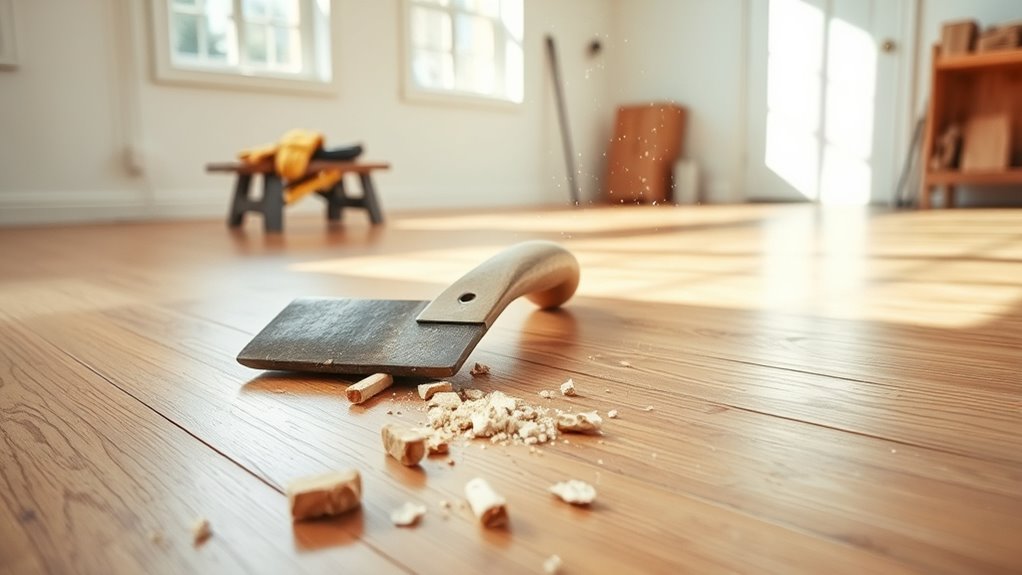
Remove Adhesive Residue and Clean the Subfloor
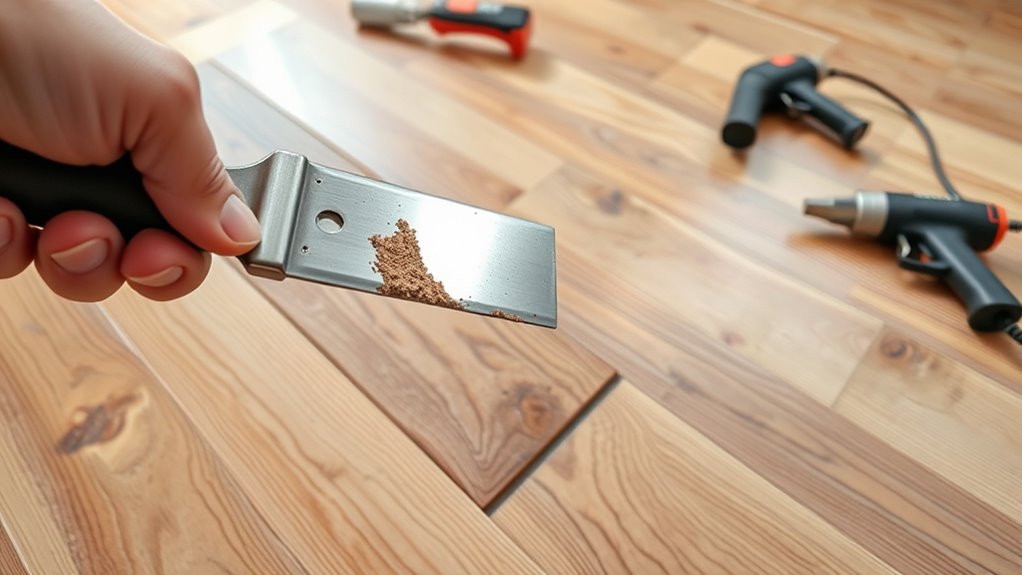
Once you’ve pried up the wood flooring, you’ll need to remove any adhesive residue to uphold a smooth, clean subfloor. Start by scraping off thick adhesive layers using a floor scraper or putty knife, applying firm, controlled pressure to avoid damaging the subfloor. For stubborn spots, use a solvent specifically designed for adhesive removal—apply it sparingly, allow it to penetrate, then scrape again. Afterward, thoroughly clean the subfloor with a degreaser or mild detergent to eliminate any remaining residue and solvent traces. Rinse with clean water and let the subfloor dry completely before proceeding. Proper adhesive removal and subfloor cleaning will uphold a level surface, prevent future flooring issues, and give you the freedom to install your next floor confidently and efficiently.