To remove a hardwood floor in 10 easy steps, first gather tools like pry bars, a circular saw, gloves, and safety goggles. Clear the room, cover vents, and remove baseboards carefully using a pry bar and putty knife. Identify flooring type, then start prying planks from an edge, cutting through nails or adhesive as needed. Clean debris and inspect the subfloor for damage, confirming it’s stable before disposal and installing new flooring. Understanding each step guarantees a smooth, efficient process.
Gather the Necessary Tools and Materials

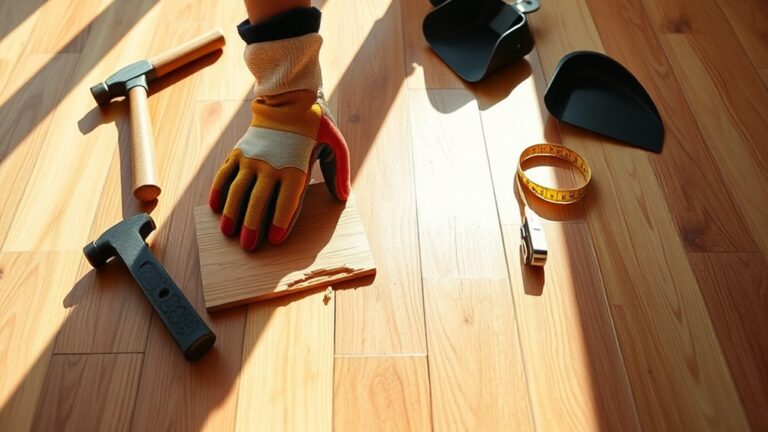
Before you begin removing your hardwood floor, you’ll need to gather a few essential tools and materials. Focus on tool types that provide leverage and precision, such as pry bars, a flooring nail puller, a circular saw, and a hammer. Select materials like protective gloves, safety goggles, and dust masks to guarantee your safety during removal. Efficient material selection also includes a sturdy tarp or drop cloth to collect debris and minimize cleanup. Consider renting specialized equipment like a floor scraper if your floor is glued down. By assembling the right tool types and materials upfront, you maintain control and freedom throughout the removal process, avoiding unnecessary delays or complications. This preparation step sets a clear foundation for a smooth, efficient hardwood floor removal.
Prepare the Room for Flooring Removal
Although it may seem straightforward, properly preparing the room is essential to guarantee safety and efficiency during hardwood floor removal. Start by evaluating the room layout to plan your workflow and minimize obstacles. Clear all furniture and décor to create ample workspace. Implement safety precautions to protect yourself and the space from dust and debris.
Proper room preparation is key for safe, efficient hardwood floor removal—clear space, plan workflow, and protect against dust.
- Remove all movable objects and secure fragile items outside the room.
- Cover vents and doorways with plastic sheeting to contain dust.
- Make certain of adequate lighting and ventilation to maintain a safe environment.
- Wear personal protective equipment like gloves, goggles, and a dust mask.
Remove Baseboards and Trim Carefully

Start by gently prying off the baseboards and trim using a pry bar and a putty knife to minimize damage. Slide the putty knife between the wall and trim to protect drywall, then carefully leverage the pry bar to loosen the wood. Work slowly along the length to avoid splitting or cracking. Label each piece to streamline future baseboard installation or trim replacement. Store nails or screws safely for reuse if possible. Avoid forcing the trim, as damaged pieces complicate reinstallation or require costly replacements. Removing baseboards and trim carefully preserves your freedom to renovate with minimal waste and guarantees a clean, professional finish once the hardwood floor is removed. Precision here saves time and money during subsequent steps in the flooring project.
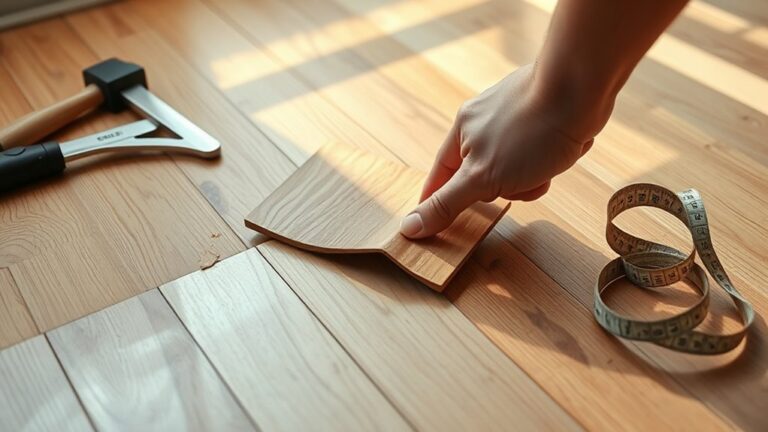
Identify the Type of Hardwood Flooring
Once the baseboards and trim are removed without damage, you can focus on identifying the type of hardwood flooring. Knowing the hardwood types and flooring characteristics helps you choose the best removal technique and anticipate challenges.
Check these key indicators:
- Grain pattern and color: Oak has prominent grains; maple is smooth and light.
- Plank thickness: Solid hardwood is typically thicker than engineered wood.
- Construction layers: Engineered flooring shows multiple layers when viewed from the side.
- Finish type: Polyurethane coatings differ from oil-based finishes in texture and sheen.
Start Removing Hardwood Planks From an Edge

Begin by locating an accessible edge where the hardwood planks are least secured, often near a wall or junction strip. Use a pry bar or floor scraper to gently lift the first plank without damaging the subfloor. Make certain you apply even pressure and protect surrounding surfaces to maintain structural integrity.
Locate Starting Edge
To efficiently remove hardwood planks, identify an edge where the flooring is least secured or closest to a wall. Proper starting edge identification guarantees easier plank removal and preserves surrounding materials. Focus on these points for smooth plank alignment and extraction:
- Inspect the perimeter for gaps or loose planks near baseboards or walls.
- Choose an edge where nails or adhesive seem minimal or deteriorated.
- Verify plank alignment runs parallel to the wall, simplifying access and leverage.
- Look for natural breaks or damaged sections to begin prying without resistance.
Use Proper Tools
Although identifying the starting edge is essential, using the right tools guarantees you remove hardwood planks efficiently and safely. Proper tools streamline the process and protect the flooring options beneath. When starting from an edge, leverage pry bars, hammers, and flooring scrapers to lift planks without damage. Choosing removal techniques tailored to your flooring’s installation method avoids unnecessary effort and preserves subfloor integrity. Here’s a concise tool guide:
| Tool | Purpose | Tip |
|---|---|---|
| Pry Bar | Lift and separate planks | Start at edge, apply steady pressure |
| Hammer | Assist pry bar, remove nails | Use claw end for nail extraction |
| Flooring Scraper | Remove adhesive or debris | Use after plank removal |
| Utility Knife | Score underlay or carpet | Prevent tearing |
| Safety Gear | Protect hands and eyes | Always wear gloves and goggles |
Equip yourself properly to guarantee a smooth, damage-free removal process.
Use a Pry Bar to Lift Stubborn Boards
When nails or adhesive resist removal, you’ll need a pry bar to carefully lift the stubborn hardwood boards without damaging them. Mastering pry bar techniques is key to effective stubborn board solutions. Start by inserting the flat end of the pry bar under the board’s edge. Gently apply leverage, rocking the bar back and forth to loosen the board. Use a scrap wood block beneath the pry bar to protect the subfloor and distribute pressure evenly. Work gradually along the board’s length, lifting incrementally to prevent cracking or splintering.
- Position pry bar tip near the board’s end for ideal leverage
- Apply steady, controlled force to avoid damage
- Use scrap wood as a fulcrum to protect surfaces
- Progress slowly, lifting the board in small sections
These steps guarantee clean removal and preserve the integrity of your flooring materials.
Cut Through Nails and Adhesive as Needed
Cut through stubborn nails and adhesive with a reciprocating saw or oscillating multi-tool equipped with a metal-cutting blade. These tools give you control and efficiency during nail cutting, allowing you to sever nails embedded deep within the floorboards or subfloor. For adhesive removal, carefully score or scrape the glue lines to break the bond without damaging underlying surfaces. Work methodically along seams and edges where adhesive residues are toughest. Use steady pressure and proper blade angles to maximize effectiveness and reduce effort. Prioritize safety by wearing gloves and eye protection, as cutting nails can produce metal shards or sparks. Mastering nail cutting and adhesive removal lets you liberate hardwood floorboards cleanly, setting you free from the constraints of stubborn fasteners and adhesive bonds.
Clean Up Debris and Remove Nails
Clear away all debris thoroughly to create a safe and organized workspace before proceeding. Effective debris management is critical for maintaining control and preventing hazards. Focus on removing loose wood fragments and splinters first. For nail removal, use a claw hammer or pry bar to extract embedded nails carefully, minimizing damage to the subfloor. Follow up with a magnetic nail sweeper to catch hidden metal pieces. Key steps include:
- Collect and bag all wood debris promptly.
- Pry out nails with precision tools.
- Sweep the area with a magnetic nail remover.
- Dispose of debris and nails according to local regulations.
Inspect the Subfloor for Damage
Once the hardwood is removed, carefully examine the subfloor for signs of water damage like discoloration or warping. You’ll also want to check for any structural weaknesses such as soft spots or loose panels. Addressing these issues now guarantees a stable foundation for your new flooring.
Check for Water Damage
How can you tell if your subfloor has suffered water damage? Start by looking for visible water stains—discoloration or dark patches often signal moisture intrusion. Next, measure moisture levels using a moisture meter to detect hidden dampness that can weaken the subfloor over time. Also, check for soft spots by pressing firmly with your foot or a tool; spongy areas indicate saturation. Finally, smell for musty odors, as persistent dampness encourages mold growth and decay.
- Identify water stains or discoloration on the subfloor.
- Use a moisture meter to assess moisture levels accurately.
- Test for softness or sponginess by applying pressure.
- Detect musty smells indicating prolonged moisture exposure.
These steps guarantee you spot water damage early and protect your flooring project’s integrity.
Identify Structural Weaknesses
After confirming the subfloor is free from water damage, focus on identifying any structural weaknesses. Begin your flooring assessment by visually inspecting the subfloor for cracks, warping, or soft spots that compromise structural integrity. Use a probe or screwdriver to test for weakened areas—if the tool easily penetrates, the subfloor requires repair or replacement. Check joists and supports beneath for signs of rot or insect damage, as these affect the overall stability. Pay attention to any uneven surfaces, which may indicate underlying issues. Document all findings carefully; this guarantees you address concerns before installing new flooring. Prioritizing structural integrity during your flooring assessment assures a solid foundation, granting you the freedom to proceed confidently with your hardwood floor removal and replacement project.
Dispose of Old Hardwood Flooring Properly
Proper disposal of old hardwood flooring is essential to comply with local regulations and minimize environmental impact. Before discarding, research your area’s disposal regulations to avoid fines and environmental harm. Explore recycling options to give your wood a second life, reducing landfill waste. Here’s how to proceed effectively:
- Separate flooring materials by type and condition for recycling or disposal.
- Contact local recycling centers to confirm they accept hardwood flooring.
- Arrange for bulk pickup or transport to a designated disposal facility.
- Consider donating usable planks to community projects or artisans.