To remove tile from a concrete floor, start by evaluating the tile's condition. Gather essential tools like a floor scraper, hammer, and pry bar. Clear the workspace of furniture and protect nearby surfaces with drop cloths. Begin with a test tile in a corner, scoring the grout with a utility knife. Use the hammer and pry bar to lift the tile carefully. After removing all tiles, clean up any adhesive residue using a heat gun or solvent. Finally, inspect the concrete surface for damage. For more detailed steps on each stage, you won't want to miss the additional insights available.
Assessing the Tile Condition
Before you plunge into removing tile from a concrete floor, it is crucial to assess the tile's condition. Start by using effective tile inspection techniques, like tapping the tiles gently to listen for hollow sounds, indicating potential detachment. Check for cracks, chips, or discoloration, which can signal underlying issues. For a thorough damage evaluation, examine the grout lines and surrounding areas for moisture or mold, as these can compromise the tile's stability. If you notice extensive damage, consider whether it's worth the effort to remove these tiles. Understanding the condition of the tiles will guide your next steps, ensuring you're prepared and can make informed decisions as you work towards that newfound freedom in your space.
Gathering Necessary Tools
Gathering the right tools is essential for a smooth tile removal process. You'll need to guarantee you have everything on hand to minimize downtime and maximize efficiency. Here's a quick list of what you'll need, along with some safety precautions to keep in mind while using various tile removal techniques.
| Tool | Purpose | Safety Precautions |
|---|---|---|
| Floor Scraper | Removing tiles | Wear gloves and safety goggles |
| Hammer | Breaking tiles | Use a hard hat for head protection |
| Pry Bar | Lifting tiles | Be cautious of sharp edges |
With these tools, you'll be well-prepared to tackle your tile removal project safely and effectively.
Preparing the Workspace
Once you've gathered your tools, it's time to focus on preparing your workspace. Start by clearing the area of any furniture, rugs, or debris. This workspace organization will give you ample room to maneuver and prevent any accidents. Be certain to cover nearby surfaces with drop cloths to protect them from dust and debris during the tile removal process.
Next, lay out your tools in a way that's easy to access. This not only speeds up your work but also minimizes distractions. Remember to put on safety goggles and gloves to protect yourself from sharp edges and flying debris. Taking these safety precautions will promote a smoother, safer experience as you engage in the tile removal project.
Starting With a Test Tile
How can you guarantee a smoother tile removal process? Start by selecting a test tile. Find a corner or an area that's less visible to minimize disruption. Using a utility knife, score the grout around the tile, creating a clean edge for removal. This test tile will help you gauge the effectiveness of different removal techniques without damaging the surrounding tiles. If the tile comes up easily, you've found a suitable method. If not, adjust your approach before tackling the rest of the floor. Remember, testing a tile first saves you time and frustration, allowing you to refine your technique for a more efficient removal process overall. Embrace this step for a hassle-free experience!
Using a Chisel and Hammer
Start by positioning your chisel at the edge of the tile, making certain it's angled slightly away from the surrounding tiles. This chisel technique helps prevent damage to adjacent tiles. Hold the chisel firmly and tap it gently with a hammer, applying controlled pressure. Work your way around the tile, tapping about every inch to loosen it.
Remember to prioritize hammer safety: wear safety goggles to protect your eyes from flying debris, and make certain your hands are clear of the striking area. If the tile doesn't budge, adjust your angle or apply more force carefully. Once the tile lifts, continue using the chisel to remove any remaining adhesive on the concrete floor, making your job easier for the next steps.
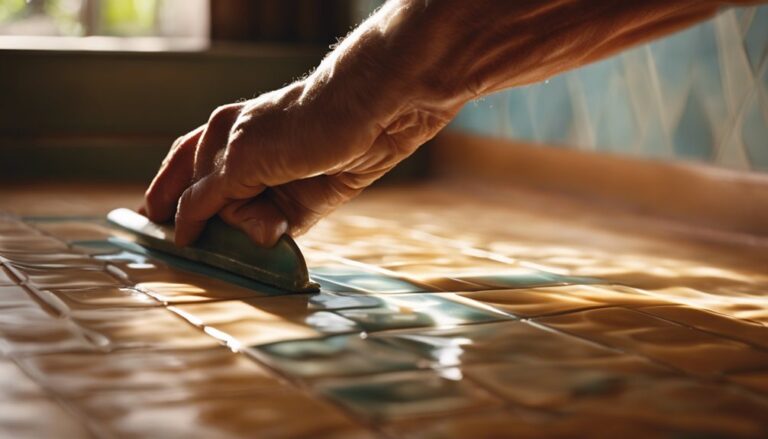
Employing a Floor Scraper
After utilizing a chisel and hammer to loosen the tiles, you may find that some adhesive remains stubbornly attached to the concrete floor. This is where employing a floor scraper comes in handy. For ideal scraper types, a wide-blade scraper works best for covering larger areas, while a narrow blade is perfect for tight spots. When using floor scraper techniques, start at one edge of the adhesive and push the scraper under the residue at a slight angle. Apply consistent pressure and use a rocking motion for better effectiveness. If the adhesive is particularly stubborn, you might need to apply heat with a heat gun first. This method will help you remove the adhesive efficiently, giving you a clean slate for your next project.
Cleaning Up Adhesive Residue
Removing tile from a concrete floor often leaves behind adhesive residue that can be challenging to eliminate. To tackle this, start with adhesive removal techniques like using a heat gun or a solvent to soften the adhesive. Once it's pliable, scrape it away with a floor scraper or putty knife. For stubborn spots, try residue cleaning products specifically designed for adhesive removal; these can break down the glue effectively. Always test a small area first to ascertain compatibility with your concrete. After removing the residue, wipe down the surface with a damp cloth to clear any leftover particles. Remember, patience is key, and taking your time will lead to a cleaner, smoother floor ready for your next project.
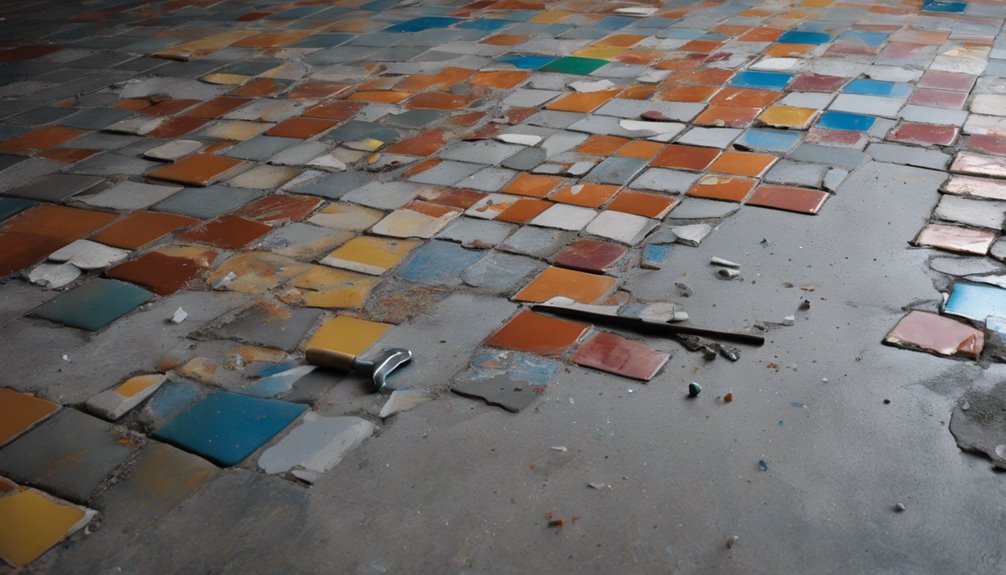
Inspecting the Concrete Surface
Once the adhesive residue has been cleared away, it's important to inspect the concrete surface for any damage or imperfections. Take your time here; a thorough check can save you headaches later. Look for surface cracks, as these can affect the integrity of any new flooring. You should also assess moisture levels, since excess moisture can lead to mold or further damage.
Consider the following during your inspection:
- Surface cracks: Identify their size and depth.
- Moisture levels: Use a moisture meter for accuracy.
- Uneven patches: Feel for any bumps or dips.
- Stains: Note any discoloration that might indicate underlying issues.
This careful evaluation will guide your next steps in restoring your floor.
Final Touches and Disposal
As you wrap up your tile removal project, it is essential to focus on the final touches and proper disposal of materials. Begin with a thorough final cleanup of the area, ensuring all debris is cleared. Use a broom and vacuum to remove any dust and small pieces left behind.
For disposal, consider the following methods:
| Disposal Method | Description | Pros |
|---|---|---|
| Recycling | Check local facilities | Eco-friendly, cost-effective |
| Trash | Dispose in regular waste | Easy, no sorting required |
| Donation | Offer usable tiles to others | Helps community, sustainable |
Choose a method that aligns with your values and local regulations. By doing this, you contribute to a cleaner environment while enjoying your newly uncovered concrete floor.
Frequently Asked Questions
Can I Remove Tile Without Damaging the Concrete Beneath?
Yes, you can remove tile without damaging the concrete beneath, but it requires careful tile removal techniques. Start by using a heat gun to soften the adhesive, making it easier to lift the tiles. A chisel and hammer can help with stubborn pieces. For concrete preservation, avoid excessive force and take your time. Using a floor scraper can also minimize damage. Following these tips will help guarantee your concrete remains intact and undamaged.
What Safety Gear Should I Wear During the Removal Process?
When tackling any removal project, it's vital to prioritize safety. You should wear safety goggles to protect your eyes from flying debris and dust. A dust mask is also essential; it'll help filter out harmful particles that can be released during the process. Additionally, consider using gloves to shield your hands and sturdy footwear to protect your feet. By equipping yourself with the right gear, you can work confidently and freely.
How Long Does It Typically Take to Remove Tile From Concrete?
When you're considering the time estimates for tile removal, it really depends on the removal techniques you choose. If you go for manual methods, it could take several hours for a small area, while power tools might speed things up considerably. Generally, you can expect the process to take anywhere from a few hours to a full day, depending on the tile type and your experience. Planning ahead can help you manage your time effectively!
Can I Reuse the Tiles After Removal?
Yes, you can reuse tiles after removal, but it depends on their condition. If you've used proper removal techniques, like gentle prying and minimal force, the tiles are more likely to remain intact. Inspect each tile for cracks or chips post-removal; damaged tiles might not be suitable for reuse. Clean them thoroughly to guarantee adhesive or debris doesn't affect reinstallation. With the right care, you can give those tiles a second life!
What Should I Do if the Tiles Are Glued Too Tightly?
When you're up against tiles glued too tightly, don't throw in the towel just yet. Start by using tile removal techniques like tapping a chisel along the edges. If that doesn't work, try applying adhesive solvents to soften the glue. Allow the solvent to sit for a bit, then attempt to pry the tiles off again. With patience and the right approach, you'll have those stubborn tiles up in no time!