To remove your WeatherTech floor mats, first locate and release the anchoring clips near the mat’s front edge, typically by the pedals or seat base. Then, gently lift the mat from one corner with slow, steady motions to avoid damage. Finally, clean the mat using water and mild detergent, let it air dry, and store it properly or replace if worn. Follow these steps carefully, and you’ll guarantee your mats stay effective and durable. Explore further tips to maintain their performance.
Locate and Release the Anchoring Clips
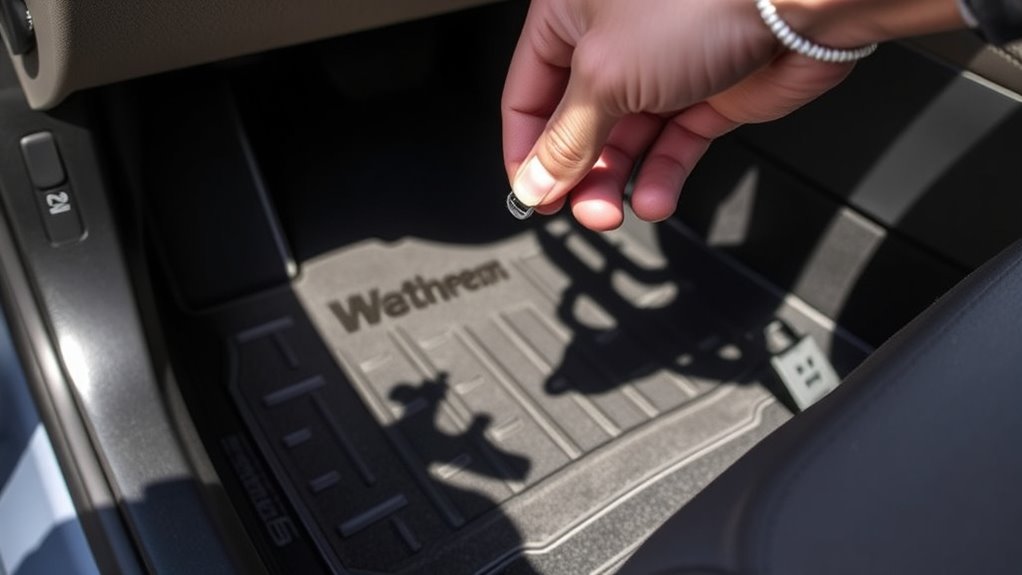
Before removing your WeatherTech floor mats, you’ll need to locate the anchoring clips that secure them in place. These clips are essential for proper mat installation, preventing unwanted movement during driving. Typically, anchoring clips are found near the front edge of the mat, close to the pedals or seat base. To locate them, look for small, round fasteners or tabs that latch into the vehicle’s floor. Once identified, understand that these clips hold the mat firmly but are designed for easy release. Knowing their position and mechanism grants you freedom to remove or reposition the mats without damage. Proper handling of anchoring clips maintains mat integrity and guarantees your floor protection stays effective after reinstallation.
Gently Lift and Remove the Floor Mat
After you’ve located and released the anchoring clips, you can begin lifting the WeatherTech floor mat. Start at one corner, gently lifting the mat upward to avoid damaging the floor protection or the mat itself. Use slow, steady movements to disengage the mat from the vehicle floor without bending or tearing it. This careful removal supports effective mat maintenance, ensuring the mat retains its shape and functionality over time. Avoid pulling abruptly or using excessive force, as this can compromise the mat’s fit and the floor’s protective layer. By lifting gently, you maintain both the mat’s integrity and the vehicle’s flooring, preserving your freedom to remove and reinstall the mat as needed without complications. This method guarantees a smooth, damage-free process every time.
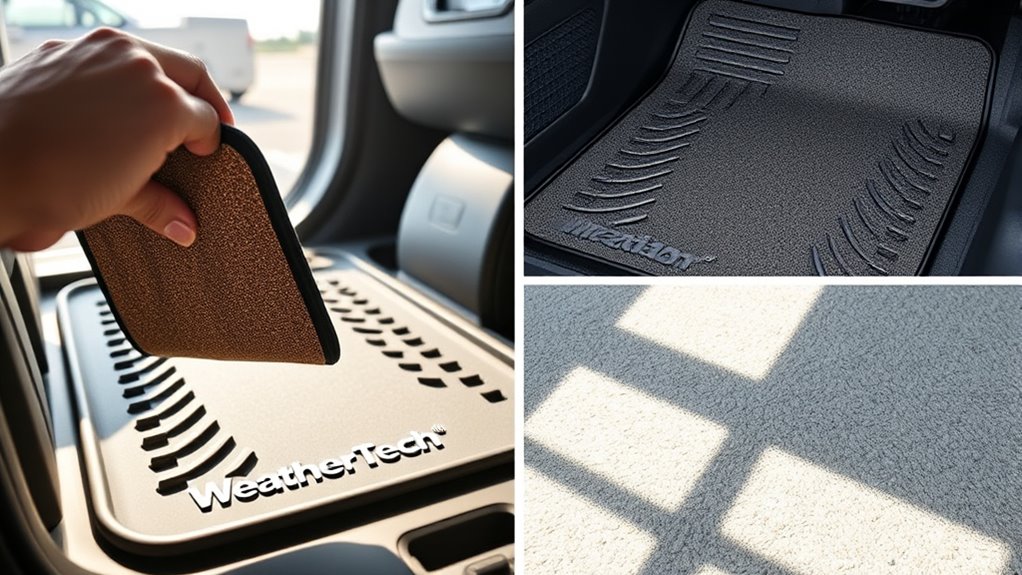
Clean and Store or Replace the Mat

Thoroughly clean the WeatherTech floor mat by rinsing it with water and using a mild detergent to remove dirt and debris. Employ effective cleaning techniques such as scrubbing with a soft brush to reach grooves without damaging the surface. After cleaning, allow the mat to air dry completely to prevent mold or odor. For storage solutions, roll the mat loosely and place it in a dry, cool area away from direct sunlight to maintain flexibility and durability. If the mat shows signs of wear or damage, consider replacing it promptly to guarantee peak protection for your vehicle’s interior. Proper cleaning and storage extend the mat’s lifespan, giving you the freedom to maintain a clean, functional environment inside your car effortlessly.