To repair floor tile grout in five simple steps, first gather tools like a grout removal tool, grout float, sponge, and matching grout. Remove damaged grout carefully to avoid tile damage, then clean the area thoroughly using a grout cleaner and brush. Mix and apply new grout evenly with a float, wiping excess promptly. Finally, seal the grout to protect against moisture and stains. Following this method guarantees a durable repair; detailed guidance can help you perfect the process.
Gather the Necessary Tools and Materials
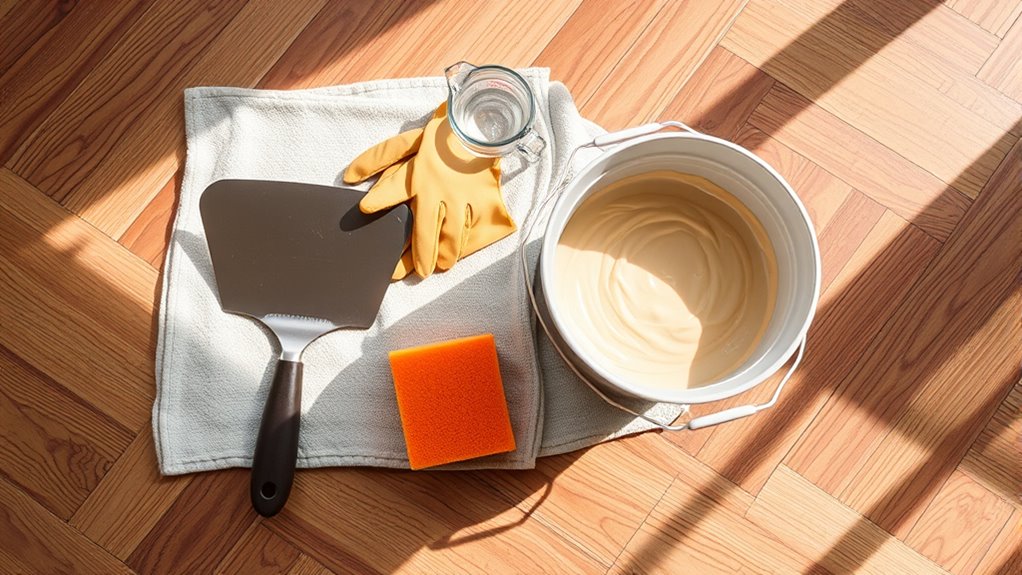
Before you begin repairing floor tile grout, you’ll need to gather a specific set of tools and materials to make certain the job is done efficiently and correctly. Start with a grout removal tool or a multi-tool equipped with a grout removal blade to handle the damaged sections precisely. Choose grout that matches the grout color of your existing floor to maintain a seamless look. A grout float is essential for applying new grout evenly, while a sponge and bucket of water allow for proper cleaning during the repair process. Keep a small brush handy for cleaning debris before application. Understanding various repair techniques will help you decide if you need epoxy or cement-based grout. Having these items ready guarantees you can execute the repair with freedom and accuracy.
Remove the Damaged Grout
Once you’ve gathered all your tools, you’ll need to carefully remove the damaged grout to guarantee a clean surface for the new application. Start by evaluating common grout problems like cracking, crumbling, or discoloration. Select the appropriate grout removal techniques—manual scraping with a grout saw or using a rotary tool with a grout removal attachment. Work steadily along the grout lines, removing damaged material without harming the surrounding tiles. Keep the depth consistent, aiming to remove at least half the original grout thickness to verify proper adhesion of the new grout. Take care to avoid excessive pressure that could chip tiles or widen grout gaps unnecessarily. Proper grout removal is essential for a durable repair, providing a free, clean channel for fresh grout to bond effectively and restore your floor’s integrity.
Clean the Tile and Grout Lines
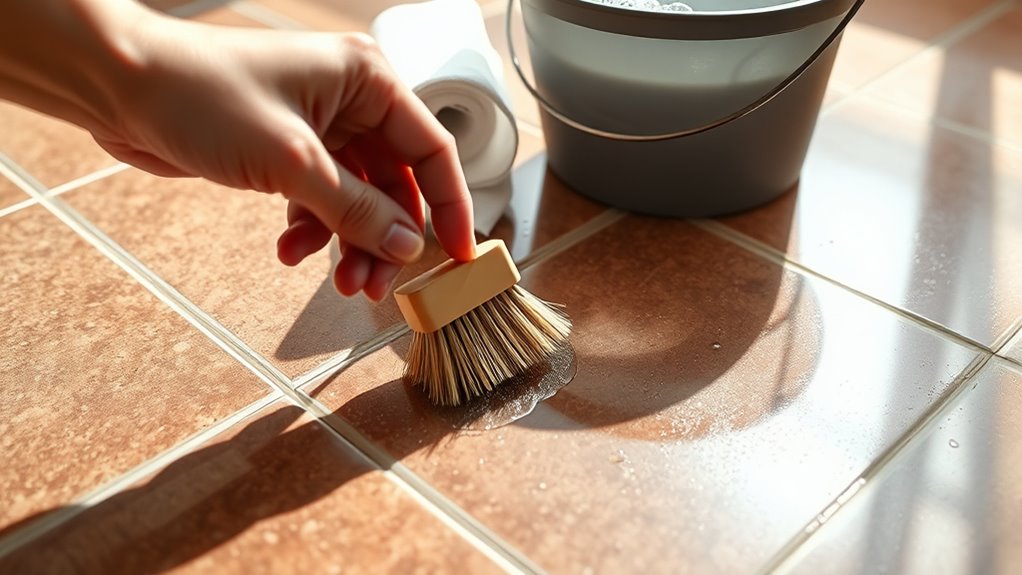
Two key steps guarantee your tile and grout lines are properly cleaned: removing debris and eliminating any residue. Start by vacuuming or sweeping the area to clear loose dirt and dust. Then, apply a grout cleaner or a mixture of baking soda and water directly onto the grout lines. Use a stiff-bristle brush to scrub these lines, ensuring you reach into crevices for effective cleaning. Avoid harsh chemicals that can damage grout integrity. After scrubbing, rinse thoroughly with clean water to remove all cleaning agents. Dry the area completely to prevent moisture buildup, which can lead to mold. Mastering these cleaning techniques is essential for grout maintenance, ensuring durability and a fresh appearance before you proceed with repairs or sealing.
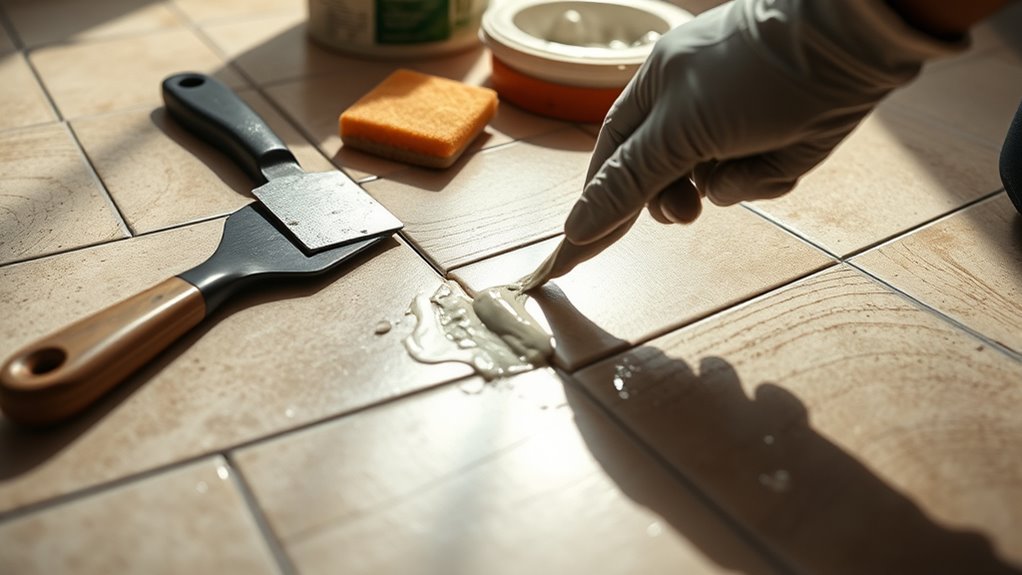
Apply New Grout Carefully
Applying new grout requires careful attention to detail to guarantee a strong, even bond and a clean finish. Start by mixing the grout to the manufacturer’s specifications, affirming the consistency is smooth but not runny. When choosing grout color selection, opt for shades that complement your tile and hide dirt effectively, balancing aesthetics with practicality. Use proper grout application techniques by pressing the grout firmly into the joints with a rubber float at a 45-degree angle, working diagonally across the tiles to avoid dislodging grout. Remove excess grout promptly with the float held nearly vertical. After initial setting, wipe tiles with a damp sponge using circular motions to clean residue without disturbing grout lines. Precision here affirms durability and a professional appearance.
Seal the Grout for Long-Lasting Protection
Sealing grout creates a protective barrier that prevents moisture, stains, and dirt from penetrating the porous surface. To guarantee effective grout sealing, apply a high-quality sealant with a small brush or applicator, following grout sealing techniques like wiping excess promptly. This step locks in your repair work and extends grout durability, giving you freedom from frequent maintenance.
| Benefit | Explanation |
|---|---|
| Moisture Resistance | Blocks water infiltration and mold growth |
| Stain Protection | Prevents discoloration from spills |
| Dirt Repellence | Makes cleaning easier and faster |
| Longevity | Extends grout life, reducing repairs needed |