To repair a tear in your vinyl flooring, first assess the damage by checking its size and depth to decide if patching will work. Next, clean and dry the area, removing any loose edges for a smooth surface. Finally, apply a vinyl-specific adhesive, carefully align and press a matching patch, then smooth it out with a roller. Let it set to guarantee durability. Keep going if you want to discover tips that make the repair even more seamless.
Assessing the Damage and Gathering Materials
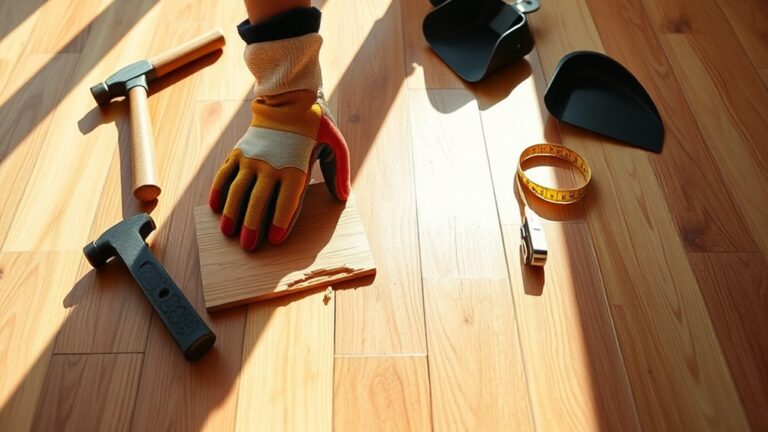
How do you know if your vinyl flooring needs a simple patch or a full replacement? Start with a thorough damage assessment. Check the size and depth of the tear or gouge. Small cuts or superficial scratches usually call for a patch, while large, deep damage might mean replacing the entire section. Look for signs like water damage or lifting edges, which can affect the floor’s stability. Once you’ve assessed the damage, gather the right repair materials—vinyl repair kits, adhesive, a utility knife, and a roller. Having these tools ready guarantees you can fix the problem efficiently and regain your freedom from worry. Knowing exactly what you need saves time and frustration during the repair process.
Preparing the Vinyl Flooring for Repair
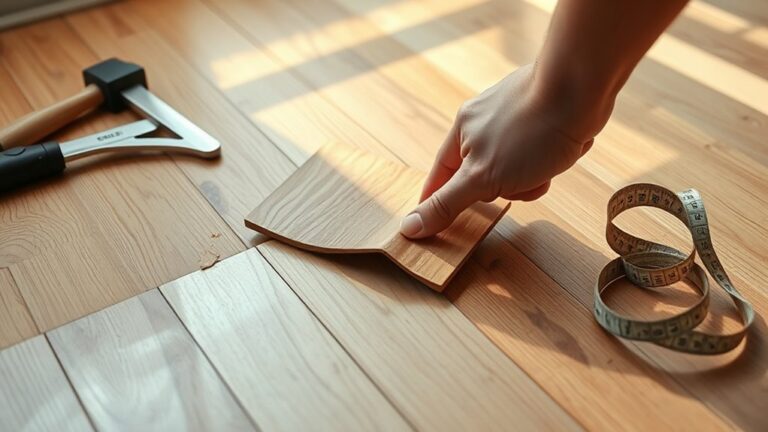
Once you’ve determined the extent of the damage and gathered your materials, the next step is to prepare the vinyl flooring for repair. Start by thoroughly cleaning the surface around the tear—use a mild detergent and water, then dry completely. This guarantees the adhesive bonds well. Next, carefully remove any loose or frayed edges to create a smooth repair area. When it comes to choosing adhesive, pick one specifically designed for vinyl flooring to ensure a strong, lasting hold.
| Step | Details |
|---|---|
| Cleaning Surface | Use mild detergent, dry fully |
| Preparing Area | Remove loose edges, smooth out |
| Choosing Adhesive | Opt for vinyl-specific glue |
Proper preparation is key for a seamless, durable repair.
Applying the Vinyl Patch and Finishing Touches
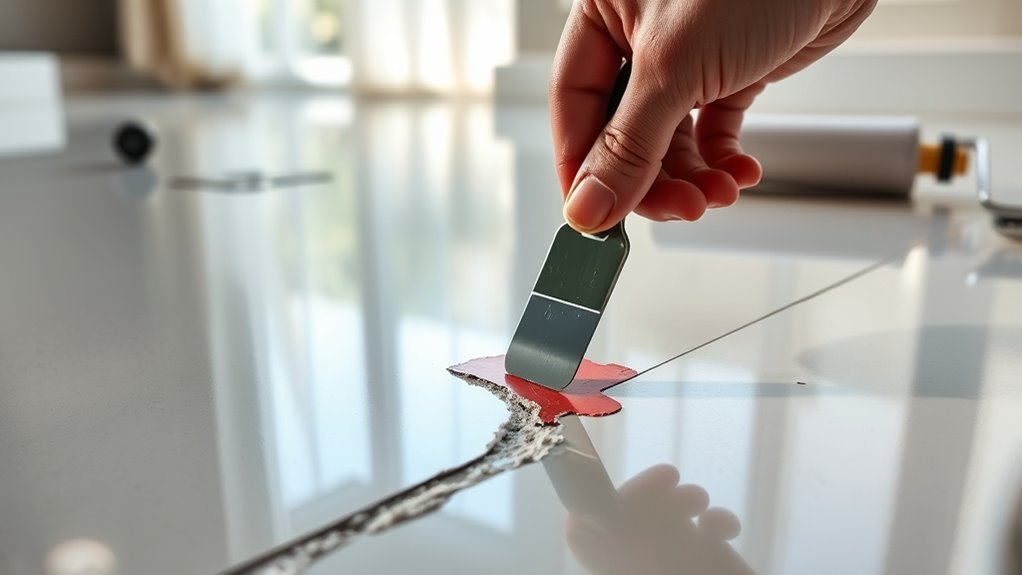
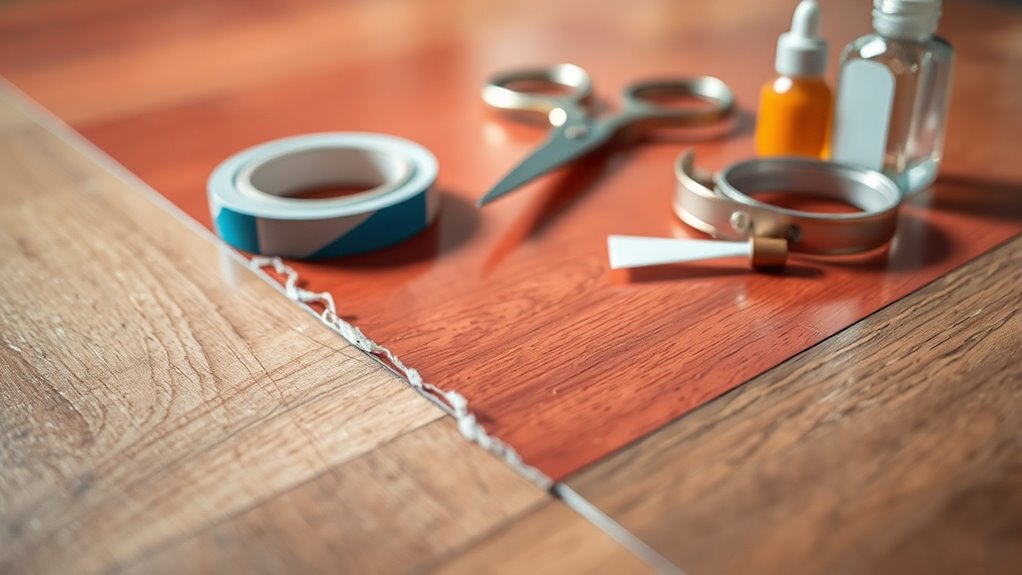
Before applying the vinyl patch, make certain the adhesive is spread evenly over the repair area to prevent bubbles or gaps. This step guarantees a smooth, secure patch application that blends seamlessly with your flooring. Once the adhesive is ready:
- Carefully place the vinyl patch over the tear, aligning patterns or textures precisely.
- Press firmly from the center outward to eliminate air pockets.
- Use a roller or flat tool to enhance adhesion and smooth the surface.
- Allow the patch to set undisturbed for the recommended drying time.
After the adhesive dries, conduct a final inspection to check for any lifted edges or uneven spots. Fix these promptly to maintain durability and keep your vinyl floor looking flawless.