To repair wood floors in three simple steps, first inspect and clean the damaged area thoroughly, removing dust and debris. Next, fill scratches or gouges with a color-matched wood filler, then sand the area smooth with medium then fine-grit sandpaper to blend seamlessly. Finally, apply a thin, even coat of appropriate finish like polyurethane, allowing each layer to dry properly to restore shine and protect the wood. If you want to guarantee a professional-quality repair, there’s more detailed guidance to follow.
Assessing and Cleaning the Damaged Area
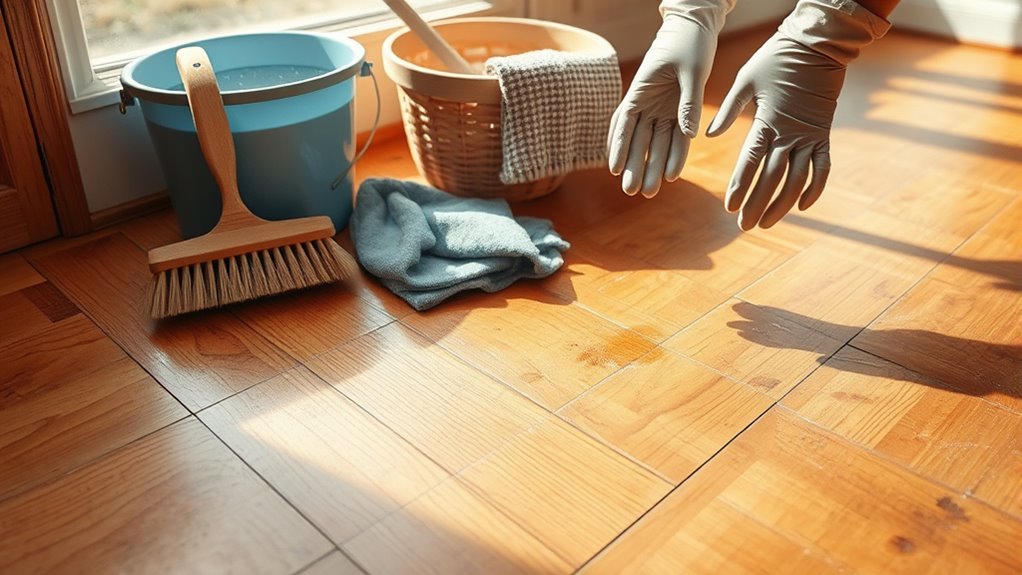
Before you begin any repairs, you’ll need to thoroughly assess the damaged area to determine the extent of the problem. Evaluating damage involves inspecting the wood for surface scratches, dents, or deeper gouges. Check for moisture issues or signs of rot that may require specialized treatment. Use a bright light and a magnifying glass if necessary to identify subtle defects. Once identified, proceed with proper cleaning techniques to prepare the surface. Start by removing dust and debris with a vacuum or soft brush. Then, clean the area using a damp cloth with a mild wood cleaner to eliminate oils and residues. Allow the wood to dry completely before moving forward. This precise preparation guarantees the repair materials will adhere properly, granting you the freedom to restore your floor efficiently and effectively.
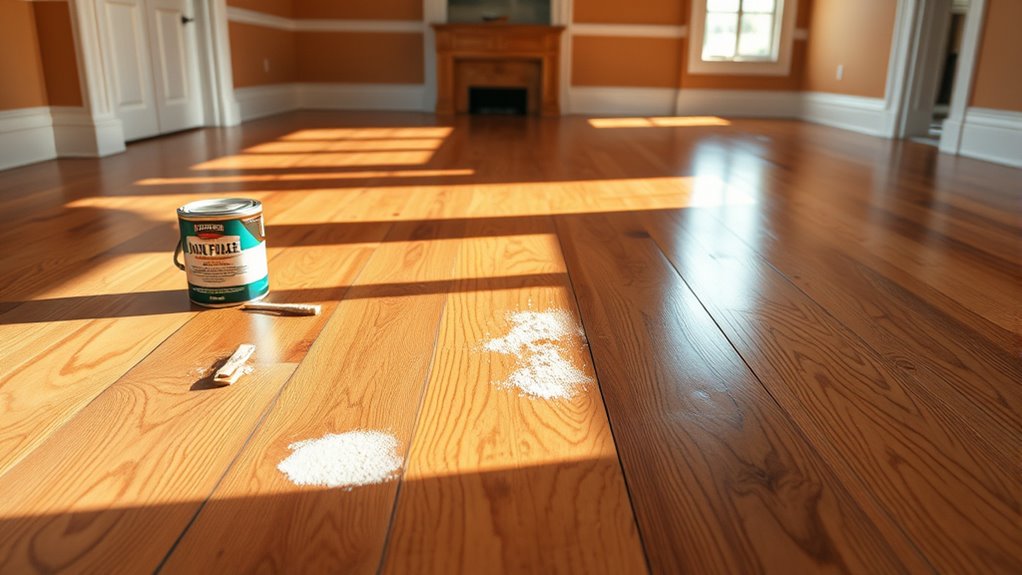
Filling and Sanding Scratches or Gouges
Three key steps will guide you through filling and sanding scratches or gouges on your wood floor. First, select a wood filler or putty matching your floor’s color for effective gouge filling. Apply it precisely into the damaged area using a putty knife, ensuring the filler fully occupies the scratch or gouge without excess. Allow the filler to dry according to the manufacturer’s instructions. Second, use medium-grit sandpaper to level the filled area, removing any excess filler and smoothing the surface. Progress to fine-grit sandpaper for a seamless finish that blends with the surrounding wood. Finally, clean the dust thoroughly to prepare for subsequent steps. This methodical approach to scratch repair will restore your floor’s integrity while preserving your freedom to maintain it on your terms.
Applying Finish to Restore Shine and Protection
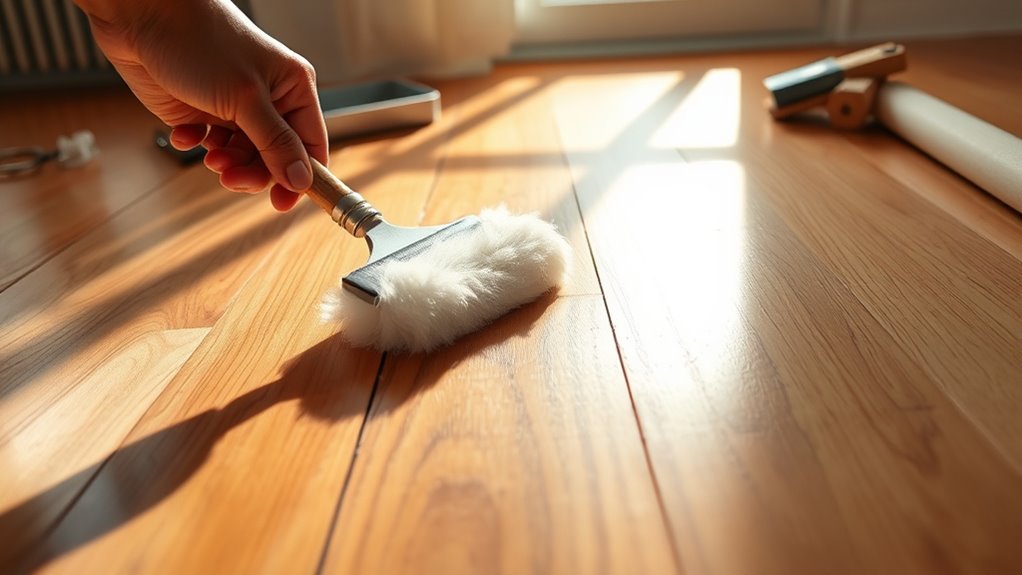
Applying a finish in two or three thin coats will effectively restore both the shine and protection of your wood floor. Start by choosing finishes tailored to your floor’s use and desired look—oil-based polyurethane offers durability, while water-based dries faster and has less odor. Before applying polyurethane, verify the floor is clean and dust-free to avoid imperfections. Use a high-quality brush or applicator, spreading thin, even layers parallel to the wood grain. Allow proper drying time between coats, typically 4–6 hours, and lightly sand with fine-grit sandpaper before the next application. This process seals the wood, enhancing resistance to wear and moisture while renewing its natural luster. By applying polyurethane carefully, you regain both freedom in movement and confidence in your floor’s endurance.


