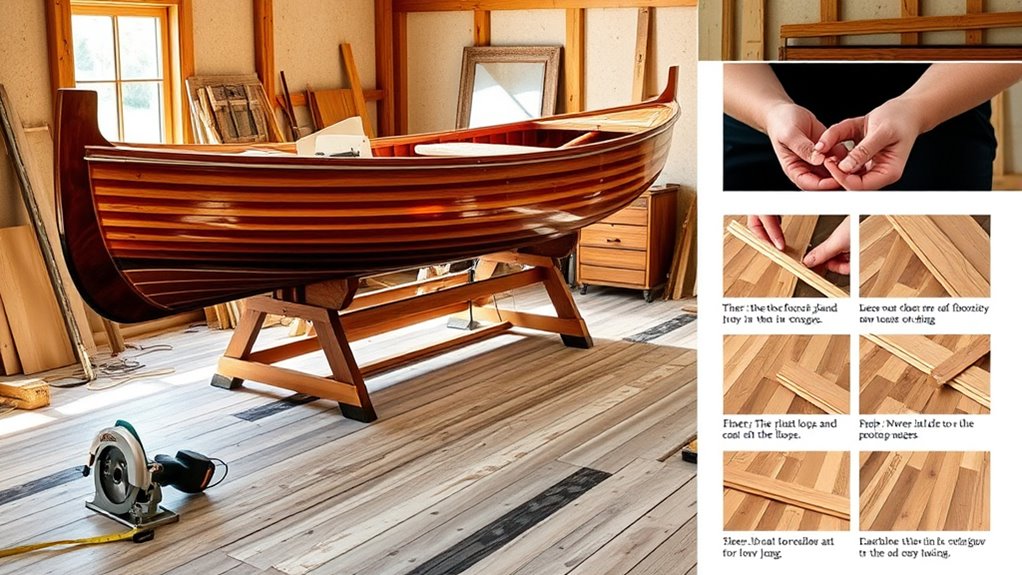
To replace your boat floor in 7 easy steps, first remove the old flooring by scoring seams and lifting panels carefully. Next, inspect and repair the subfloor for any damage or softness. Choose a durable, water-resistant material like marine plywood or composite deck. Measure and cut the new flooring precisely, then apply a marine-grade adhesive. Secure panels with corrosion-resistant screws, and finally, seal the surface with a marine-grade finish for lasting protection. Follow these steps to guarantee a durable and reliable floor upgrade.
Remove the Old Flooring
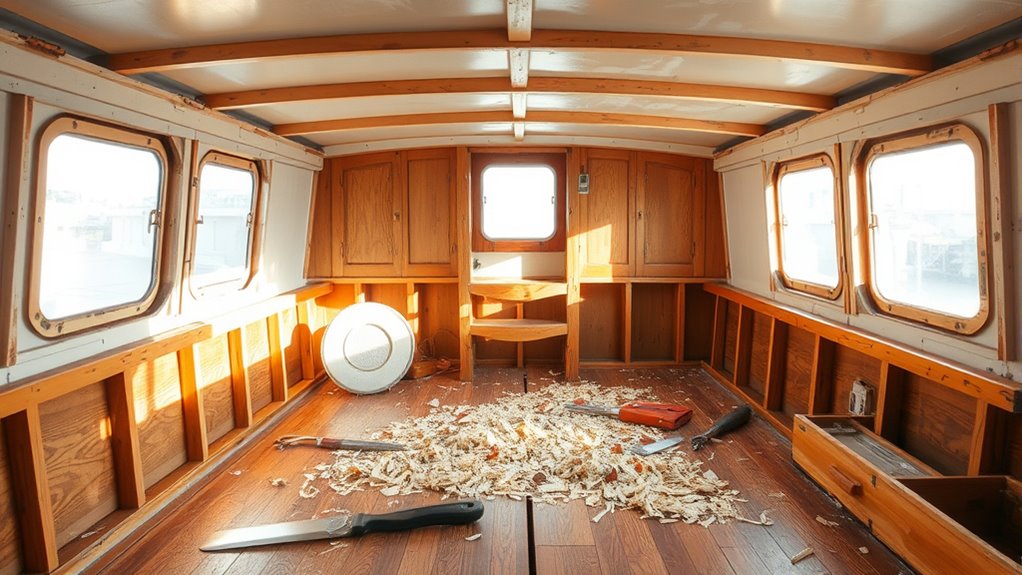
Begin by clearing all loose items and debris from the boat floor to guarantee a safe workspace. For effective old flooring removal, start by gathering the necessary tools needed: a pry bar, hammer, utility knife, scraper, and a drill with a screwdriver bit. Carefully score the seams of the existing flooring with the utility knife to weaken adhesive bonds. Use the pry bar to lift edges, working slowly to prevent damage to the subfloor. Remove fasteners using the drill or hammer as required. Employ the scraper to eliminate residual adhesive or debris. Throughout, maintain steady, controlled movements to preserve the underlying structure, ensuring your workspace remains clear and safe. This precise approach lets you progress confidently toward installing new flooring, granting you the freedom to customize your boat’s interior.
Inspect and Repair the Subfloor
Once you’ve removed the old flooring, carefully inspect the subfloor for water damage and soft spots. Identify any areas with structural weaknesses that could compromise the floor’s integrity. Repair or replace damaged sections to guarantee a solid foundation before installing the new flooring.
Check for Water Damage
Before you proceed with replacing the boat floor, carefully inspect the subfloor for signs of water damage such as soft spots, discoloration, or mold. Conduct a thorough water detection and moisture assessment using a reliable moisture meter, focusing on suspect areas. If you find compromised sections, promptly remove and replace them to guarantee structural integrity. Addressing water damage early preserves your vessel’s freedom on the water, preventing costly repairs later.
- Don’t let hidden moisture steal your boat’s durability.
- Avoid the frustration of unexpected rot or mold growth.
- Protect your investment and enjoy worry-free sailing.
Identify Structural Weaknesses
Although you’ve checked for water damage, it’s important to thoroughly inspect the subfloor for structural weaknesses such as cracks, delamination, or compromised fasteners. Start by tapping across the surface—any hollow sounds can signal delamination or rot. Visually examine joints and seams for gaps or separation. Pay close attention to fasteners; loose or corroded screws reduce structural integrity and must be noted. Remember, compromised subfloors directly affect the performance of your new flooring materials and overall safety. Use a moisture meter to confirm hidden dampness that weakens wood fibers. Document all findings before proceeding. This careful evaluation guarantees you address every weakness, maintaining the subfloor’s strength and providing a reliable foundation for your replacement floor, preserving your boat’s freedom and durability on the water.
Repair or Replace Sections
After identifying weaknesses in the subfloor, you’ll need to decide whether to repair or replace damaged sections. Your choice depends on the extent of deterioration and the type of flooring materials used. Minor damage often calls for repair techniques like epoxy filling or patching with marine-grade plywood. For severe rot or structural compromise, full replacement guarantees long-term safety and durability.
Consider these points to guide your decision:
- Preserve the boat’s integrity and your freedom to navigate confidently.
- Choose repair techniques that maintain strength without adding excessive weight.
- Match replacement flooring materials precisely to existing specifications for seamless integration.
Choose the Right Flooring Material
When selecting flooring material for your boat, you need to contemplate factors like durability, water resistance, and ease of maintenance. Choosing the right flooring options guarantees long-lasting performance and safety while you enjoy your freedom on the water. Focus on material durability to withstand harsh marine environments.
| Flooring Option | Material Durability |
|---|---|
| Marine Plywood | High, with proper sealing |
| Vinyl Flooring | Moderate, water-resistant |
| Teak Wood | Very high, naturally oily |
| Composite Deck | Very high, low maintenance |
Assess these options based on your boat’s use and maintenance willingness. Durable materials reduce replacement frequency, letting you spend more time sailing freely and less on repairs.
Measure and Cut the New Flooring
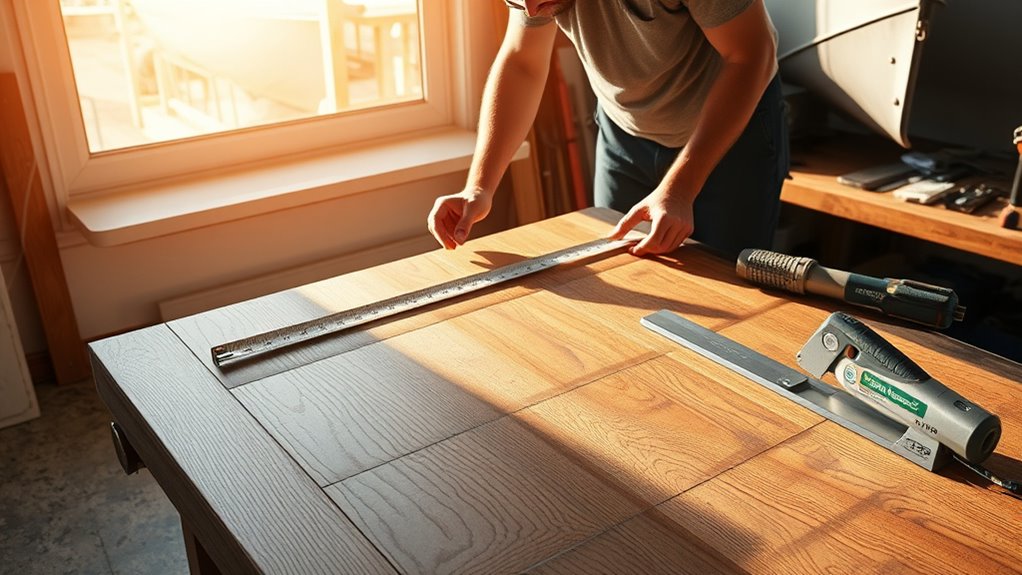
Accurately measuring and cutting your new flooring is essential for a seamless fit that guarantees durability and safety. Begin by double-checking measurements accuracy using a reliable tape measure, marking precise cut lines on the flooring material. Use sharp cutting tools suited for your chosen material, such as a jigsaw or circular saw, to execute clean, straight cuts. Employ cutting techniques that minimize splintering and guarantee smooth edges for easier installation.
Keep in mind:
- Precision in measurements prevents material waste and costly errors.
- Controlled cutting techniques provide a professional finish.
- Taking your time here sets the foundation for freedom from future repairs.
Apply Adhesive or Fasteners
You’ll need to select an adhesive compatible with your flooring material and marine environment, such as a waterproof marine epoxy or polyurethane. Fasteners like stainless steel screws or ring-shank nails provide mechanical support and prevent movement. Apply adhesive evenly and use fasteners strategically to guarantee a secure, durable bond.
Choosing the Right Adhesive
Selecting the right adhesive or fasteners is essential for guaranteeing a durable and secure boat floor replacement. Choosing the proper adhesive type hinges on your floor material and exposure to moisture. Marine-grade epoxies and polyurethane adhesives are popular for their strong bonding and water resistance. Application methods vary; some adhesives require precise mixing, while others come ready-to-use. Applying adhesive evenly and clamping the flooring guarantees a firm bond and prevents future movement.
Consider these factors when selecting your adhesive:
- Longevity and resistance against saltwater and UV exposure
- Flexibility to accommodate the boat’s movement without cracking
- Ease of application aligning with your skill level and tools
Choosing correctly frees you from worries about your floor’s stability, letting you enjoy open waters confidently.
Fastener Types and Uses
While adhesives provide a strong bond, using the right fasteners is essential to secure your boat floor effectively, especially in high-stress areas or where mechanical fastening enhances stability. Select screw types designed for marine environments, such as stainless steel or brass, to resist corrosion. Self-tapping screws work well for fastening plywood to aluminum frames, while lag screws provide extra grip in wooden substrates. Fastener materials must withstand moisture, salt, and vibration; avoid standard steel screws that rust quickly. Use countersunk screws to create a flush surface, preventing snags or water pooling. Combining adhesive with appropriate fasteners guarantees your boat floor remains rigid and secure under dynamic loads. Choosing correct fastener types and materials is key to maintaining structural integrity and prolonging your boat’s lifespan.
Proper Application Techniques
Combining adhesives with the right fasteners sets the stage for a secure boat floor installation, but proper application techniques guarantee those materials perform as intended. You’ll need the proper tools—caulking guns for adhesive, drills for fasteners—and always observe safety precautions like gloves and eye protection. Apply adhesive evenly, avoiding gaps or excess that can weaken the bond or create mess. When fastening, pre-drill holes to prevent wood splitting and use consistent torque on screws for uniform holding power.
- Feel the satisfaction of a floor that stays rock solid, no matter the waves.
- Experience the freedom of a reliable deck beneath your feet.
- Trust in your craftsmanship, built with precision and care.
Master these steps, and your boat floor will serve you well for years to come.
Install the New Floor Panels
Begin by carefully positioning each new floor panel into the boat’s framework, guaranteeing alignment with the support structures underneath. Select floor panel types that suit your boat’s design and water exposure. Use precise installation techniques such as pre-drilling holes and applying marine adhesive for secure fastening. Confirm panels sit flush and fasten them with stainless steel screws to prevent corrosion. Refer to this quick guide for common floor panel types and installation tips:
| Floor Panel Type | Best Use Case | Installation Technique |
|---|---|---|
| Marine Plywood | General flooring | Adhesive + screws |
| Composite Panels | Moist environments | Mechanical fastening |
| Aluminum Panels | Lightweight, durable | Riveting or bolting |
| Teak Wood | Luxury finish | Glue + screws |
| PVC Panels | Easy maintenance | Snap-fit or adhesive |
This method guarantees a durable and safe floor, granting you freedom on the water.
Seal and Finish the Floor Surface
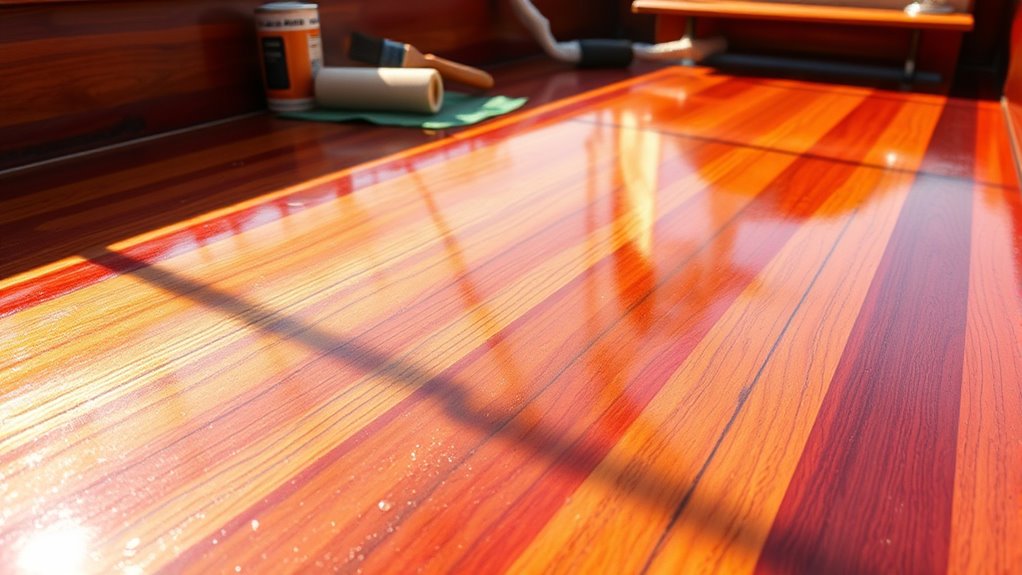
Once the floor panels are securely installed, you’ll need to seal and finish the surface to protect against moisture, wear, and UV damage. Applying high-quality floor coatings enhances surface protection, prolonging your boat floor’s lifespan. Start by sanding lightly to guarantee adhesion, then clean the surface thoroughly. Choose a marine-grade sealant or epoxy coating designed for durability and water resistance. Apply evenly with a roller or brush, following manufacturer instructions, and allow adequate drying time between coats.
By sealing and finishing your floor, you’ll enjoy:
lasting protection against water damage and a durable, attractive finish for your boat floor
- Lasting freedom from water damage and rot
- Confidence in your boat’s durability during every voyage
- A smooth, attractive finish that stands up to the elements
Proper surface protection means your boat floor will stay strong and beautiful, giving you peace of mind on open waters.