To replace a broken floor tile, start by gathering matching tiles, grout, adhesive, and tools like a grout saw and notched trowel. Carefully remove the damaged tile by clearing grout and prying it up without harming neighbors. Clean and level the surface, applying leveling compound if needed. Spread adhesive evenly, setting the new tile firmly and level with surrounding ones. Finally, grout the joints and seal the tile to protect it. Keep going to discover tips for a flawless finish.
Gather the Necessary Tools and Materials
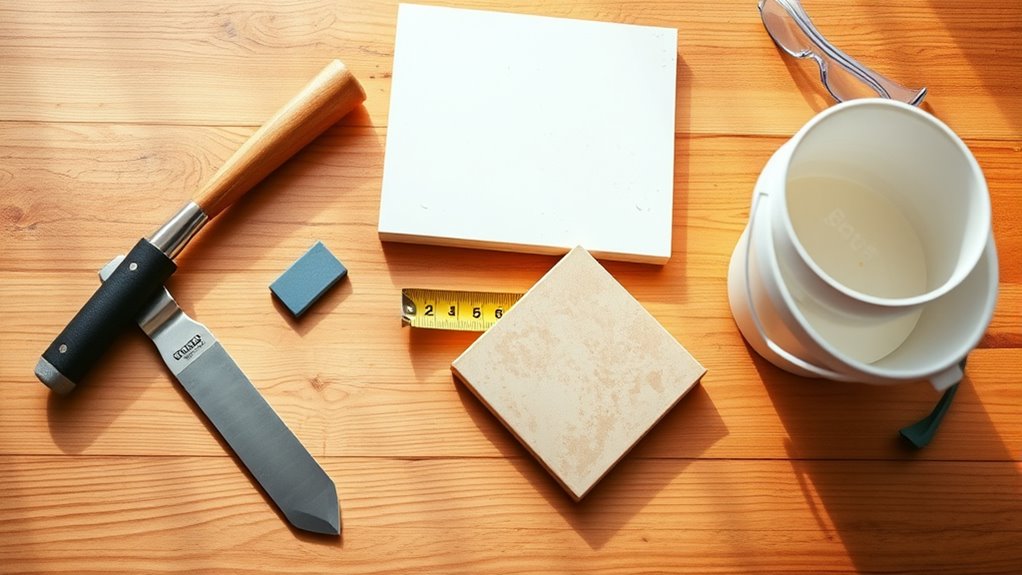
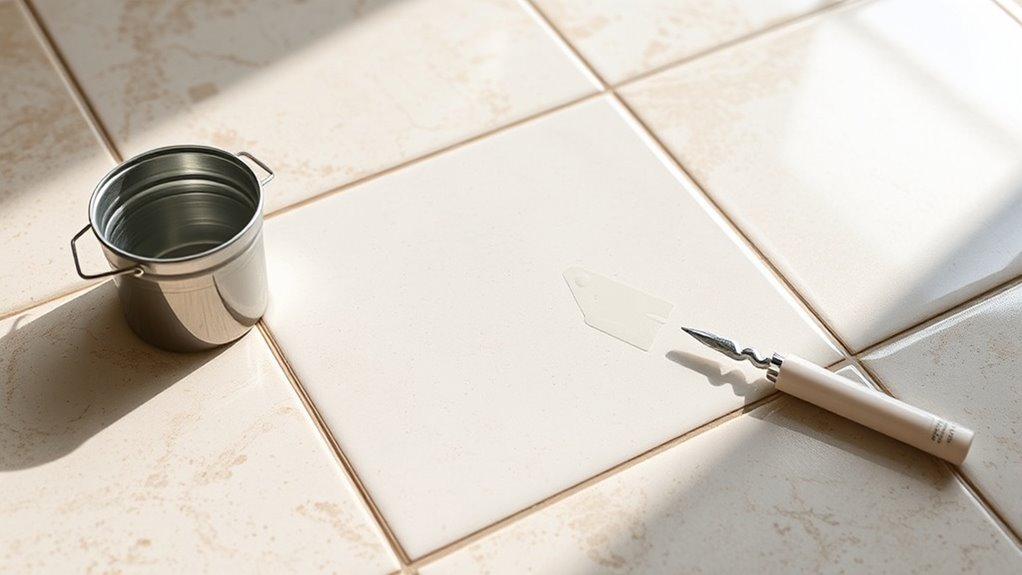
Before you begin replacing your broken floor tile, you’ll need to gather a few essential tools and materials to make the job go smoothly. First, identify the tile types involved—ceramic, porcelain, or natural stone—since each requires slightly different repair techniques and adhesives. You’ll want a replacement tile that matches your existing ones perfectly. Essential tools include a grout saw or utility knife to remove old grout, a chisel and hammer for tile removal, and a notched trowel to spread new adhesive. Grab thin-set mortar or tile adhesive suitable for your tile type, plus grout and a sponge for finishing. Having everything ready lets you work confidently and efficiently, giving you the freedom to restore your floor without unnecessary delays or surprises.
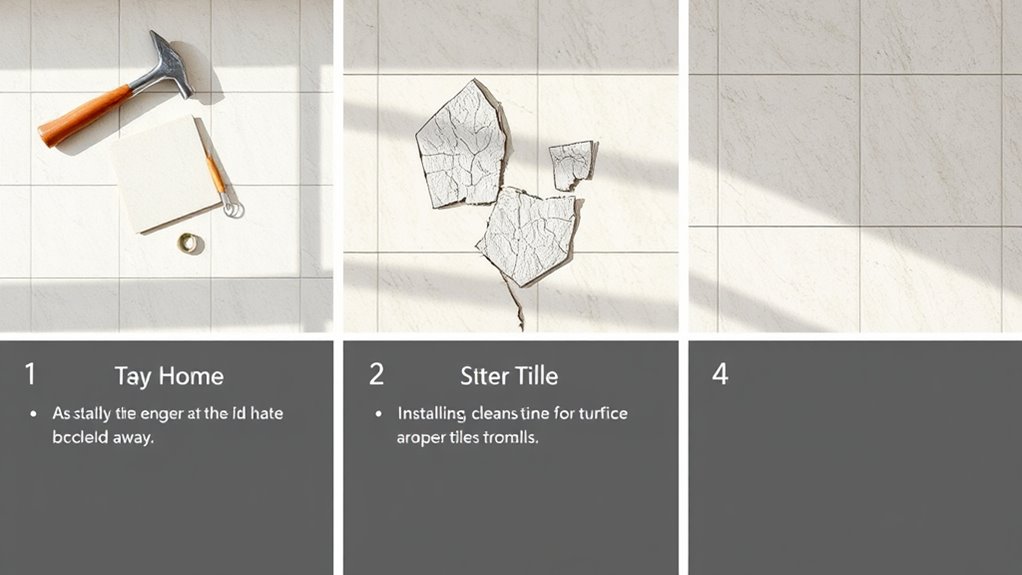
Remove the Damaged Tile Carefully
Start by carefully removing the grout surrounding the damaged tile using a grout saw or a utility knife. This step is essential because it prevents damage to adjacent tiles during tile removal techniques. Once the grout is cleared, gently tap a chisel or putty knife under the tile edge and pry it up slowly. Don’t rush—patience is key to avoid breaking nearby tiles. Before fully removing the tile, perform a damaged tile assessment to guarantee no underlying issues, like a cracked subfloor, exist. If the tile resists, use a hammer lightly to loosen it without damaging the subfloor. By following these careful steps, you maintain control and set yourself up for a smooth replacement process, keeping your floor intact and ready for a fresh tile.
Prepare the Surface for the New Tile
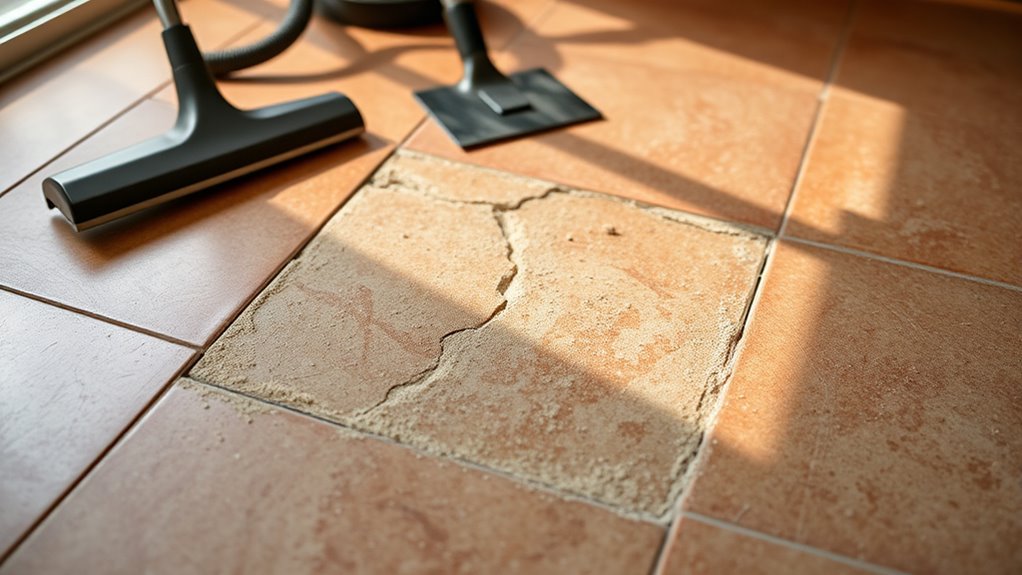
Once the damaged tile is removed, you’ve got to make sure the surface beneath is clean and smooth to give your new tile the best chance at sticking properly. Start with thorough surface cleaning—remove any leftover adhesive, dust, or debris using a scraper and a damp cloth. Any residue can prevent good adhesion. Next, check the floor’s level; uneven areas can cause the new tile to crack or sit improperly. Use a level tool and, if needed, apply a bit of leveling compound to fill low spots. Smooth it out and let it dry completely. Taking these steps ensures your new tile will sit flush with the surrounding floor, blending seamlessly and lasting longer. Proper surface prep is key to a professional-looking, durable repair.
Apply Adhesive and Set the New Tile
Although it might seem straightforward, applying adhesive correctly is essential to guarantee your new tile stays put and looks great. Start by choosing the right tile adhesive for your floor type. Use a notched trowel to spread the adhesive evenly on the prepared surface, creating uniform ridges. This guarantees strong tile setting and prevents air pockets beneath the tile. Next, press the new tile firmly into place, twisting slightly to achieve a solid bond. Check that it’s level with surrounding tiles, adjusting as needed before the adhesive starts to set. Clean any excess adhesive around the edges promptly to avoid mess. Taking these careful steps guarantees your replacement tile fits securely and blends seamlessly with your floor.
Grout and Seal the Replacement Tile
Finish your tile replacement by carefully grouting and sealing the new tile to guarantee durability and a polished look. First, choose the right grout type—sanded for wider joints or unsanded for narrow gaps—to match your floor’s texture. Apply grout evenly, pressing it into joints with a rubber float, then wipe excess with a damp sponge. Allow it to cure as per instructions. Next, select a tile sealant that fits your tile material; this protects against moisture and stains, extending your floor’s life and keeping it looking fresh.
| Grout Types | Tile Sealants |
|---|---|
| Sanded: for gaps >1/8″ | Penetrating: for natural stone |
| Unsanded: for gaps <1/8" | Surface: for ceramic/glass tiles |
| Epoxy: highly durable | Impregnating: water-resistant |