Start by evaluating the damage and gathering matching hardwood planks and tools. Carefully remove the damaged plank using a chisel and pry bar, then prepare the replacement by trimming and sanding edges. Fit the new plank by angling its tongue into the groove, ensuring a snug, flush fit. Secure it with finishing nails or staples, then stain and finish to blend with your existing floor. Finally, clean up and inspect the repair for smoothness and color match—explore the details to master each step expertly.
Assess the Damage and Gather Materials
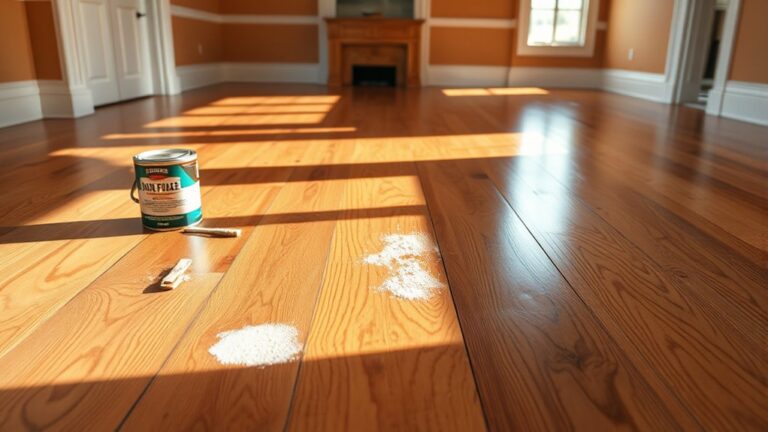
Before you begin replacing hardwood floor planks, carefully assess the extent of the damage to determine which sections need removal. Conduct a thorough damage assessment by inspecting for cracks, warping, water stains, or structural weaknesses. Focus on identifying planks that compromise floor integrity or aesthetics. Accurate damage assessment guarantees you replace only affected areas, saving time and resources. Next, proceed with material selection. Choose hardwood planks that match the existing floor in species, thickness, and finish to maintain uniformity. Consider the grade and durability of replacement materials, prioritizing quality to extend flooring lifespan. Gathering all necessary tools and materials before starting grants you the freedom to work efficiently and complete the project without interruptions. This preparation is vital for a smooth, professional repair process.
Remove the Damaged Plank Carefully
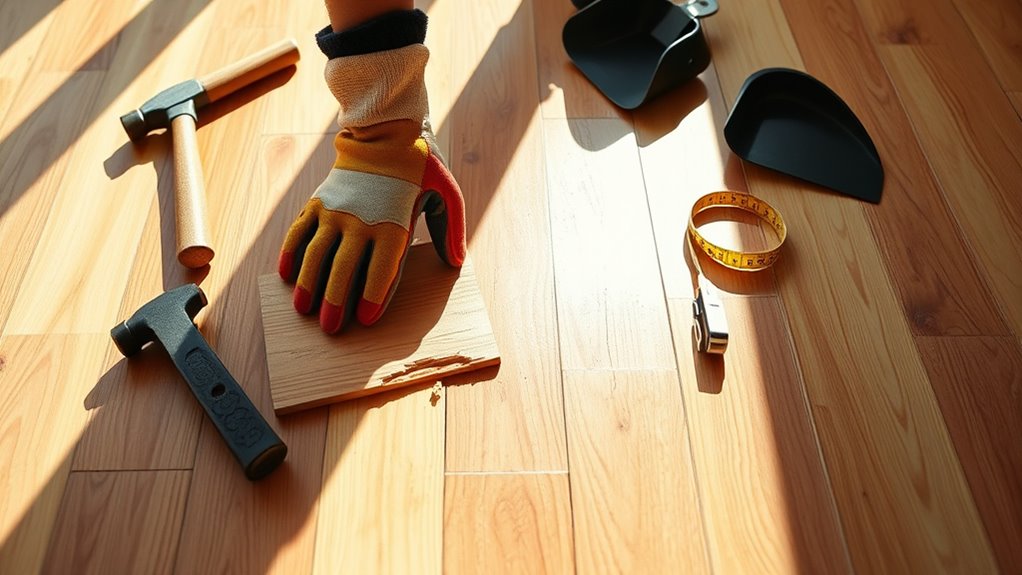
First, pinpoint the exact extent of the damage to avoid removing more flooring than necessary. Use appropriate tools like a chisel and pry bar to extract the plank with minimal impact on surrounding boards. Take your time and work methodically to prevent further damage during removal.
Identify Damage Extent
Evaluating the damage to your hardwood floor requires careful removal of the affected plank to determine the full extent of repair needed. Once removed, inspect the subfloor and surrounding planks closely using proven inspection techniques. Identifying damage types—such as moisture, termite, or mechanical damage—helps you decide the repair scope.
| Damage Type | Inspection Technique |
|---|---|
| Moisture | Visual discoloration, moisture meter readings |
| Termite Damage | Probing wood with a screwdriver |
| Mechanical Wear | Surface scratches, dents, or gouges |
| Rot | Soft or crumbling wood under pressure |
| Structural Cracks | Visual cracks or separation between planks |
Understanding these details guarantees you replace only what’s necessary, preserving your floor’s integrity and your freedom to maintain it effectively.
Use Proper Tools
Proper tools are essential to remove the damaged hardwood plank without causing harm to surrounding boards or the subfloor. Focus on tool selection by choosing a pry bar, oscillating multi-tool with a wood blade, and a hammer with a nail puller. These tools provide control and precision during removal. Verify your tools are well-maintained; a sharp blade on the oscillating tool minimizes splintering, and a sturdy pry bar reduces accidental damage. Regular tool maintenance, including cleaning and sharpening, is key to efficiency and accuracy. Using proper tools tailored for hardwood flooring grants you the freedom to complete the task confidently, preserving the integrity of adjacent planks. Avoid makeshift tools that compromise precision and increase risk of damage.
Work Slowly and Precisely
Start by carefully loosening the damaged plank, taking deliberate, controlled actions to prevent damage to neighboring boards. Employ precision techniques such as using a pry bar gently inserted under the plank’s edge, applying slow movements to ease it free without cracking adjacent pieces. Avoid rushing; steady, measured force guarantees you maintain the integrity of surrounding flooring. When nails or glue resist, use a utility knife or oscillating tool to sever bonds cleanly. Keep your focus on minimizing disruption, working plank sections incrementally rather than forcing removal. This methodical approach preserves the overall floor structure, granting you the freedom to replace the damaged section seamlessly. Patience and precision techniques combined with slow movements will assure a successful, damage-free replacement process.
Prepare the Replacement Plank
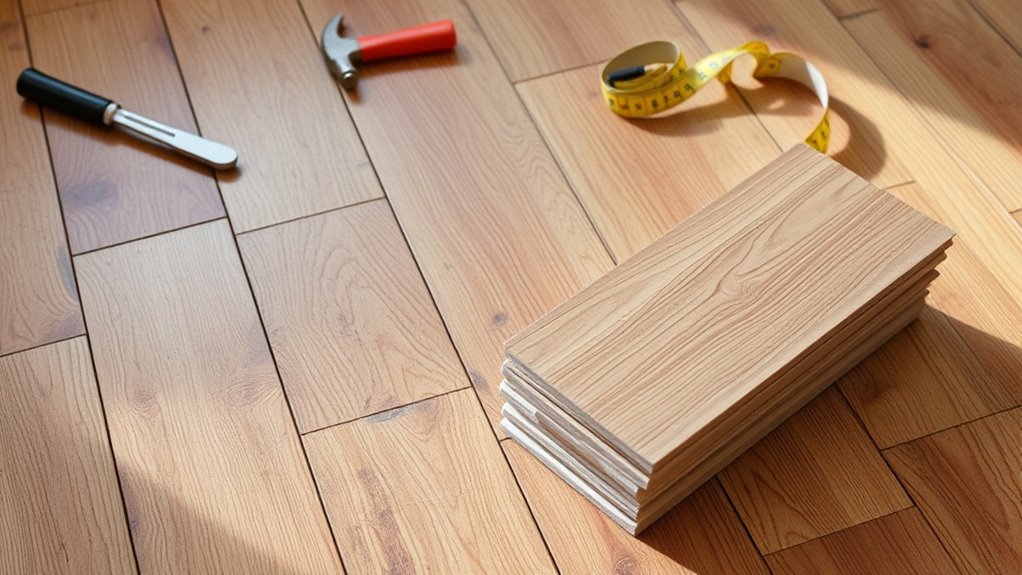
Measure the removed plank carefully to assure your replacement matches its dimensions exactly. Select from replacement options that suit your floor’s original plank types—solid hardwood or engineered wood, for example—to maintain consistency in appearance and durability. If you’re sourcing a new plank, confirm its thickness, width, and length align perfectly with the removed piece. Trim the replacement plank precisely using a fine-toothed saw if adjustments are necessary, assuring clean, straight edges for seamless integration. Sand any cut edges lightly to remove splinters and prepare the surface for finishing. Apply a matching finish or sealant to the replacement plank’s edges to protect it from moisture and wear. This careful preparation assures your replacement plank will fit securely and blend effortlessly with the existing flooring.
Fit the New Plank Into Place
You’ll need to align the new plank precisely with the adjacent boards to guarantee a seamless fit. Make sure the tongue and groove lock together without gaps or misalignment. Once positioned correctly, secure the plank firmly to prevent movement or squeaking.
Align Plank Properly
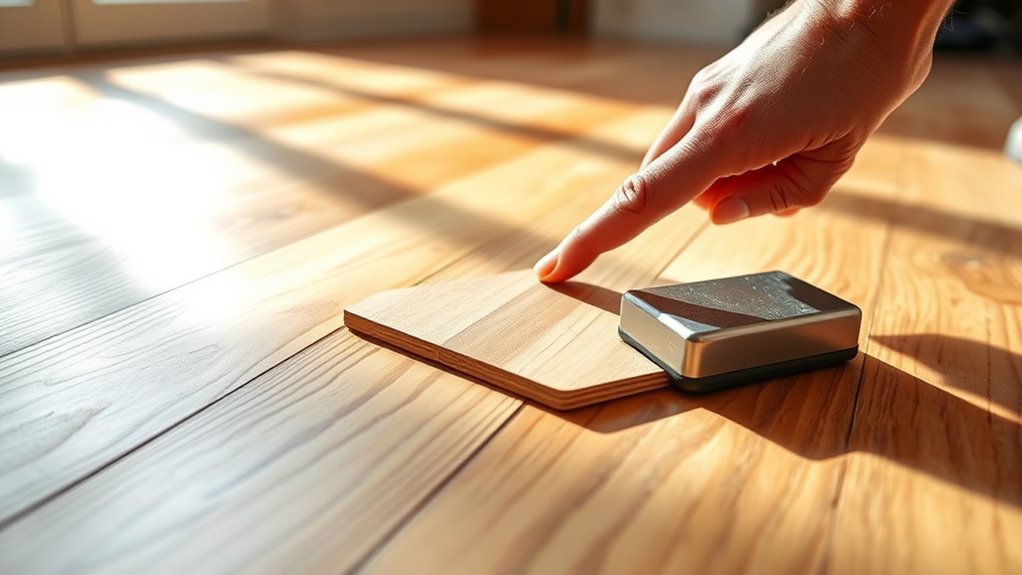
One critical step in replacing hardwood floor planks is verifying the new plank fits snugly into place. Proper plank alignment techniques guarantee stability and a seamless look. Start by positioning the plank at a slight angle, then gently lower it into the groove, making sure edges meet evenly. Use a tapping block and mallet to fine-tune placement without damage. Flooring installation tips emphasize checking for gaps and adjusting before final securing.
| Step Number | Action | Tip |
|---|---|---|
| 1 | Position plank at angle | Prevents misalignment |
| 2 | Insert tongue into groove | Verifies snug fit |
| 3 | Lower plank slowly | Avoids damage |
| 4 | Tap with block & mallet | Fine-tunes position |
| 5 | Inspect for gaps | Adjust before securing |
Secure Plank Firmly
Secure the plank firmly by applying consistent pressure along its length to guarantee it locks tightly with adjacent boards. This step is critical for plank stability, preventing gaps and uneven surfaces. Use proper fastening techniques such as tapping the plank gently with a rubber mallet to engage the tongue-and-groove joints fully. Avoid excessive force to prevent damage. Once aligned and locked, check for levelness and adjust if necessary before final fastening. Depending on your floor type, you may use nails, staples, or adhesive to secure the plank, making sure it remains immobile under foot traffic. Confirm that all fastening points are flush with the surface to maintain a smooth finish. By mastering these techniques, you guarantee your hardwood floor replacement is durable, stable, and visually seamless.
Secure the Replacement Plank
Begin by aligning the replacement plank carefully with the adjacent boards, verifying the tongue and groove fit snugly without gaps. Proper plank alignment is critical to maintaining floor durability and preventing movement or creaking over time. Once aligned, press the plank firmly into place, confirming it sits flush with surrounding boards. Use a rubber mallet and a tapping block to gently tap the plank along its length, securing the joint without damaging the wood. Next, fasten the plank by driving finishing nails or staples at a 45-degree angle through the tongue, hidden from view, to lock it in place securely. Confirm the plank remains level and stable before proceeding. Proper securing guarantees your replacement plank integrates seamlessly with the existing floor, preserving both appearance and structural integrity.
Finish the Surface to Match Existing Floor
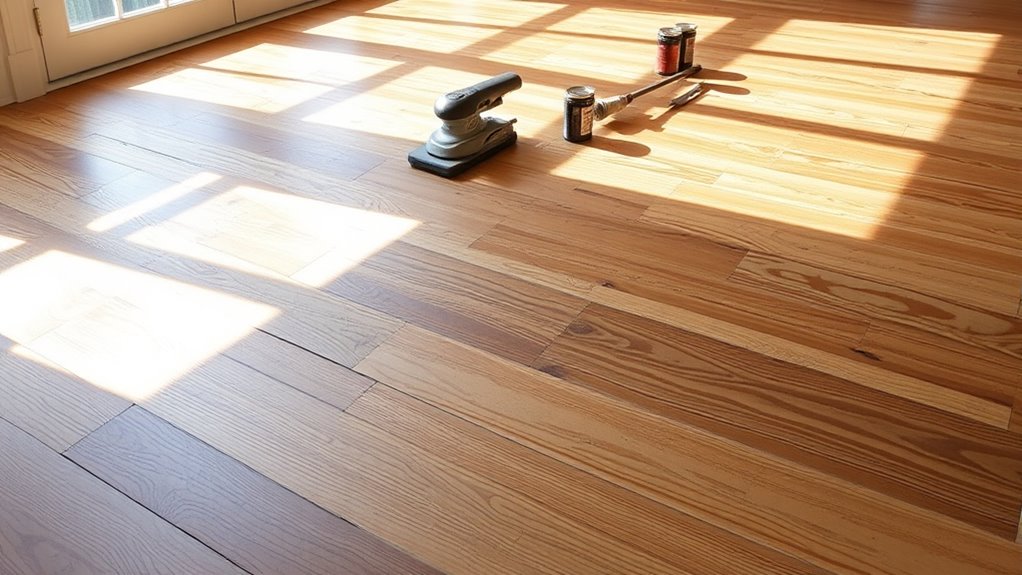
After firmly securing the replacement plank, your next step is to finish the surface so it matches the existing floor. Start by carefully selecting a stain that matches the color and tone of the surrounding wood—this stain matching is critical for seamless integration. Test the stain on a scrap piece or an inconspicuous area to verify accuracy. Once satisfied, apply the stain evenly using a brush or cloth, allowing it to penetrate fully before wiping off excess. After drying, choose a finish option that corresponds with the original floor’s sheen and durability, such as polyurethane, varnish, or oil-based finishes. Apply the finish in thin, consistent coats, sanding lightly between layers if necessary. This precise approach guarantees your replaced plank blends invisibly with your hardwood floor.
Clean Up and Inspect Your Work
Inspect your work thoroughly once the finish has dried to confirm the replacement plank sits flush and the stain matches perfectly. Use an inspection checklist to verify plank alignment, surface smoothness, and color consistency. Address any minor gaps or unevenness immediately to guarantee durability and aesthetics. After inspection, apply recommended cleaning techniques to remove dust, adhesive residues, or finish overspray. Use a soft broom and a vacuum with a soft brush attachment to avoid scratching the surface. Follow up with a damp microfiber cloth to pick up remaining particles without saturating the wood. Proper cleanup prevents damage and maintains the floor’s integrity. Completing these steps ensures your hardwood floor replacement is seamless, secure, and visually cohesive, granting you the freedom to enjoy a flawless floor.