To replace your RV floor in three easy steps, first remove the old flooring by prying it up and clearing away debris, then inspect and repair the subfloor for a smooth, dry base. Next, choose a durable, travel-friendly material and cut it precisely to fit your RV’s layout. Finally, install the new flooring using the right adhesive or locking system, pressing it flat, and finish edges with trim for a clean look. Keep going to uncover smart tips for lasting results.
Remove the Old Flooring and Prepare the Surface
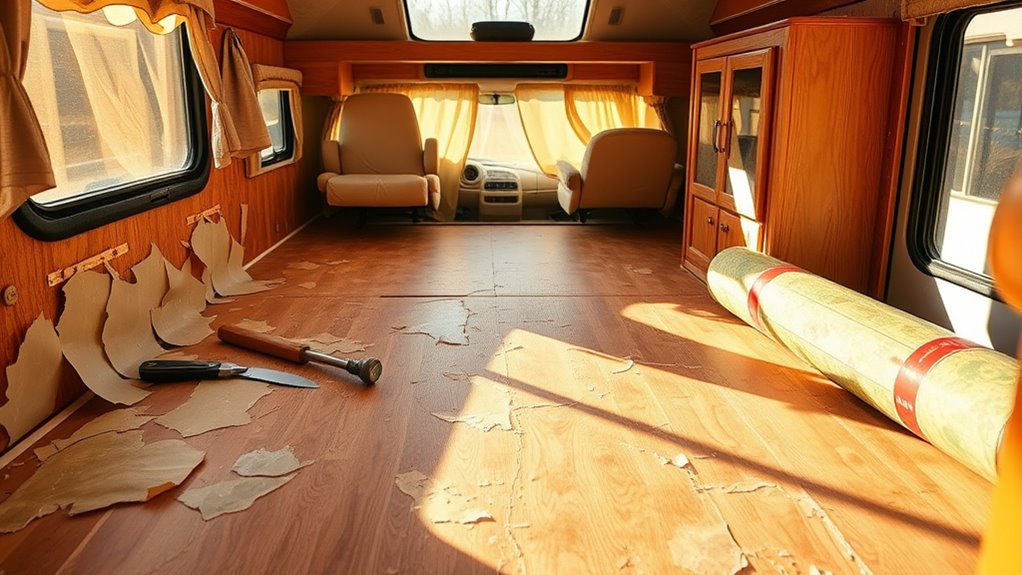
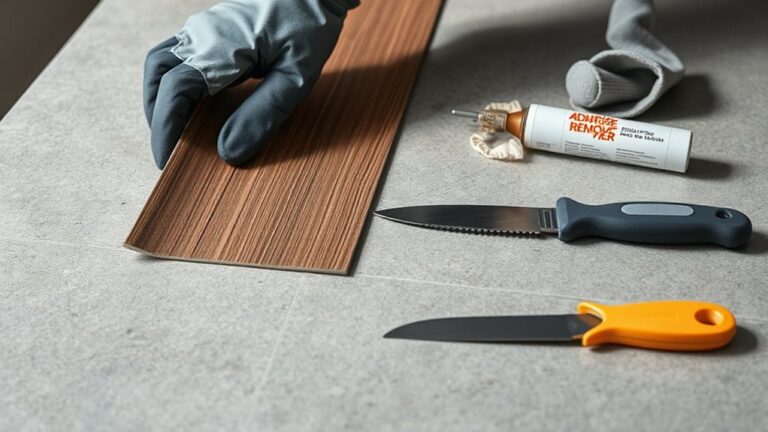
Before you can install new flooring in your RV, you’ll need to remove the old material completely. Start by using effective removal techniques such as prying up vinyl or laminate with a putty knife or scraper. If adhesive remains, apply a solvent or heat gun to soften it for easier removal. Be thorough; any leftover debris or adhesive can compromise your new flooring’s durability. Once the old flooring is gone, focus on surface preparation. Inspect the subfloor for damage, mold, or rot, and repair or replace sections as needed. Sand down rough patches and clean the surface to guarantee it’s smooth and dry. Proper removal and surface prep are essential steps that set the foundation for a long-lasting, free-moving RV lifestyle.
Choose and Cut Your New Flooring Material
Selecting the right flooring material is vital for your RV’s durability and comfort. Consider flooring options like vinyl plank, laminate, or marine-grade plywood—each balances resilience, weight, and ease of maintenance. Choose a material that suits your travel lifestyle and climate exposure. Once you’ve picked the ideal flooring, precise cutting techniques become essential. Measure your RV floor carefully, accounting for irregular shapes and obstacles. Use a straight edge and a sharp utility knife or saw designed for your chosen material to guarantee clean, accurate cuts. Taking your time with measurements and cutting not only saves material but also assures a snug fit. This step sets the foundation for a secure, long-lasting floor that supports your freedom on the road.
Install the New Flooring and Finish the Edges
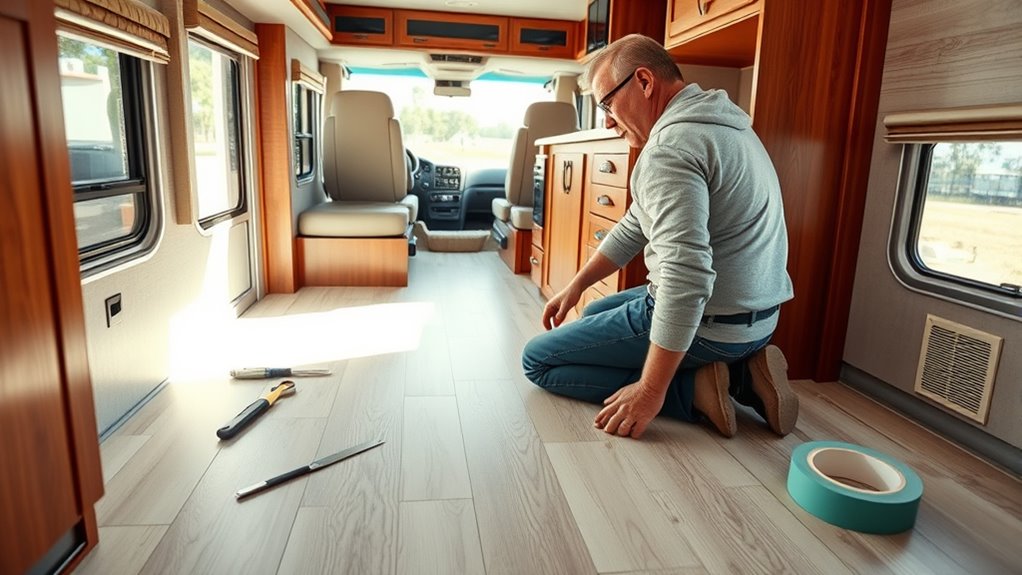
With your new flooring material carefully measured and cut, it’s time to install it securely in your RV. Begin by laying the material flat to prevent bubbles or wrinkles during floor installation. Depending on the type of flooring you chose—vinyl, laminate, or engineered wood—use the appropriate adhesive or locking system to fix it firmly. Press down evenly, guaranteeing full contact with the subfloor for durability. After the flooring is set, focus on finishing the edges. Install trim or molding to cover gaps, protect edges, and give your floor a polished look. Choosing materials that are both durable and easy to maintain will make your RV feel like home wherever freedom takes you. Proper installation and edge finishing guarantee your new floor withstands the road ahead.