To replace vinyl plank flooring in 10 easy steps, start by gathering your tools like a utility knife and tapping block, then carefully remove the old flooring using a putty knife and heat gun. Clean and level the subfloor, measure your room accurately, and plan your layout. Acclimate new planks and install them with adhesive or using click-locks. Trim edges for a snug fit, then clean up and add finishing touches like baseboards. Follow these steps precisely, and you’ll discover how to achieve a flawless, durable floor.
Gather Necessary Tools and Materials
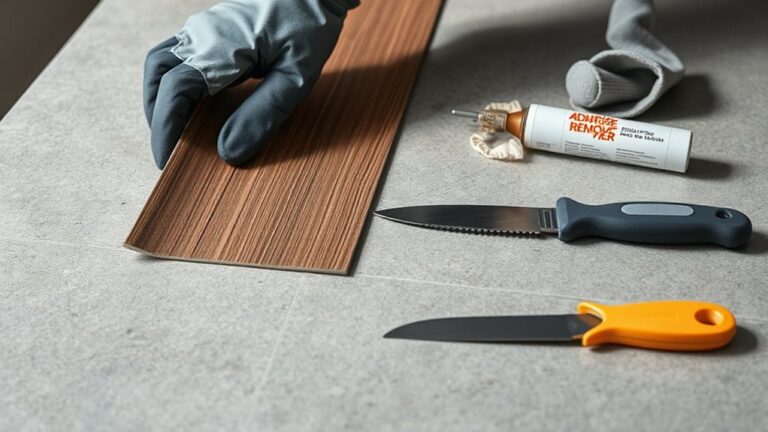
Before you begin replacing your vinyl plank flooring, you’ll need to gather a few essential tools and materials to make the process smooth and efficient. Start with careful tool selection: a utility knife for cutting planks, a tapping block and pull bar for fitting, a measuring tape, spacers, and a rubber mallet. For material sourcing, verify you have enough vinyl planks matching your room’s style and dimensions, plus underlayment if required. Don’t forget adhesive or glue if your planks need it. Buying from reputable suppliers guarantees quality and helps you avoid delays. By preparing these items upfront, you’ll maintain control over your project, guaranteeing freedom from unnecessary trips or interruptions. This preparation sets the foundation for a seamless, satisfying flooring replacement experience.
Remove Existing Vinyl Plank Flooring
Once you have all your tools and materials ready, you can start removing the existing vinyl plank flooring. Begin by loosening the edges with a putty knife or pry bar. Use a heat gun if the adhesive is stubborn, softening it for easier removal. Work in manageable sections to avoid overwhelming yourself. Always wear gloves and keep a dust mask handy to protect yourself from debris. Below is a quick reference for effective removal techniques and flooring tools:
| Removal Techniques | Flooring Tools |
|---|---|
| Heat adhesive with a gun | Putty knife |
| Pry up planks gently | Pry bar |
| Work in small sections | Gloves and dust mask |
| Scrape residue carefully | Floor scraper |
Following these steps will free your space efficiently and prepare you for the next phase.
Prepare the Subfloor Surface
Although removing the old flooring clears the room, you’ll need to spend time preparing the subfloor to guarantee your new vinyl planks lay flat and last longer. Start by thoroughly cleaning the subfloor, removing debris, nails, or adhesive residue. Smooth out any uneven spots by sanding high areas or filling low spots with a leveling compound. These subfloor preparation techniques assure a stable, flat base. Next, focus on subfloor moisture control—check for dampness using a moisture meter or tape test. If moisture is present, address it immediately with a vapor barrier or appropriate sealant to prevent damage and warping. Proper preparation not only extends your flooring’s lifespan but also gives you the freedom to enjoy a flawless finish without future hassles.
Measure the Room and Plan Layout
Accurately measuring your room is the essential first step to guarantee your vinyl plank flooring fits perfectly and looks professional. Start by noting the room dimensions—length and width—in feet or meters. This helps you calculate the total area and estimate the planks you’ll need. Next, focus on layout planning: decide the direction of the planks to enhance space or highlight features. Use this simple guide to organize your measurements and planning:
| Step | Details |
|---|---|
| Measure Length | Record from wall to wall |
| Measure Width | Record perpendicular span |
| Calculate Area | Multiply length × width |
| Plan Layout Direction | Choose plank orientation |
Careful room dimension recording and thoughtful layout planning simplify installation and maximize your flooring’s visual impact.
Acclimate New Vinyl Planks
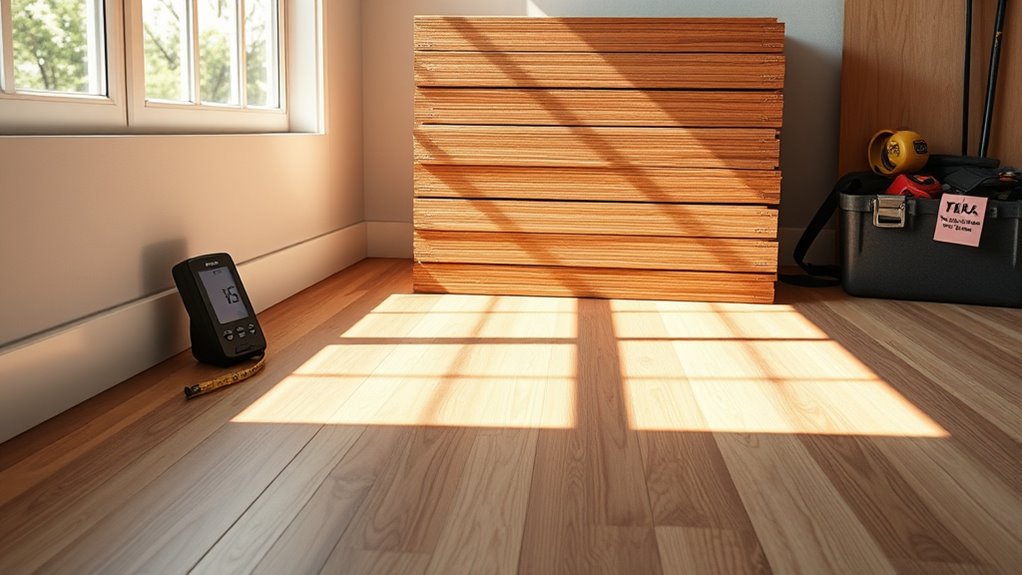
After measuring and planning your layout, the next step is to acclimate your new vinyl planks. This acclimation period is essential; it allows the planks to adjust to your room’s temperature and humidity, preventing future warping or gaps. Place the unopened boxes flat in the room where you’ll install them. Maintain consistent temperature control between 65°F and 85°F during this time. Avoid placing the planks near heat sources or direct sunlight, as extreme temperature changes can affect their stability. Let the planks sit for at least 48 hours—some manufacturers recommend up to 72 hours for ideal results. Taking this step seriously guarantees your flooring fits perfectly and performs well, giving you the freedom to enjoy a durable, smooth surface without surprises down the line.
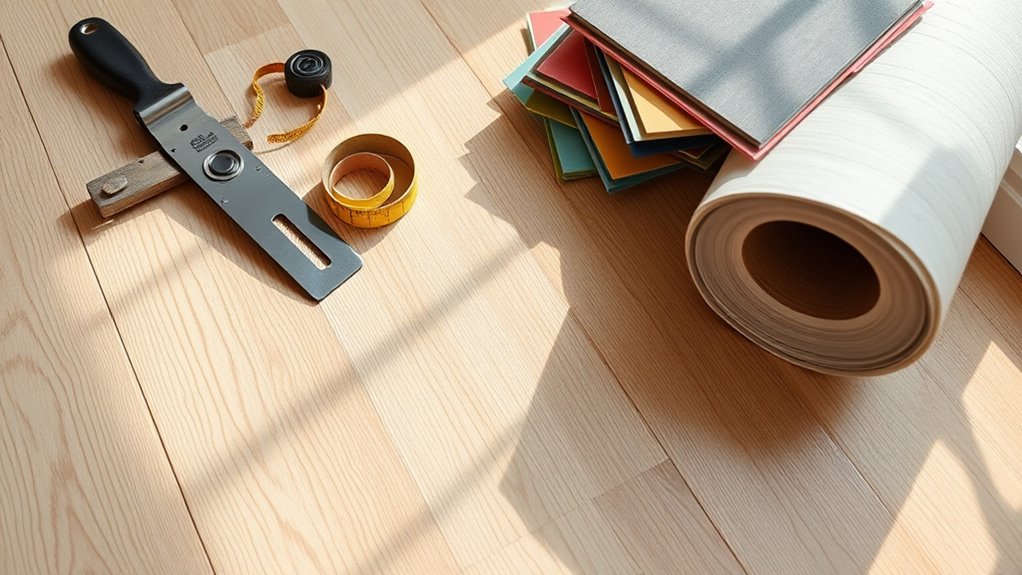
Cut Vinyl Planks to Fit
Before you begin cutting, make certain you’ve measured the space carefully and marked the planks where they need to be trimmed. Precision is key—measuring accuracy guarantees each plank fits perfectly, avoiding gaps or overlaps. Use a straightedge and pencil to mark your cut line clearly. Employ reliable cutting techniques like a utility knife for thin planks or a fine-toothed saw for thicker ones. Take your time to follow the markings precisely.
| Common Cutting Techniques | Best Use Case |
|---|---|
| Utility Knife | Thin vinyl planks |
| Straightedge | Marking straight lines |
| Fine-toothed Saw | Thick or rigid planks |
| Measuring Tape | Ensuring accuracy |
| Pencil | Marking cut lines |
This approach guarantees a seamless, professional look and the freedom to customize your floor perfectly.
Apply Adhesive or Use Click-Lock Installation
Before laying your vinyl planks, decide whether you’ll use adhesive or a click-lock system based on your floor type and room conditions. If you choose adhesive, select the right type—pressure-sensitive or wet-set—for a secure bond. For click-lock installation, make certain the planks snap tightly together to prevent gaps and guarantee stability.
Types of Adhesives
Choosing the right adhesive method for your vinyl plank flooring is essential for a secure and durable installation. You’ll mainly choose between pressure sensitive adhesives and moisture resistant adhesives. Pressure sensitive adhesives offer flexibility, allowing you to reposition planks during installation before they firmly set, making your job easier. They’re great for areas with less moisture exposure. On the other hand, moisture resistant adhesives are designed to withstand damp conditions, perfect if your flooring is near bathrooms or basements, ensuring longevity without peeling or warping. Both types provide strong bonding, but selecting the right one depends on your environment and lifestyle. Understanding these options lets you confidently secure your vinyl flooring, giving you the freedom to enjoy a seamless, long-lasting surface without worry.
Click-Lock Installation Tips
While some vinyl plank flooring requires adhesive for a secure fit, many modern options utilize a click-lock system that eliminates the need for glue. The click lock advantages include faster installation and easy plank replacement, giving you freedom from messy adhesives. To get the best results, verify your subfloor is clean, dry, and level before starting. Align the planks carefully, angling and snapping them into place to avoid gaps. Take your time with the first row—it sets the foundation for the entire floor. Be aware of installation challenges like tight corners or uneven surfaces; these may require trimming or additional preparation. With patience and precision, click-lock installation can be a smooth, hassle-free process that saves you time and effort.
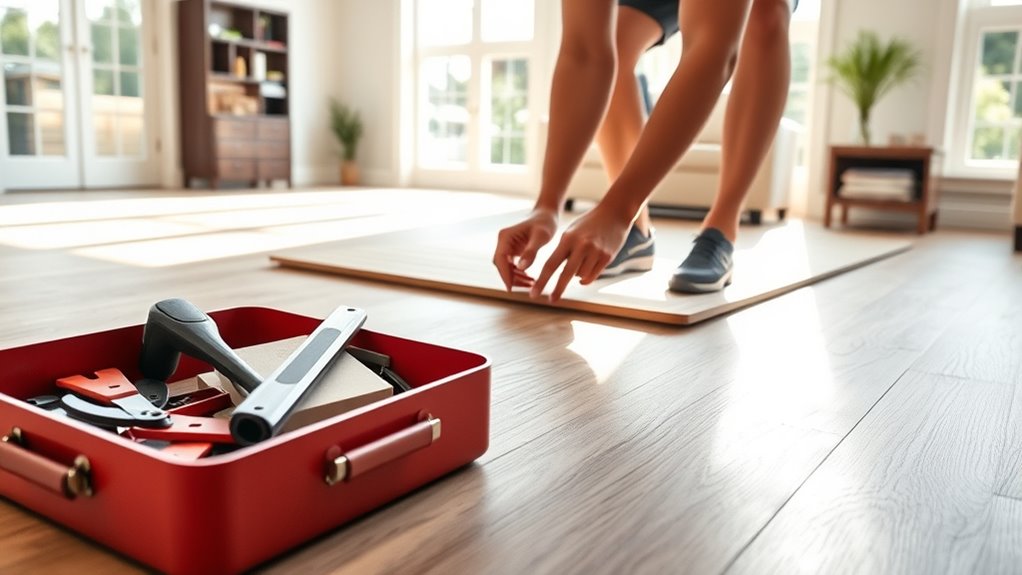
Install the Vinyl Planks
Start by laying out your first row of vinyl planks along the longest wall, verifying the tongue side faces the wall to allow for proper locking with subsequent rows. Click each plank tightly into place, maintaining consistent spacing to accommodate natural expansion. Use a tapping block and mallet if necessary, but avoid damaging the edges. As you move to the next row, stagger the seams for a natural look and enhanced durability. This method highlights many vinyl plank benefits, such as easy installation and excellent resistance to wear. Once all planks are installed, you’ll appreciate how this flooring requires minimal maintenance, freeing you from constant upkeep. Take your time to verify each plank locks securely, guaranteeing a smooth, stable surface that lasts while offering the freedom to enjoy your space hassle-free.
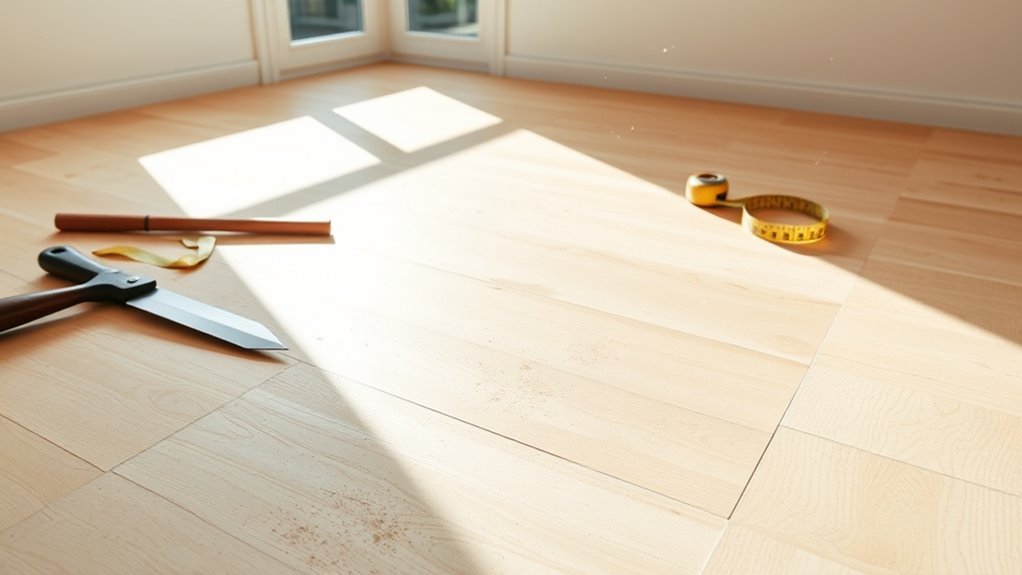
Trim and Fit Around Edges and Obstacles
After you’ve installed the main body of vinyl planks, you’ll need to carefully trim and fit pieces around edges and obstacles to guarantee a clean, professional finish. Start with edge trimming by measuring the gaps along walls and baseboards, then cut planks precisely using a utility knife or saw. Take your time to ascertain straight, accurate cuts that align flush with walls. For obstacle fitting, such as around door frames or vents, mark the plank to match the obstacle’s shape using a template or careful measurements. Cut out the marked section and test fit the piece, adjusting as needed for a snug fit. Proper edge trimming and obstacle fitting not only enhance the floor’s appearance but also prevent gaps that can collect dirt or cause damage over time.
Clean the Floor and Apply Finishing Touches
Once your vinyl plank flooring is fully installed, you’ll want to thoroughly clean the surface to remove any dust or adhesive residue using a gentle cleaner and a soft mop. Be careful not to use abrasive tools that could scratch the planks. After cleaning, apply any recommended finishing touches like trim pieces or threshold strips to guarantee a polished, professional look.
Floor Cleaning Techniques
Although the installation is complete, you’ll want to guarantee the floor is spotless before applying any finishing touches. Start by sweeping or vacuuming to remove dust and debris—use a vacuum with a hard floor setting to avoid scratches. Next, mop the floor with a damp microfiber mop and a gentle vinyl floor cleaner; avoid harsh chemicals that can damage the planks. For stubborn spots, gently scrub with a soft brush or non-abrasive pad. Remember, frequent cleaning is key for durability, so incorporate regular floor maintenance tips like wiping spills promptly and using protective pads under furniture. Have essential cleaning tools on hand, such as a microfiber mop, vacuum, and mild cleaner, to keep your vinyl plank floor looking fresh and free from grime. This routine guarantees your floor stays beautiful and lasts longer.
Applying Final Finishes
Before you apply any finishing touches, make sure the floor is completely clean and dry to guarantee proper adhesion and a flawless appearance. Start by wiping down the vinyl plank flooring with a damp microfiber cloth to remove dust or debris, then let it air dry thoroughly. Once dry, conduct a final inspection to check for any gaps, uneven edges, or imperfections that need addressing. If necessary, install baseboards or quarter-round molding to cover expansion gaps and give your floor a polished look. Finally, apply a protective sealant if recommended by the manufacturer to enhance durability and maintain the floor’s appearance. Taking these careful steps assures your vinyl plank flooring looks seamless and lasts longer, giving you the freedom to enjoy your refreshed space without worry.