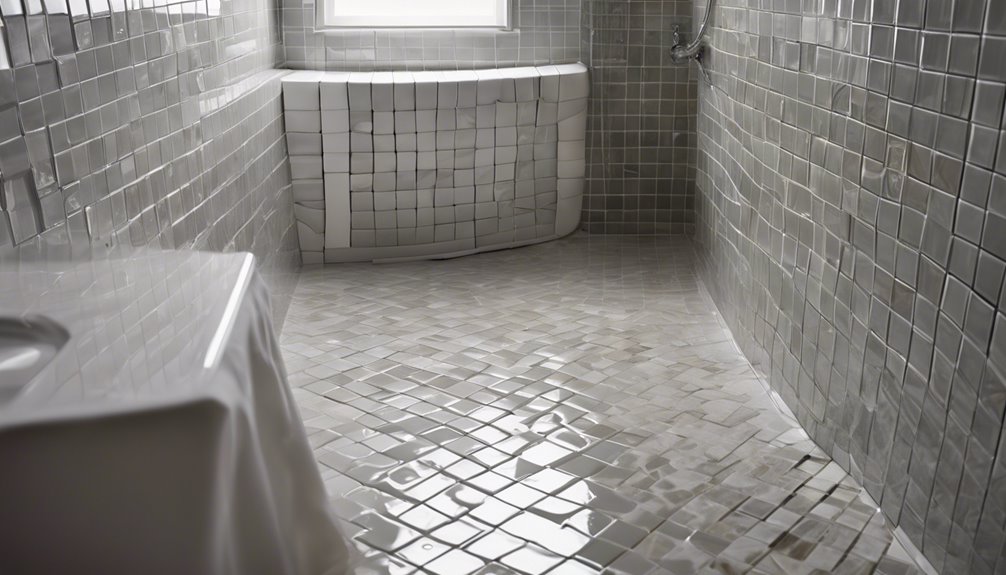
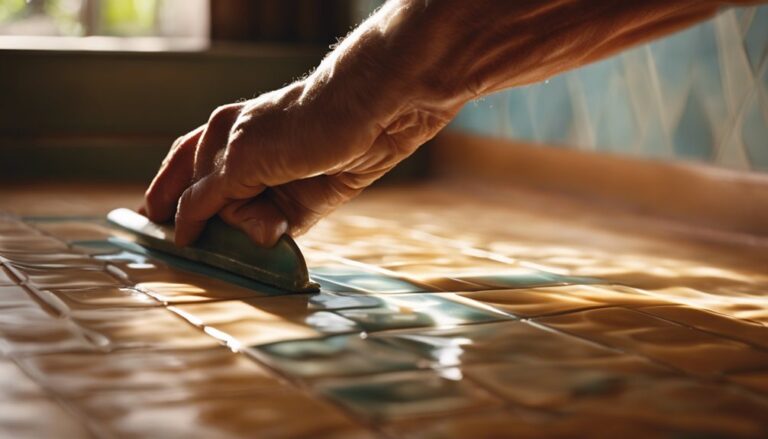
To tile a shower floor, start by gathering necessary tools like a tile cutter, notched trowel, level, and safety gear. Next, prep the shower area by clearing it, cleaning surfaces, and evaluating drain locations. Choose suitable tiles based on durability, slip resistance, and aesthetics. Install an underlayment, securing it properly to guarantee a level base. Lay the tiles using thin-set adhesive, checking alignment frequently. After setting the tiles, apply grout using a rubber float, then clean excess with a damp sponge. Finally, seal the grout once it cures for added protection. You'll find more detailed steps and tips as you continue.
Gather Necessary Tools
Before you plunge into tiling your shower floor, it's important to gather the right tools. Start with a tile cutter for precise tile cutting, ensuring each piece fits perfectly in your layout. A notched trowel is essential for ideal adhesive application; its grooves help distribute the adhesive evenly across the surface. You'll also need a level to keep your tiles straight and a rubber float for grouting later. Don't forget safety gear, including goggles and gloves, to protect yourself during the process. A measuring tape is critical for accurate measurements, while a sponge will help clean up excess adhesive. With these tools in hand, you'll be well-prepared to create a stunning, functional shower floor that reflects your personal style.
Prepare the Shower Area
To prepare the shower area, start by clearing out all items and fixtures to create an unobstructed workspace. Next, assess the drain location to guarantee proper water flow and alignment with your tile layout. Finally, gather any additional tools you'll need for the tiling process to streamline your workflow.
Clear the Shower Space
Clearing the shower space is essential for a successful tiling project, and it typically involves three key steps. First, remove any items such as shampoo bottles, soap dishes, and towels, ensuring you've got a clean slate. Next, focus on shower cleaning; thoroughly scrub the walls and floor to eliminate soap scum and mildew. A clean surface promotes better adhesion for your tiles. Finally, prioritize space organization by relocating any large fixtures or accessories that could obstruct your tiling process. This not only creates a safer work environment but also allows easy access to tools and materials. Once you've completed these steps, you'll be primed for the next phase of your shower floor tiling project, setting the stage for success.
Assess Drain Location
With the shower space now clear, it's time to assess the drain location, a vital step in guaranteeing proper water flow and tile placement. You'll need to identify the type of drain you're using, as different drain types can affect installation. Standard options include center drains and linear drains, each requiring specific slope requirements for peak performance. Generally, your shower floor should slope toward the drain at a minimum of 1/4 inch per foot. Measure from the furthest point in the shower to the drain to confirm this slope can be achieved with your chosen tile thickness. Properly positioning the drain and guaranteeing the right slope will prevent water pooling and provide a functional, long-lasting shower floor.
Gather Necessary Tools
Gathering the right tools is essential for a successful shower floor tile installation. Start with tool essentials like a tile cutter or wet saw, which are vital for precise cuts based on your chosen tile types. You'll also need a notched trowel for spreading thin-set mortar evenly and a level to guarantee your tiles are laid flat. Don't forget a grout float for applying grout seamlessly and a sponge for cleanup. Safety gear, such as knee pads and gloves, will keep you comfortable and protected. Finally, a measuring tape and chalk line will help you plan and layout the tiles accurately. With these tools at hand, you'll have the freedom to create a stunning, functional shower floor.
Choose the Right Tile
When choosing the right tile for your shower floor, it is important to evaluate both material options and dimensions. Different materials, such as porcelain, ceramic, or natural stone, offer varying levels of durability and slip resistance. Additionally, the size and shape of the tiles can impact installation and drainage, so selecting the appropriate dimensions is vital for a functional shower design.
Tile Material Options
Selecting the right tile for your shower floor is essential for both aesthetics and functionality. You'll find several material options to suit your preferences. Ceramic tiles are durable and easy to maintain, while porcelain tiles offer greater water resistance and a variety of finishes. If you prefer a more organic look, natural stone like travertine or slate can add a luxurious touch, though they require sealing. Glass tiles provide a sleek, modern appearance and can create stunning mosaic patterns, allowing for creativity in design. Consider the tile sizes as well; smaller tiles often provide better slip resistance due to more grout lines. Ultimately, choose a tile that complements your style while ensuring safety and practicality in your shower environment.
Size and Shape Considerations
Tile size and shape are significant factors that influence both the functionality and aesthetic appeal of your shower floor. When selecting tiles, consider the tile dimensions that best suit your space. Smaller tiles, such as mosaics, can offer better slip resistance and conform to complex layouts, making them ideal for curvy or sloped surfaces. On the other hand, larger tiles can create a seamless look with fewer grout lines, enhancing visual space. Think about how your chosen tile layout will interact with the overall design of your bathroom. Whether you prefer a classic grid or a more dynamic pattern, make certain it complements the existing elements while maintaining practicality. The right combination will provide both beauty and utility in your shower.
Install the Underlayment
Before you start laying your tiles, it's vital to install the underlayment properly, as this layer provides a stable foundation and helps prevent moisture damage. There are several underlayment types to choose from, including cement backer board, foam, and membrane options, each offering unique benefits. When selecting your underlayment, consider factors like water resistance and compatibility with your tile.
For installation techniques, make sure the surface is clean and level. Cut the underlayment to fit the shower floor, using a utility knife for precise edges. Secure it with thin-set mortar or screws, making certain there are no gaps. Seal joints with tape and thin-set for a watertight barrier. This groundwork is vital for a long-lasting and durable tile installation.
Lay the Tiles
Now that you've prepared the underlayment, it's time to lay the tiles with precision. Begin by choosing your desired tile patterns, whether it's a classic grid, herringbone, or a more intricate design. Using a notched trowel, apply thin-set mortar evenly across a small section of the floor, ensuring it's thick enough to accommodate your tiles. Press each tile firmly into place, following your chosen pattern, and use spacers to maintain consistent gaps for grout later. Employ installation techniques like checking for level and alignment frequently to avoid misalignment. For curves or corners, cut tiles using a tile saw for a clean finish. Stay focused, and let your creativity shine through in the design!
Grout and Finish
Once you've laid the tiles and allowed the thin-set mortar to cure, it's time to grout and finish the shower floor. Start by choosing the right grout types—either sanded or unsanded—based on your tile spacing. Mix the grout according to the manufacturer's instructions until you achieve a smooth consistency. Using a rubber float, apply the grout diagonally across the tiles, making certain you fill all joints completely. Wipe off excess grout with a damp sponge, being careful not to remove grout from the joints. After the grout has cured, typically 24 hours, apply a sealing finish to protect against moisture and stains. This final step enhances durability and guarantees your shower floor remains beautiful and functional for years to come.
Frequently Asked Questions
How Do I Determine the Slope for a Shower Floor?
Did you know that a well-designed shower slope can reduce water accumulation by up to 90%? To determine the slope for your shower floor, start with a slope calculation of 1/4 inch per foot towards the drain. This guarantees effective drainage design, preventing water pooling. Measure from the farthest wall to the drain, adjusting your substrate accordingly. Remember, proper slope not only enhances functionality but also prolongs the life of your shower.
Can I Use Leftover Tiles for Other Projects?
Absolutely, you can use leftover tiles for various project ideas! Consider tile recycling to reduce waste and release your creativity. You could create a mosaic art piece, a decorative tabletop, or even unique coasters. If you're feeling adventurous, try tiling a small accent wall or a flower pot. These projects not only repurpose your leftover tiles but also add a personal touch to your space, giving you the freedom to customize your surroundings.
What Type of Tile Is Best for Slip Resistance?
Imagine walking on a pathway of safety, where each step is secure. For slip resistance, you'll want to explore ceramic options that feature textured surfaces. These tiles provide traction, reducing the risk of slips, especially when wet. Look for those rated with a higher coefficient of friction. Additionally, consider matte finishes to enhance grip. Your choice can transform your space into a sanctuary of freedom, allowing you to move confidently and comfortably.
How Long Does It Take for Grout to Cure?
When you're working with grout, it's vital to take into account its curing time. Typically, grout drying takes about 24 to 48 hours for a light foot traffic area, but full curing can take up to 30 days. During this period, avoid exposing the grout to moisture. Proper curing guarantees the grout achieves peak strength and durability, so be patient; it's important for the longevity of your project and to prevent future issues.
Should I Seal the Tiles After Installation?
When you've laid down your tiles, think of them as precious artifacts in a museum. Yes, you should seal the tiles after installation. This sealant application protects against moisture and stains, ensuring your tile maintenance is minimal. A quality sealant forms a barrier, enhancing durability and appearance. Don't skimp on this step, as it'll save you time and effort in the long run, giving your tiles the freedom to shine.


